Nagiosは、Windows、Linux、ルーター、その他のネットワークデバイスで実行されるサービスとアプリケーションを監視するのに役立つ最も広く使用されているオープンソースの監視ツールです。
Nagiosの助けを借りて、基本的なサービスと属性を監視できます。バンドルに付属のWebインターフェイスを使用してNagiosにアクセスでき、構成はファイルレベルで行う必要があります。
サービスリスト
このチュートリアルでは、次のようなLinux/UNIXサーバーのプライベートサービスと属性を監視する方法について説明します。
属性
- CPU負荷
- メモリ使用量
- ディスク使用量
- ログインしているユーザー
- プロセスの実行
- など
プライベートサービス
- HTTP
- FTP
- SSH
- SMTP
- etc
前提条件
Nagiosをインストールする前に、システムはNagiosをインストールするための要件を満たす必要があります。したがって、Webサーバー(httpd)、PHP、コンパイラー、および開発ライブラリーをインストールします。
1つのコマンドですべてのパッケージをインストールします。
yum -y install httpd php gcc glibc glibc-common wget perl gd gd-devel unzip zip
nagiosユーザーとnagcmdグループを作成して、外部コマンドをWebインターフェースから実行できるようにし、nagiosとapacheユーザーをnagcmdグループの一部として追加します。
useradd nagios
groupadd nagcmd
usermod -a -G nagcmd nagios
usermod -a -G nagcmd apache
Nagiosサーバーをインストールする
ターミナルを使用してNagiosCoreの最新バージョンをダウンロードします。
cd /tmp/
wget https://assets.nagios.com/downloads/nagioscore/releases/nagios-4.4.3.tar.gz
tar -zxvf nagios-4.4.3.tar.gz
cd /tmp/nagios-4.4.3
Nagiosをコンパイルしてインストールします。
./configure --with-nagios-group=nagios --with-command-group=nagcmd
make all
make install
make install-init
make install-config
make install-commandmode
NagiosWebインターフェースのインストール
次のコマンドを使用して、NagiosWeb構成をインストールします。
make install-webconf
次のコマンドを実行して、Nagiosエクスフォリエーションをインストールします テーマ
make install-exfoliation
ユーザーアカウントを作成します( nagiosadmin )NagiosWebインターフェースにログインするため。このユーザーに割り当てたパスワードを覚えておいてください。後で必要になります。
htpasswd -c /usr/local/nagios/etc/htpasswd.users nagiosadmin
Apache Webサーバーを再起動して、新しい設定を有効にします。
### CentOS 7 / RHEL 7 ###

systemctl restart httpd
systemctl enable httpd

### CentOS 6 / RHEL 6 ###

service httpd start
chkconfig httpd on
Nagiosサーバーを構成する
これで、サンプル構成ファイルが / usr / local / nagios / etcにインストールされました。 ディレクトリ。これらのサンプルファイルは、Nagiosの使用を開始するために正常に機能するはずです。続行する前に、変更を1つだけ行う必要があります。
/usr/local/nagios/etc/objects/contacts.cfgを編集します お気に入りのエディタで設定ファイルを作成し、nagiosadminの連絡先定義に関連付けられているメールアドレスを、アラートの受信に使用するアドレスに変更します。
vi /usr/local/nagios/etc/objects/contacts.cfg
通知を受け取るには、[メールアドレス]フィールドを変更します。
define contact{
        contact_name                    nagiosadmin             ; Short name of user
        use                             generic-contact         ; Inherit default values from generic-contact template (defined above)
        alias                           Nagios Admin            ; Full name of user

        email                           admin@itzgeek.com       ; <<***** CHANGE THIS TO YOUR EMAIL ADDRESS ******
        }
Nagiosプラグインをインストールする
Nagiosプラグインを/tmpディレクトリにダウンロードします。
cd /tmp
wget https://nagios-plugins.org/download/nagios-plugins-2.2.1.tar.gz
tar -zxvf nagios-plugins-2.2.1.tar.gz
cd /tmp/nagios-plugins-2.2.1/
Nagiosプラグインをコンパイルしてインストールします。
./configure --with-nagios-user=nagios --with-nagios-group=nagios
make
make install
Nagiosサーバーを起動します
サンプルのNagios構成ファイルを確認します。
/usr/local/nagios/bin/nagios -v /usr/local/nagios/etc/nagios.cfg
出力:
Nagios Core 4.4.3
Copyright (c) 2009-present Nagios Core Development Team and Community Contributors
Copyright (c) 1999-2009 Ethan Galstad
Last Modified: 2019-01-15
License: GPL

Website: https://www.nagios.org
Reading configuration data...
   Read main config file okay...
   Read object config files okay...

Running pre-flight check on configuration data...

Checking objects...
        Checked 8 services.
        Checked 1 hosts.
        Checked 1 host groups.
        Checked 0 service groups.
        Checked 1 contacts.
        Checked 1 contact groups.
        Checked 24 commands.
        Checked 5 time periods.
        Checked 0 host escalations.
        Checked 0 service escalations.
Checking for circular paths...
        Checked 1 hosts
        Checked 0 service dependencies
        Checked 0 host dependencies
        Checked 5 timeperiods
Checking global event handlers...
Checking obsessive compulsive processor commands...
Checking misc settings...

Total Warnings: 0
Total Errors:   0

Things look okay - No serious problems were detected during the pre-flight check
エラーがない場合は、Nagiosサービスを開始します。
service nagios start
システムの起動時にNagiosを起動します。
chkconfig nagios on
SELinux
SELinuxが強制モードになっているかどうかを確認します。
getenforce
SELinuxをPermissiveモードにするか、無効にします。
setenforce 0
この変更を永続的にするには、/ etc / selinux / configを変更して、システムを再起動する必要があります。
ファイアウォール
ファイアウォールを介したWebサーバーアクセスを許可してください。
### FirwallD ###

firewall-cmd --permanent --add-service=http
firewall-cmd --reload

### IP Tables ###

iptables -I INPUT -m state --state NEW -m tcp -p tcp --dport 80 -j ACCEPT
service iptables save
NagiosWebインターフェースにアクセス
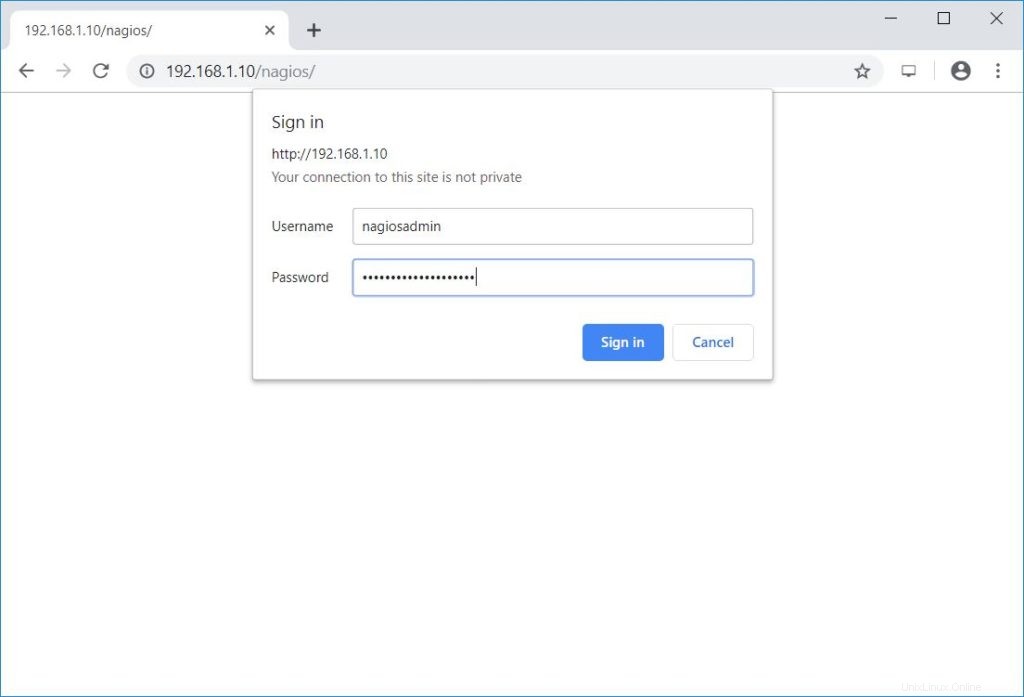
次に、次のURLを使用してNagiosWebインターフェイスにアクセスします。ユーザー名の入力を求められます( nagiosadmin )および前に指定したパスワード。
http:// ip-add-re-ss / nagios /
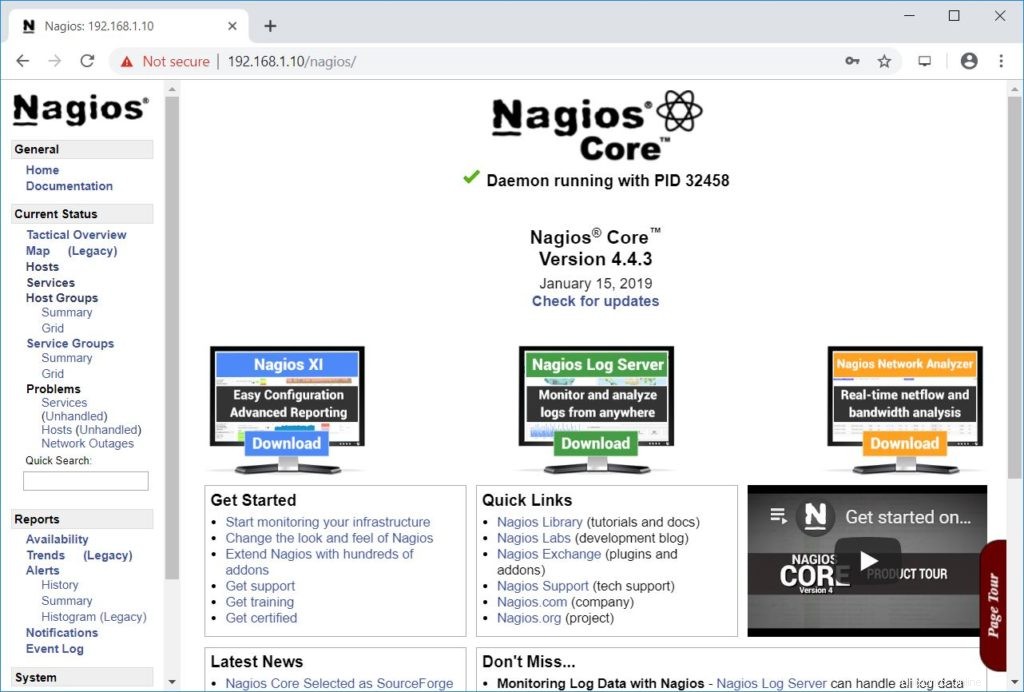
Nagiosコンソールは次のようになります。

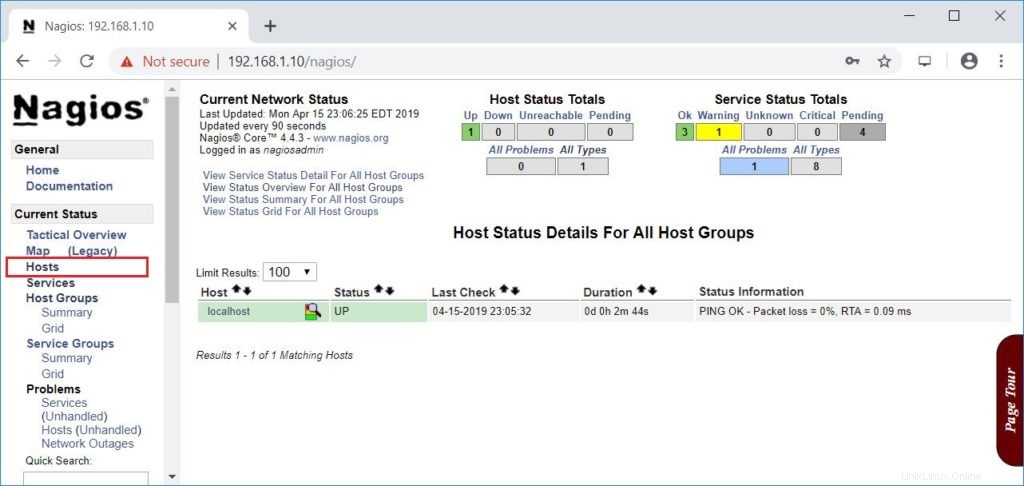
ホストをクリックします 左側のペインで、Nagiosによって監視されているシステムのリストを取得します。 Nagiosにはホストを追加していないため、ローカルホスト自体を監視するだけです。
リモートLinuxシステムを監視するには、
読む :NagiosサーバーでリモートLinuxシステムを監視する

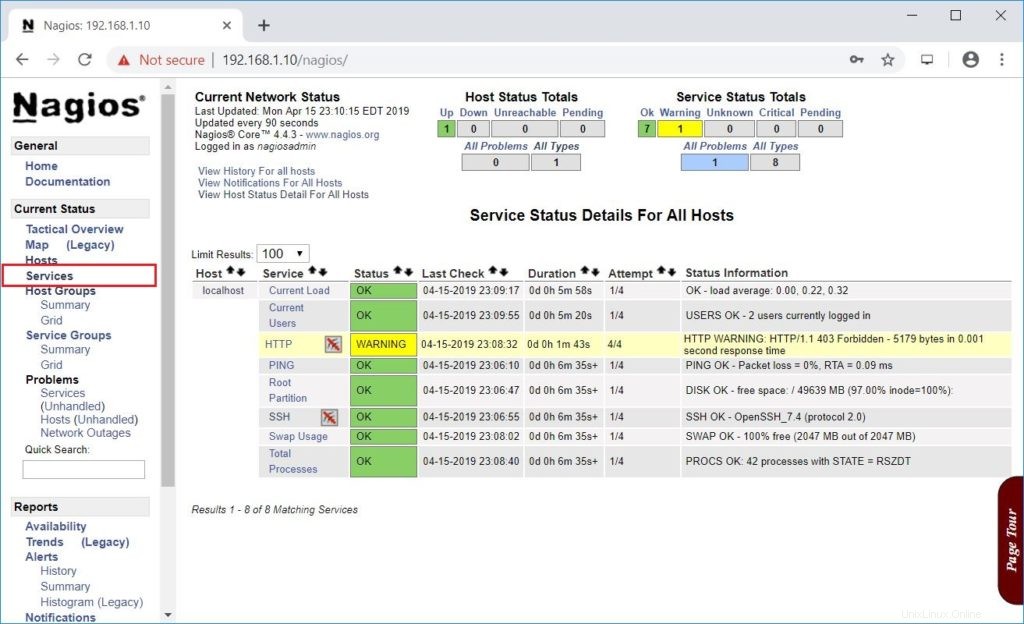
サービスをクリックします 左側のペインで、Nagiosで監視されているサービスのステータスを取得します。

次の記事では、Nagiosサーバーを使用してリモートLinuxシステムを監視します。
以上です。