以前はPiwikとして知られていたMatomoは、Linuxオペレーティングシステム用のオープンソース分析アプリケーションです。これは、ユーザーの訪問場所を追跡して表示するのに役立つGoogleAnalyticsと非常によく似ています。これは、PHP /MySQLWebサーバーで実行される国際的な開発者のチームによって開発されました。それは多くの機能を提供します、それらのいくつかは以下にリストされています:
- 柔軟性、信頼性、セキュリティ
- セルフホスト、シンプル、そして使いやすい
- 100%のデータ所有権
- GDPRコンプライアンス
- ウェブおよびモバイル分析
このチュートリアルでは、CentOS8サーバーにPiwik分析アプリケーションをインストールしてセットアップする方法を示します。
- CentOS8を実行しているサーバー。
- サーバーIPで指定された有効なドメイン名。
- ルートパスワードはサーバーで構成されています。
LAMPサーバーをインストールする
PiwikはLAMPサーバー上で実行されるため、Apache、MariaDB、PHP、およびその他のPHP拡張機能をシステムにインストールする必要があります。次のコマンドですべてをインストールできます:
dnf install httpd mariadb-server php php-mysqlnd php-fpm unzip wget php-json php-dom php-gd php-mbstring -y
すべてのパッケージがインストールされたら、php.iniファイルを編集して、必要な値を設定します。
nano /etc/php.ini
次の値を変更します。
upload_max_filesize = 10M
post_max_size = 10M
max_execution_time = 300
max_input_time = 300
memory_limit = 256M
ファイルを保存して閉じてから、ApacheおよびMariaDBサービスを開始し、システムの再起動時に開始できるようにします。
systemctl start mariadb
systemctl start httpd
systemctl enable mariadb
systemctl enable httpd
Piwikのデータベースを作成する
次に、Piwikのデータベースとユーザーを作成する必要があります。まず、次のコマンドを使用してMariaDBにログインします。
mysql
ログインしたら、次のコマンドを使用してデータベースとユーザーを作成します。
mysql> CREATE DATABASE matomo;
mysql> CREATE USER `matomo`@`localhost` IDENTIFIED BY 'password';
次に、次のコマンドを使用して、データベースにすべての権限を付与します。
mysql> GRANT ALL ON matomo.* TO `matomo`@`localhost`;
次に、特権をフラッシュし、次のコマンドでMariaDBを終了します。
mysql> FLUSH PRIVILEGES;
mysql> EXIT;
Piwikをインストール
次に、Piwikの最新バージョンを公式Webサイトからダウンロードする必要があります。まず、次のコマンドを使用して、ディレクトリをApacheWebルートに変更します。
cd /var/www/html
次に、次のコマンドを使用してPiwikをダウンロードします。
wget https://builds.matomo.org/matomo-latest.zip
ダウンロードが完了したら、次のコマンドを使用してダウンロードしたファイルを解凍します。
unzip matomo-latest.zip
次に、次のコマンドを使用して、Webルートに適切な権限と所有権を設定します。
chown -R apache:apache /var/www/html/matomo
chmod -R 775 /var/www/html/matomo
終了したら、次のステップに進むことができます。
次に、ポート80と443がファイアウォールを通過できるようにする必要があります。次のコマンドで許可できます:
firewall-cmd --permanent --zone=public --add-service=http
firewall-cmd --permanent --zone=public --add-service=https
次に、firewalldをリロードして変更を適用します:
firewall-cmd --reload
次に、Piwik用にSELinuxをセットアップする必要もあります。次のコマンドで設定できます:
chcon -R -t httpd_sys_rw_content_t /var/www/html/matomo/
setsebool httpd_can_network_connect on -P
終了したら、次のステップに進むことができます。
次に、PiwikWebサイトをホストするようにApacheWebサーバーを構成する必要があります。これを行うには、新しいApache仮想ホスト構成ファイルを作成します。
nano /etc/httpd/conf.d/piwik.conf
次の行を追加します:
<VirtualHost *:80>
ServerAdmin [email protected]
DocumentRoot "/var/www/html/matomo"
ServerName piwik.example.com
<Directory "/var/www/html/matomo/">
Options MultiViews FollowSymlinks
AllowOverride All
Order allow,deny
Allow from all
</Directory>
TransferLog /var/log/httpd/matomo_access.log
ErrorLog /var/log/httpd/matomo_error.log

</VirtualHost>
終了したら、ファイルを保存して閉じます。次に、Apache Webサーバーを再起動して、変更を適用します。
systemctl restart httpd
次のコマンドを使用して、Apacheのステータスを確認できるようになりました。
systemctl status httpd
次の出力が得られるはずです:
? httpd.service - The Apache HTTP Server
   Loaded: loaded (/usr/lib/systemd/system/httpd.service; disabled; vendor preset: disabled)
  Drop-In: /usr/lib/systemd/system/httpd.service.d
           ??php-fpm.conf
   Active: active (running) since Sun 2020-12-27 05:38:29 EST; 5s ago
     Docs: man:httpd.service(8)
 Main PID: 4228 (httpd)
   Status: "Started, listening on: port 80"
    Tasks: 213 (limit: 12523)
   Memory: 36.8M
   CGroup: /system.slice/httpd.service
           ??4228 /usr/sbin/httpd -DFOREGROUND
           ??4229 /usr/sbin/httpd -DFOREGROUND
           ??4230 /usr/sbin/httpd -DFOREGROUND
           ??4231 /usr/sbin/httpd -DFOREGROUND
           ??4232 /usr/sbin/httpd -DFOREGROUND

Dec 27 05:38:28 centos8 systemd[1]: Stopped The Apache HTTP Server.
Dec 27 05:38:28 centos8 systemd[1]: Starting The Apache HTTP Server...
終了したら、次のステップに進むことができます。
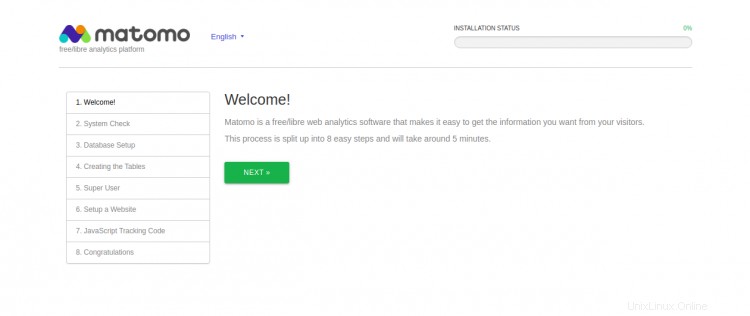
次に、Webブラウザーを開き、URL http://piwik.example.comを使用してPiwikWebインターフェースにアクセスします。 。次のページにリダイレクトされます:
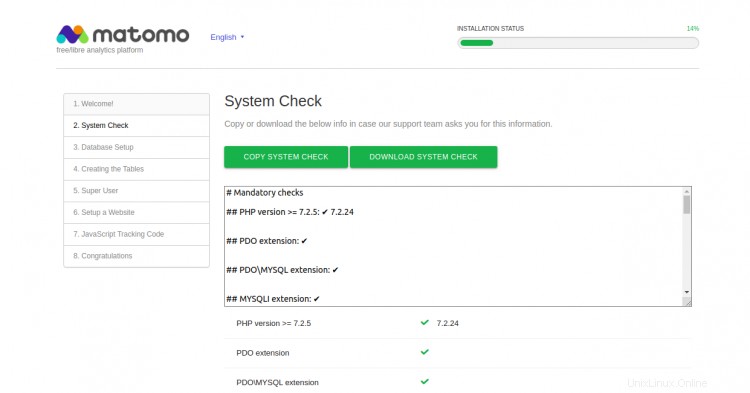
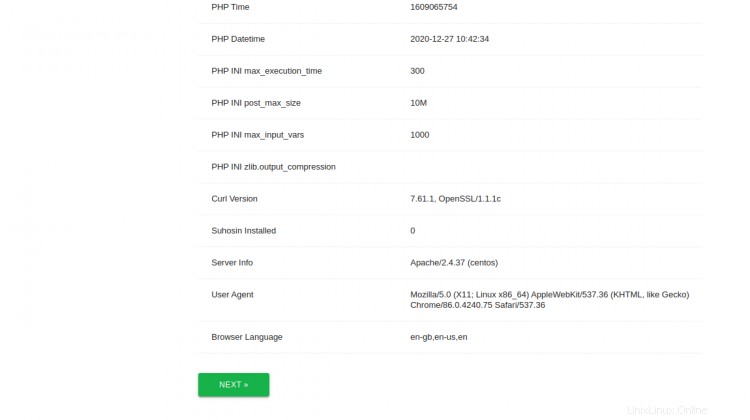
次へをクリックします 、システムチェックページが表示されます:
次へをクリックします 、データベース設定ページが表示されます:
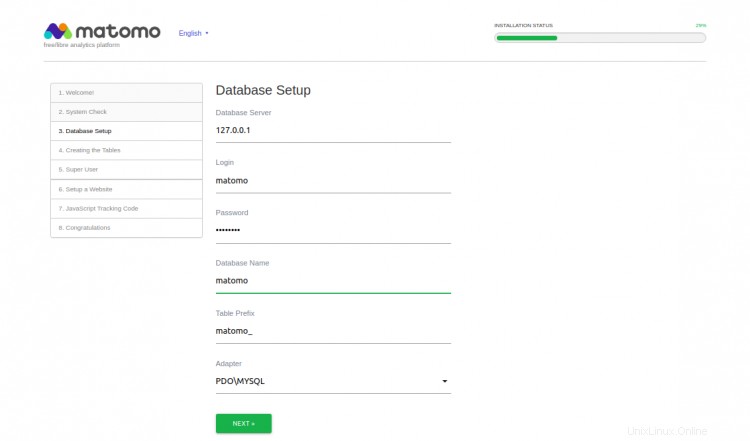
yurデータベースのユーザー名、データベース名、パスワードを入力し、次へをクリックします。 、次のページが表示されます:
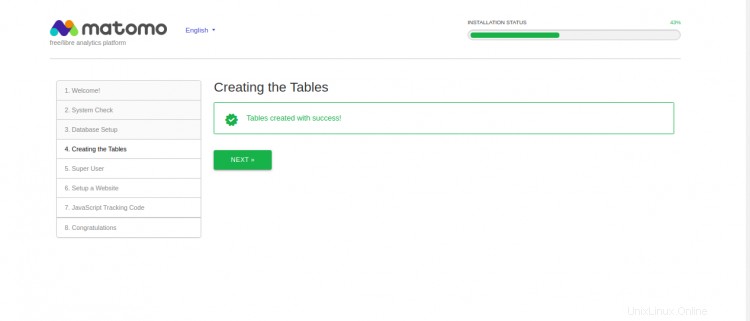
次へをクリックします 、管理者ユーザー作成ページが表示されます:
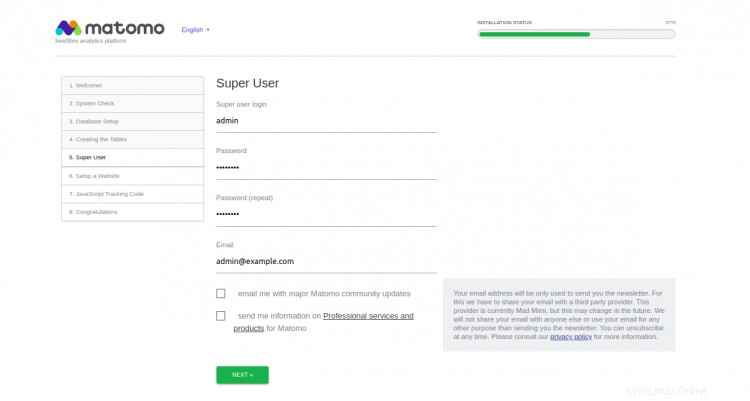
管理者のユーザー名、パスワード、メールアドレスを入力し、次へをクリックします 。ウェブサイトの設定ページが表示されます:
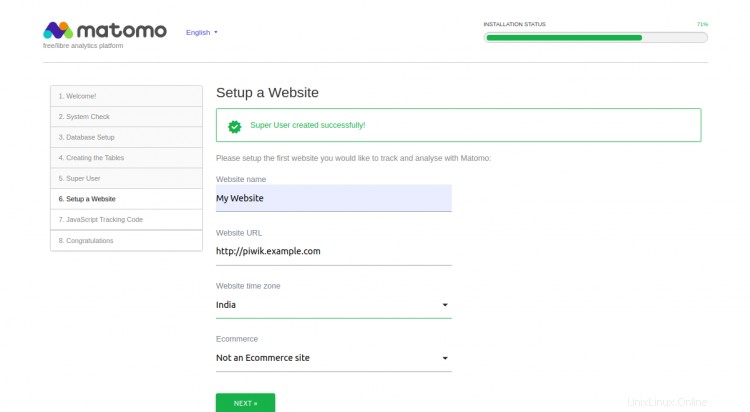
ウェブサイトの詳細を入力し、次へをクリックします 。次のページにトラッキングコードが表示されます:
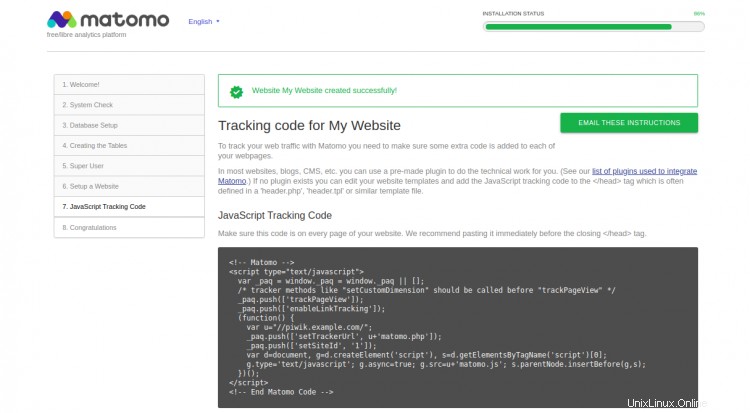
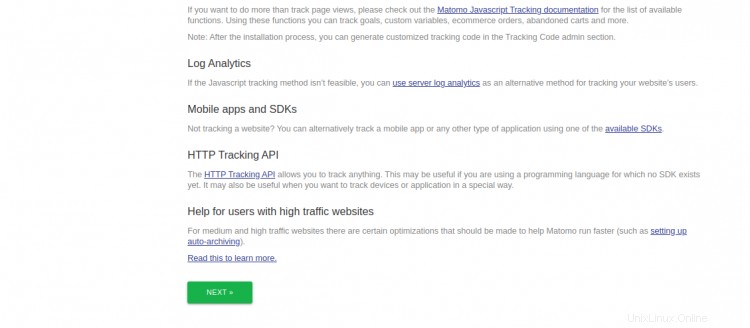
次へをクリックします 。インストールが完了したら。次のページが表示されます:
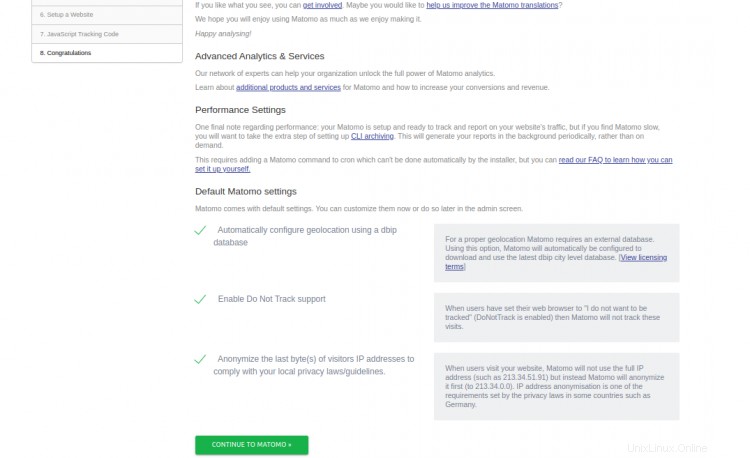
CONTINUE TO MATOMOをクリックします 。 MATOMOログインページが表示されます:
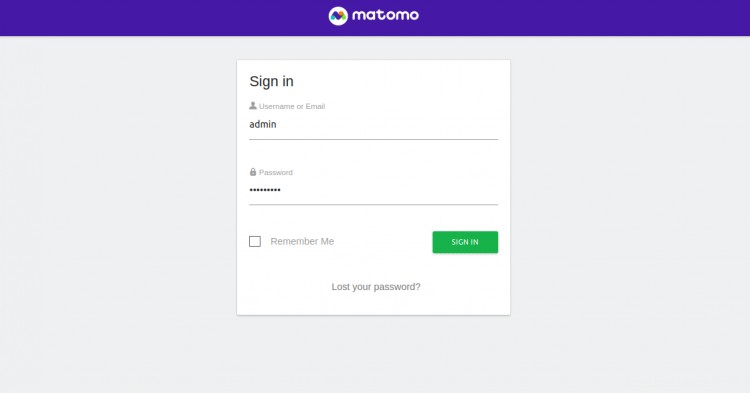
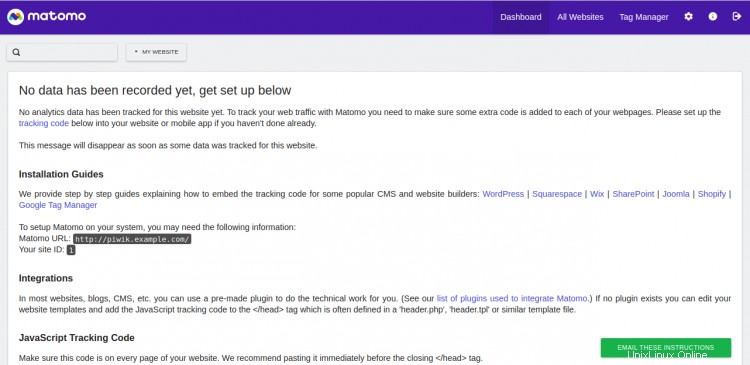
管理者のユーザー名とパスワードを入力し、サインインをクリックします 。次のページにMATOMOダッシュボードが表示されます。
次に、システムにCertbotユーティリティをインストールして、PiwikWebサイト用のLet'sEncryptSSLをダウンロードしてインストールする必要があります。
次のコマンドを使用して、Certbotクライアントをインストールできます。
wget https://dl.eff.org/certbot-auto
mv certbot-auto /usr/local/bin/certbot-auto
chown root /usr/local/bin/certbot-auto
chmod 0755 /usr/local/bin/certbot-auto
次に、次のコマンドを使用して、MantisWebサイトのSSL証明書を取得してインストールします。
certbot-auto --apache -d piwik.example.com
Saving debug log to /var/log/letsencrypt/letsencrypt.log
Plugins selected: Authenticator apache, Installer apache
Enter email address (used for urgent renewal and security notices) (Enter 'c' to
cancel): [email protected]

- - - - - - - - - - - - - - - - - - - - - - - - - - - - - - - - - - - - - - - -
Please read the Terms of Service at
https://letsencrypt.org/documents/LE-SA-v1.2-November-15-2017.pdf. You must
agree in order to register with the ACME server at
https://acme-v02.api.letsencrypt.org/directory
- - - - - - - - - - - - - - - - - - - - - - - - - - - - - - - - - - - - - - - -
(A)gree/(C)ancel: A

- - - - - - - - - - - - - - - - - - - - - - - - - - - - - - - - - - - - - - - -
Would you be willing to share your email address with the Electronic Frontier
Foundation, a founding partner of the Let's Encrypt project and the non-profit
organization that develops Certbot? We'd like to send you email about our work
encrypting the web, EFF news, campaigns, and ways to support digital freedom.
- - - - - - - - - - - - - - - - - - - - - - - - - - - - - - - - - - - - - - - -
(Y)es/(N)o: Y


Obtaining a new certificate
Performing the following challenges:
http-01 challenge for piwik.example.com
Waiting for verification...
Cleaning up challenges
Deploying Certificate to VirtualHost /etc/httpd/conf.d/piwik.conf
次に、以下に示すように、HTTPトラフィックをHTTPSにリダイレクトするかどうかを選択する必要があります。
Please choose whether or not to redirect HTTP traffic to HTTPS, removing HTTP access.
- - - - - - - - - - - - - - - - - - - - - - - - - - - - - - - - - - - - - - - -
1: No redirect - Make no further changes to the webserver configuration.
2: Redirect - Make all requests redirect to secure HTTPS access. Choose this for
new sites, or if you're confident your site works on HTTPS. You can undo this
change by editing your web server's configuration.
- - - - - - - - - - - - - - - - - - - - - - - - - - - - - - - - - - - - - - - -
Select the appropriate number [1-2] then [enter] (press 'c' to cancel): 2
2と入力し、Enterキーを押して続行します。インストールが完了すると、次の出力が表示されます。
Redirecting all traffic on port 80 to ssl in /etc/httpd/conf.d/piwik.conf

- - - - - - - - - - - - - - - - - - - - - - - - - - - - - - - - - - - - - - - -
Congratulations! You have successfully enabled https://piwik.example.com

You should test your configuration at:
https://www.ssllabs.com/ssltest/analyze.html?d=piwik.example.com
- - - - - - - - - - - - - - - - - - - - - - - - - - - - - - - - - - - - - - - -

IMPORTANT NOTES:
 - Congratulations! Your certificate and chain have been saved at:
   /etc/letsencrypt/live/piwik.example.com/fullchain.pem
   Your key file has been saved at:
   /etc/letsencrypt/live/piwik.example.com/privkey.pem
   Your cert will expire on 2020-03-23. To obtain a new or tweaked
   version of this certificate in the future, simply run certbot-auto
   again with the "certonly" option. To non-interactively renew *all*
   of your certificates, run "certbot-auto renew"
 - If you like Certbot, please consider supporting our work by:

   Donating to ISRG / Let's Encrypt:   https://letsencrypt.org/donate
   Donating to EFF:                    https://eff.org/donate-le
この時点で、WebサイトはLet'sEncryptSSLで保護されています。
結論おめでとうございます!これで、CentOS8にApacheとLet'sEncrypt SSLを使用してPiwikを正常にインストールおよびセットアップできました。これで、Webサイトにトラッキングコードを追加し、PiwikダッシュボードからWebサイト訪問者の監視を開始できます。ご不明な点がございましたら、お気軽にお問い合わせください。