Monitorixは、システム全体のパフォーマンスを監視するために使用できる軽量のオープンソースコンピュータネットワーク監視ツールです。システムデータを収集し、Webインターフェイスを使用してその情報をグラフとして表示します。 CentOS、Debian、Ubuntu、FreeBSD、OpenBSD、NetBSDなどのほとんどのLinuxベースのオペレーティングシステムで実行できます。
Monitorixには豊富な機能セットがあり、その一部を以下に示します。
- システム負荷の平均と使用量。
- プロセッサごとのカーネル使用量。
- グローバルカーネルの使用。
- HPProLiantSystemHealth。
- 一般的なセンサーの統計。
- LM-センサーとGPU温度。
- NVIDIAの温度と使用法。
- ディスクドライブの温度と状態。
- ファイルシステムの使用とI/Oアクティビティ。
- ネットワークトラフィックと使用状況。
このチュートリアルでは、Debian10にMonitorix監視サーバーをインストールする方法を説明します。
- Debian10を実行しているサーバー。
- ルートパスワードはサーバーで構成されています。
開始する前に、サーバーを最新バージョンに更新することをお勧めします。次のコマンドを使用して更新できます:
apt-get update -y
 apt-get upgrade -y
サーバーが更新されたら、サーバーを再起動して変更を実装します。
Monitorixをインストールする
まず、次のコマンドを使用して、公式Webサイトから最新バージョンのMonitoringをダウンロードします。
wget https://www.monitorix.org/monitorix_3.11.0-izzy1_all.deb
ダウンロードが完了したら、次のコマンドを使用してダウンロードしたファイルをインストールします。
dpkg -i monitorix_3.11.0-izzy1_all.deb
上記のコマンドは、依存関係エラーを生成します。次のコマンドを使用して、依存関係エラーを解決できます。
apt-get install -f
Monitorixをインストールした後、次のコマンドを使用してMonitorixサービスを開始し、システムの再起動後に開始できるようにします。
systemctl start monitorix
 systemctl enable monitorix
出力:
monitorix.service is not a native service, redirecting to systemd-sysv-install.
Executing: /lib/systemd/systemd-sysv-install enable monitorix
これで、次のコマンドを実行してMonitorixサービスを確認できます。
systemctl status monitorix
次の出力が表示されます。
? monitorix.service - LSB: Start Monitorix daemon
   Loaded: loaded (/etc/init.d/monitorix; generated)
   Active: active (running) since Sun 2019-12-29 16:05:19 UTC; 30s ago
     Docs: man:systemd-sysv-generator(8)
    Tasks: 1 (limit: 2359)
   Memory: 71.0M
   CGroup: /system.slice/monitorix.service
           ??9827 /usr/bin/monitorix -c /etc/monitorix/monitorix.conf -p /var/run/monitorix.pid

Dec 29 16:05:18 debian10 systemd[1]: Starting LSB: Start Monitorix daemon...
Dec 29 16:05:19 debian10 monitorix[9822]: .
Dec 29 16:05:19 debian10 systemd[1]: Started LSB: Start Monitorix daemon.
インストールされているMonitorixのバージョンを確認するには、次のコマンドを実行します。
monitorix -v
次の出力が得られるはずです:
Monitorix version 3.11.0 (14-Mar-2019)
by Jordi Sanfeliu <[email protected]>
http://www.monitorix.org/
Monitorixを構成する
Monitorixのデフォルトの構成ファイルは/etc/monitorix/monitorix.confにあります。それを編集し、システムの詳細に応じていくつかの変更を加える必要があります。
次のコマンドで編集できます:
nano /etc/monitorix/monitorix.conf
次の行を変更します:
title = Monitorix Monitoring Server
hostname = debian10
host = debian10
hosts_deny = all
hosts_allow = 192.168.1.0/24
enabled = y
終了したら、ファイルを保存して閉じます。
次に、Monitorixを認証するためのユーザーを作成する必要があります。
まず、次のコマンドを使用してApacheUtilitiesパッケージをインストールします。
apt-get install apache2-utils -y
次に、次のコマンドを使用してMonitorixのユーザーを作成します。
htpasswd -d -c /var/lib/monitorix/htpasswd admin
以下に示すように、ユーザーのパスワードを設定するように求められます。
New password:
Re-type new password:
Adding password for user admin
次に、Monitorixサービスを再起動して、変更を実装します。
systemctl restart monitorix
デフォルトでは、Monitorixはポート8080でリッスンします。次のコマンドで確認できます:
netstat -ant | grep 8080
出力:
tcp6       0      0 :::8080                 :::*                    LISTEN
tcp6       0      0 ::1:8080                ::1:45178               TIME_WAIT
Access Monitorix Web UI
次に、Webブラウザーを開き、URL http:// your-server-ip:8080/monitorixを入力します。 Monitorixのログインページにリダイレクトされます:

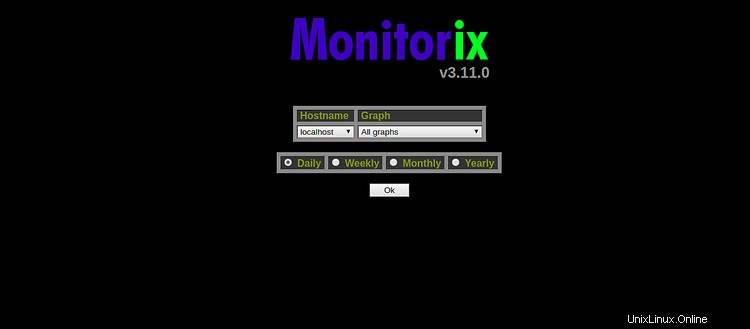
Monitorixのユーザー名とパスワードを入力し、サインインをクリックします。 ボタン。次のページにMonitorixダッシュボードが表示されます。

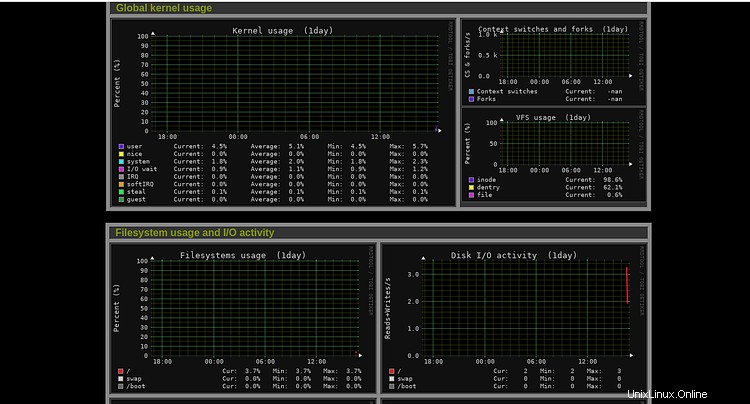
グローバルカーネルの使用、ファイルシステムの使用、およびI/Oアクティビティ
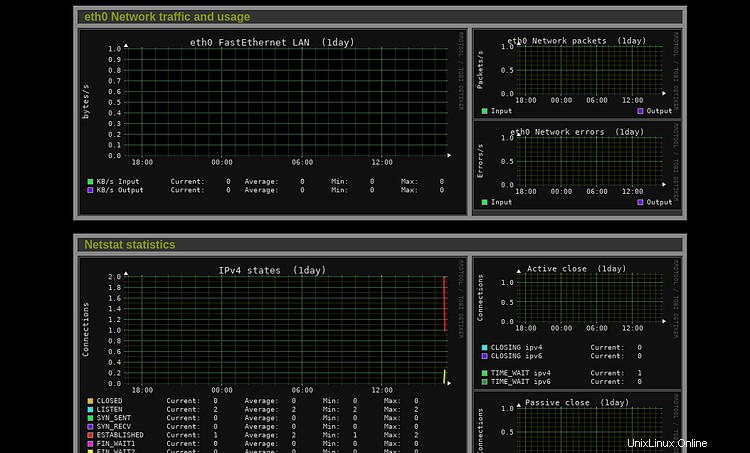
ネットワークトラフィック、使用状況、Netstat統計
おめでとう!これで、Debian10にMonitorix監視サーバーが正常にインストールされました。