Bitwardenは、暗号化されたボールトにWebサイトのクレデンシャルを保存する無料のオープンソースパスワードマネージャーです。これにより、すべてのログイン資格情報を保存し、すべてのデバイス間で同期を維持できます。個人、チーム、およびビジネス組織が一元化された場所から資格情報を管理できるように設計されています。 Bitwardenは、デスクトップPCだけでなく、スマートフォンやタブレット用のクライアントアプリケーションを提供します。また、強力で安全なパスワードを生成するためのパスワードジェネレータも提供します。
この投稿では、Debian11にBitwardenパスワードマネージャーをインストールする方法を紹介します。
- Ubuntu20.04を実行しているサーバー。
- ルートパスワードはサーバーで構成されています。
DockerとDockerComposeをインストールする
Bitwardenは、Dockerでインストールできる無料バージョンを提供します。デフォルトでは、最新バージョンのDockerはDebian11のデフォルトリポジトリに含まれていません。そのため、Dockerの公式リポジトリからインストールする必要があります。
まず、次のコマンドを使用して、必要なすべての依存関係をインストールします。
apt-get install apt-transport-https ca-certificates curl gnupg-agent software-properties-common
すべての依存関係がインストールされたら、次のコマンドを使用してGPGキーをダウンロードして追加します。
curl -fsSL https://download.docker.com/linux/debian/gpg | gpg --dearmor -o /usr/share/keyrings/docker-archive-keyring.gpg
次に、次のコマンドを使用してDockerCEリポジトリをAPTに追加します。
echo "deb [arch=amd64 signed-by=/usr/share/keyrings/docker-archive-keyring.gpg] https://download.docker.com/linux/debian $(lsb_release -cs) stable" | tee /etc/apt/sources.list.d/docker.list
次に、リポジトリを更新し、次のコマンドを使用してDockerCEをインストールします。
apt-get update -y
apt-get install docker-ce docker-ce-cli containerd.io -y
インストールが完了したら、次のコマンドを使用してDockerCEのバージョンを確認できます。
docker --version
次の出力が得られます:
Docker version 20.10.9, build c2ea9bc
次のコマンドを使用して、Dockerのステータスを確認することもできます。
systemctl status docker
次の出力が表示されます。
? docker.service - Docker Application Container Engine
     Loaded: loaded (/lib/systemd/system/docker.service; enabled; vendor preset: enabled)
     Active: active (running) since Sat 2021-10-25 09:33:15 UTC; 14min ago
TriggeredBy: ? docker.socket
       Docs: https://docs.docker.com
   Main PID: 11656 (dockerd)
      Tasks: 29
     Memory: 1.0G
     CGroup: /system.slice/docker.service
             ??11656 /usr/bin/dockerd -H fd:// --containerd=/run/containerd/containerd.sock
             ??27717 /usr/bin/docker-proxy -proto tcp -host-ip 0.0.0.0 -host-port 80 -container-ip 172.18.0.5 -container-port 8052

Oct 25 09:33:14 ubuntu2004 dockerd[11656]: time="2021-10-03T09:33:14.865741428Z" level=info msg="Default bridge (docker0) is assigned with an >
Oct 25 09:33:14 ubuntu2004 dockerd[11656]: time="2021-10-03T09:33:14.951326143Z" level=info msg="Loading containers: done."
Oct 25 09:33:14 ubuntu2004 dockerd[11656]: time="2021-10-03T09:33:14.974570590Z" level=info msg="Docker daemon" commit=4484c46d9d graphdriver(>
Oct 25 09:33:14 ubuntu2004 dockerd[11656]: time="2021-10-03T09:33:14.974729712Z" level=info msg="Daemon has completed initialization"
Oct 25 09:33:15 ubuntu2004 dockerd[11656]: time="2021-10-03T09:33:15.030128906Z" level=info msg="API listen on /run/docker.sock"
Oct 25 09:33:15 ubuntu2004 systemd[1]: Started Docker Application Container Engine.
Oct 25 09:45:52 ubuntu2004 dockerd[11656]: time="2021-10-03T09:45:52.583474433Z" level=info msg="ignoring event" module=libcontainerd namespac>
Oct 25 09:45:52 ubuntu2004 dockerd[11656]: time="2021-10-03T09:45:52.619380786Z" level=info msg="ignoring event" module=libcontainerd namespac>
Oct 25 09:45:52 ubuntu2004 dockerd[11656]: time="2021-10-03T09:45:52.635359740Z" level=info msg="ignoring event" module=libcontainerd namespac>
Oct 25 09:45:52 ubuntu2004 dockerd[11656]: time="2021-10-03T09:45:52.637507396Z" level=info msg="ignoring event" module=libcontainerd namespac
次に、次のコマンドを使用して最新バージョンのDockerComposerをダウンロードします。
wget https://github.com/docker/compose/releases/download/v2.0.1/docker-compose-linux-x86_64
次に、次のコマンドを使用して、ダウンロードしたバイナリをシステムパスにコピーします。
mv docker-compose-linux-x86_64 /usr/bin/docker-compose
次に、実行権限をDockerComposeバイナリに設定します。
chmod 755 /usr/bin/docker-compose
Debian11にBitwardenをインストールする
まず、Bitwarden Webサイトにアクセスし、以下に示すように電子メールアドレスを入力します。
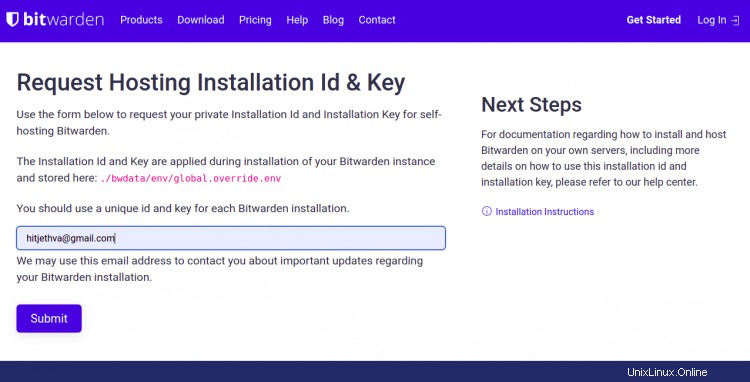
次に、送信をクリックします ボタン。次の画面にインストールIDとキーが表示されます。後でインストール中に必要になるので、メモしておいてください。
次に、次のコマンドを使用してBitwardenインストールスクリプトをダウンロードします。
curl -Lso bitwarden.sh https://go.btwrdn.co/bw-sh
スクリプトをダウンロードしたら、次のコマンドで実行権限を設定します。
chmod +x bitwarden.sh
次に、次のコマンドを使用してインストールを開始します。
./bitwarden.sh install
以下に示すように、ドメイン名またはIPアドレスとボールトを入力するように求められます。
 _     _ _                         _
| |__ (_) |___      ____ _ _ __ __| | ___ _ __
| '_ \| | __\ \ /\ / / _` | '__/ _` |/ _ \ '_ \
| |_) | | |_ \ V  V / (_| | | | (_| |  __/ | | |
|_.__/|_|\__| \_/\_/ \__,_|_|  \__,_|\___|_| |_|

Open source password management solutions
Copyright 2015-2021, 8bit Solutions LLC
https://bitwarden.com, https://github.com/bitwarden

===================================================

bitwarden.sh version 1.43.0
Docker version 20.10.9, build c2ea9bc
docker-compose version 1.25.0, build unknown

(!) Enter the domain name for your Bitwarden instance (ex. bitwarden.example.com): 69.28.84.207

(!) Do you want to use Let's Encrypt to generate a free SSL certificate? (y/n): n

(!) Enter the database name for your Bitwarden instance (ex. vault): vault
必要な情報をすべて入力し、 Enterを押します 。以下に示すように、インストールIDとキーを入力するように求められます。
Digest: sha256:29bd0777de8b902bd26a67f74c832c8032f1bea41e716277a98f7d439a8f2912
Status: Downloaded newer image for bitwarden/setup:1.43.0
docker.io/bitwarden/setup:1.43.0

(!) Enter your installation id (get at https://bitwarden.com/host): xxxxxxx-xxxxxx-xxxx-xxxx-xxxxxxxxxx

(!) Enter your installation key: xxxxxxxxxxx

(!) Do you have a SSL certificate to use? (y/n): n

(!) Do you want to generate a self-signed SSL certificate? (y/n): y
必要な情報をすべて入力してから、 Enterを押してください インストールを開始します。インストールが完了すると、次の出力が表示されます。
Generating self signed SSL certificate.
Generating a RSA private key
.....++++
...........................................................................................................................++++
writing new private key to '/bitwarden/ssl/self/69.28.84.207/private.key'
-----
Generating key for IdentityServer.
Generating a RSA private key
........................................................................................................................................................................++++
..............................................................................................................++++
writing new private key to 'identity.key'
-----

!!!!!!!!!! WARNING !!!!!!!!!!
You are using an untrusted SSL certificate. This certificate will not be
trusted by Bitwarden client applications. You must add this certificate to
the trusted store on each device or else you will receive errors when trying
to connect to your installation.

Building nginx config.
Building docker environment files.
Building docker environment override files.
Building FIDO U2F app id.
Building docker-compose.yml.

Installation complete

If you need to make additional configuration changes, you can modify
the settings in `./bwdata/config.yml` and then run:
`./bitwarden.sh rebuild` or `./bitwarden.sh update`

Next steps, run:
`./bitwarden.sh start`
次に、次のコマンドを使用してBitwardenを起動します。
./bitwarden.sh start
次の出力が得られます:
 _     _ _                         _
| |__ (_) |___      ____ _ _ __ __| | ___ _ __
| '_ \| | __\ \ /\ / / _` | '__/ _` |/ _ \ '_ \
| |_) | | |_ \ V  V / (_| | | | (_| |  __/ | | |
|_.__/|_|\__| \_/\_/ \__,_|_|  \__,_|\___|_| |_|

Open source password management solutions
Copyright 2015-2021, 8bit Solutions LLC
https://bitwarden.com, https://github.com/bitwarden

===================================================

bitwarden.sh version 1.43.0
Docker version 20.10.9, build c2ea9bc
docker-compose version 1.25.0, build unknown

Pulling mssql         ... done
Pulling web           ... done
Pulling attachments   ... done
Pulling api           ... done
Pulling identity      ... done
Pulling sso           ... done
Pulling admin         ... done
Pulling portal        ... done
Pulling icons         ... done
Pulling notifications ... done
Pulling events        ... done
Pulling nginx         ... done

Creating network "docker_default" with the default driver
Creating network "docker_public" with the default driver
Creating bitwarden-web           ... done
Creating bitwarden-mssql         ... done
Creating bitwarden-sso           ... done
Creating bitwarden-icons         ... done
Creating bitwarden-attachments   ... done
Creating bitwarden-identity      ... done
Creating bitwarden-notifications ... done
Creating bitwarden-api           ... done
Creating bitwarden-events        ... done
Creating bitwarden-admin         ... done
Creating bitwarden-portal        ... done
Creating bitwarden-nginx         ... done
1.43.0: Pulling from bitwarden/setup
Digest: sha256:29bd0777de8b902bd26a67f74c832c8032f1bea41e716277a98f7d439a8f2912
Status: Image is up to date for bitwarden/setup:1.43.0
docker.io/bitwarden/setup:1.43.0


Bitwarden is up and running!
===================================================

visit https://69.28.84.207
to update, run `./bitwarden.sh updateself` and then `./bitwarden.sh update`
を実行します。
終了したら、次のステップに進むことができます。
BitwardenWebインターフェイスにアクセス
次に、Webブラウザーを開き、URL https:// your-server-ipを使用してBitwardenWebインターフェースにアクセスします。 。次のページが表示されます:
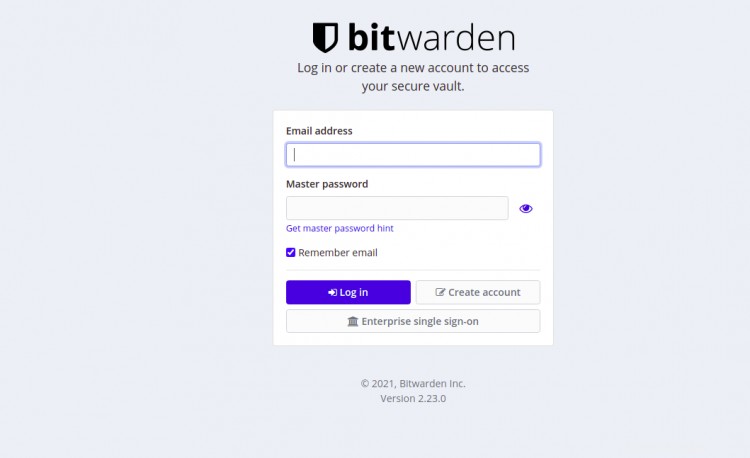
アカウントの作成をクリックします ボタン。次のページが表示されます:
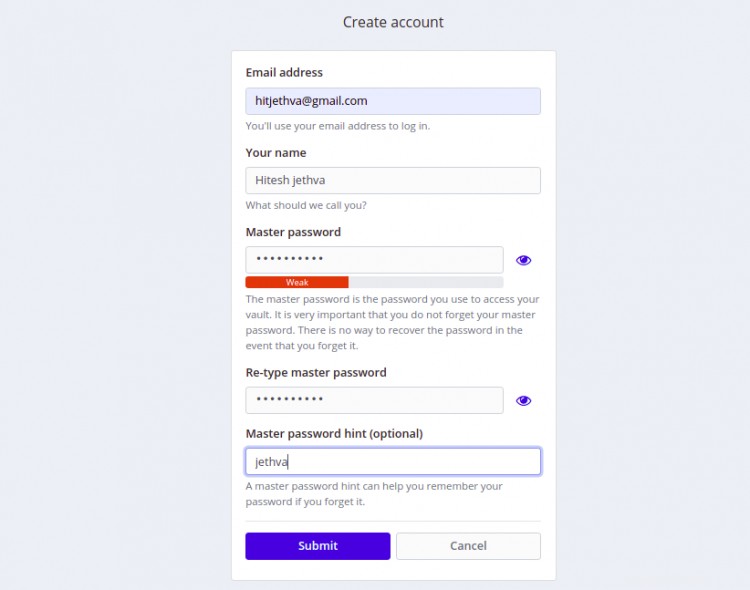
メールアドレス、名前、マスターパスワードを入力し、送信をクリックします ボタン。 Bitwardenログイン画面が表示されます:

メールアドレスとパスワードを入力し、ログインボタンをクリックしてください。次のページにBitwardenダッシュボードが表示されます。
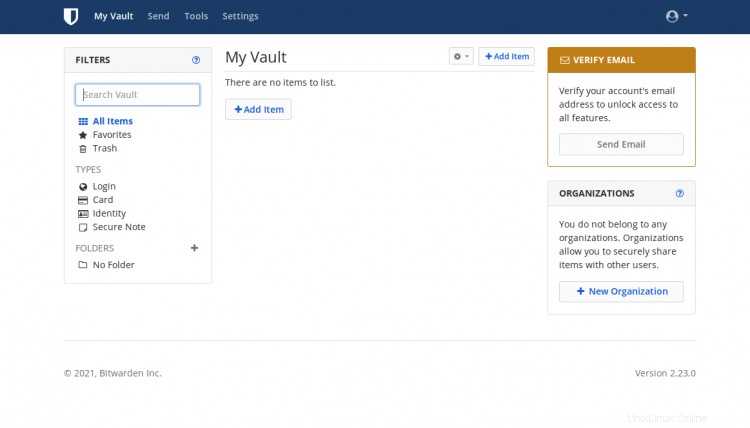
おめでとう!これで、Debian 11にBitwardenパスワードマネージャーが正常にインストールされました。これで、このソリューションを組織に実装し、中央の場所からすべての資格情報の管理を開始できます。ご不明な点がございましたら、お気軽にお問い合わせください。