Nextcloudの最初の公開リリースの直後の2016年6月に、ApacheWebサーバーを使用してUbuntu16.04にNextcloudをインストールする方法に関するチュートリアルを公開しました。しかし、多くの人々はWebサーバーとしてApacheではなくNginxを使用したいと考えています。したがって、このチュートリアルでは、Nginxを使用してUbuntu16.04にNextcloud13をインストールする方法を説明します。
注:Ubuntu 18.04を使用している場合は、次のチュートリアルに従ってください:Nginx(LEMPスタック)を使用してUbuntu18.04にNextcloudをインストールする
前提条件
まず、LEMPをまだインストールしていない場合は、Ubuntu16.04のこのLEMPインストールチュートリアルを確認する必要があります。インストールしたら、ここに戻って読み進めてください。
ステップ1:NextCloud13をダウンロード
NextCloudサーバーのzipアーカイブをサーバーにダウンロードします。この記事の執筆時点では、最新の安定バージョンは13.0.4です。バージョン番号の変更が必要になる場合があります。 https://nextcloud.com/installにアクセスし、ダウンロードボタンをクリックして、最新バージョンを確認してください。
wget https://download.nextcloud.com/server/releases/nextcloud-13.0.4.zip
抽出します。
sudo apt install unzip

unzip nextcloud-13.0.4.zip
nextcloudという名前の新しいディレクトリ 現在の作業ディレクトリに作成されます。新しいディレクトリとそのすべてのコンテンツをNginxウェブサーバーのドキュメントルートに移動します
sudo mv nextcloud /usr/share/nginx/
次に、Nginxユーザー(www-data)をNextCloudディレクトリの所有者として設定する必要もあります。
sudo chown www-data:www-data /usr/share/nginx/nextcloud/ -R
ステップ2:MariaDBでデータベースとユーザーを作成する
次のコマンドを使用してMariaDBデータベースサーバーにログインします。
sudo mysql -u root
次に、Nextcloudのデータベースを作成します。このチュートリアルでは、データベースにnextcloudという名前を付けます。好きな名前を使用できます。
create database nextcloud;
データベースユーザーを作成します。この場合も、このユーザーの好みの名前を使用できます。 your-passwordをお好みのパスワードに置き換えてください。
create user nextclouduser@localhost identified by 'your-password';
このユーザーにnextcloudに対するすべての権限を付与します データベース。
grant all privileges on nextcloud.* to nextclouduser@localhost identified by 'your-password';
特権をフラッシュして終了します。
flush privileges;

exit;
ステップ3:MariaDBでバイナリロギングを有効にする
mysqld構成ファイルを編集します。
sudo nano /etc/mysql/mariadb.conf.d/50-server.cnf
[mysqld]に次の3行を追加します セクション。
log-bin        = /var/log/mysql/mariadb-bin
log-bin-index  = /var/log/mysql/mariadb-bin.index
binlog_format  = mixed
バイナリログの形式はmixedである必要があります 。ファイルを保存して閉じます。次に、MariaDBサービスを再起動します。
sudo systemctl restart mysql
これで、MariaDBでバイナリログが有効になります。
ステップ4:Nextcloud用のNginx構成ファイルを作成する
nextcloud.confを作成します /etc/nginx/conf.d/のファイル ディレクトリ。
sudo nano /etc/nginx/conf.d/nextcloud.conf
次のテキストをファイルに入れます。赤い色のテキストを実際のデータに置き換えます。ドメイン名にAレコードを設定することを忘れないでください。
server {
    listen 80;
    server_name nextcloud.your-domain.com;

    # Add headers to serve security related headers
    add_header X-Content-Type-Options nosniff;
    add_header X-XSS-Protection "1; mode=block";
    add_header X-Robots-Tag none;
    add_header X-Download-Options noopen;
    add_header X-Permitted-Cross-Domain-Policies none;

    # Path to the root of your installation
    root /usr/share/nginx/nextcloud/;

    location = /robots.txt {
        allow all;
        log_not_found off;
        access_log off;
    }

    # The following 2 rules are only needed for the user_webfinger app.
    # Uncomment it if you're planning to use this app.
    #rewrite ^/.well-known/host-meta /public.php?service=host-meta last;
    #rewrite ^/.well-known/host-meta.json /public.php?service=host-meta-json
    # last;

    location = /.well-known/carddav {
        return 301 $scheme://$host/remote.php/dav;
    }
    location = /.well-known/caldav {
       return 301 $scheme://$host/remote.php/dav;
    }

    location ~ /.well-known/acme-challenge {
      allow all;
    }

    # set max upload size
    client_max_body_size 512M;
    fastcgi_buffers 64 4K;

    # Disable gzip to avoid the removal of the ETag header
    gzip off;

    # Uncomment if your server is build with the ngx_pagespeed module
    # This module is currently not supported.
    #pagespeed off;

    error_page 403 /core/templates/403.php;
    error_page 404 /core/templates/404.php;

    location / {
       rewrite ^ /index.php$uri;
    }

    location ~ ^/(?:build|tests|config|lib|3rdparty|templates|data)/ {
       deny all;
    }
    location ~ ^/(?:\.|autotest|occ|issue|indie|db_|console) {
       deny all;
     }

    location ~ ^/(?:index|remote|public|cron|core/ajax/update|status|ocs/v[12]|updater/.+|ocs-provider/.+|core/templates/40[34])\.php(?:$|/) {
       include fastcgi_params;
       fastcgi_split_path_info ^(.+\.php)(/.*)$;
       fastcgi_param SCRIPT_FILENAME $document_root$fastcgi_script_name;
       fastcgi_param PATH_INFO $fastcgi_path_info;
       #Avoid sending the security headers twice
       fastcgi_param modHeadersAvailable true;
       fastcgi_param front_controller_active true;
       fastcgi_pass unix:/run/php/php7.0-fpm.sock;
       fastcgi_intercept_errors on;
       fastcgi_request_buffering off;
    }

    location ~ ^/(?:updater|ocs-provider)(?:$|/) {
       try_files $uri/ =404;
       index index.php;
    }

    # Adding the cache control header for js and css files
    # Make sure it is BELOW the PHP block
    location ~* \.(?:css|js)$ {
        try_files $uri /index.php$uri$is_args$args;
        add_header Cache-Control "public, max-age=7200";
        # Add headers to serve security related headers (It is intended to
        # have those duplicated to the ones above)
        add_header X-Content-Type-Options nosniff;
        add_header X-XSS-Protection "1; mode=block";
        add_header X-Robots-Tag none;
        add_header X-Download-Options noopen;
        add_header X-Permitted-Cross-Domain-Policies none;
        # Optional: Don't log access to assets
        access_log off;
   }

   location ~* \.(?:svg|gif|png|html|ttf|woff|ico|jpg|jpeg)$ {
        try_files $uri /index.php$uri$is_args$args;
        # Optional: Don't log access to other assets
        access_log off;
   }
}
ファイルを保存して閉じます。 Nginx構成をテストしてから、変更を有効にするためにNginxをリロードします。
sudo nginx -t

sudo systemctl reload nginx
ステップ5:PHPモジュールをインストールして有効にする
次のコマンドを実行して、必要なPHPモジュールをインストールします。
sudo apt install php7.0-common php7.0-gd php7.0-json php7.0-curl php7.0-zip php7.0-xml php7.0-mbstring
ステップ6:HTTPSを有効にする
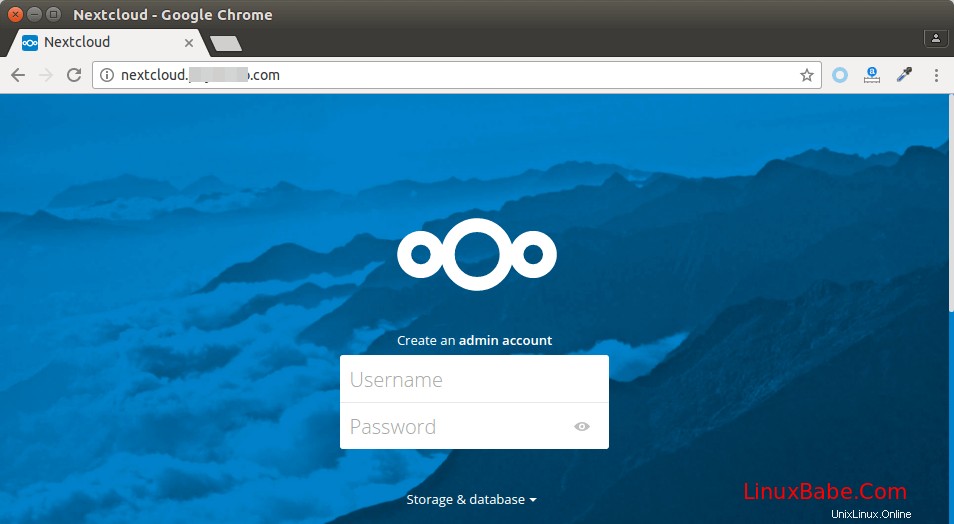
これで、Nextcloudインストールのドメイン名を入力して、ブラウザでNextcloudWebインストールウィザードにアクセスできます。
nextcloud.your-domain.com
ただし、機密情報を入力する前に、Nextcloudで安全なHTTPS接続を有効にする必要があります。 Let’sEncryptから無料のTLS証明書を取得できます。次のコマンドを実行して、公式PPAからUbuntu 16.04にcertbot(Let’s Encrypt)クライアントをインストールします。 software-properties-common UbuntuにPPAを追加するにはパッケージが必要です。 Ubuntuにデフォルトでインストールされていない場合があります。 Python-certbot-nginx Nginxプラグインです。
sudo apt install software-properties-common
sudo add-apt-repository ppa:certbot/certbot
sudo apt update
sudo apt install certbot python-certbot-nginx
一部のライブラリをアップグレードする必要がある場合もあります。
sudo apt upgrade
次に、次のコマンドを実行して、Nginxプラグインを使用して無料のTLS証明書を取得します。
sudo certbot --nginx --agree-tos --redirect --staple-ocsp --email your-email-address -d nextcloud.your-domain.com
数秒以内に、以下のようなメッセージが表示されます。これは、TLS証明書が正常に取得およびインストールされたことを意味します。
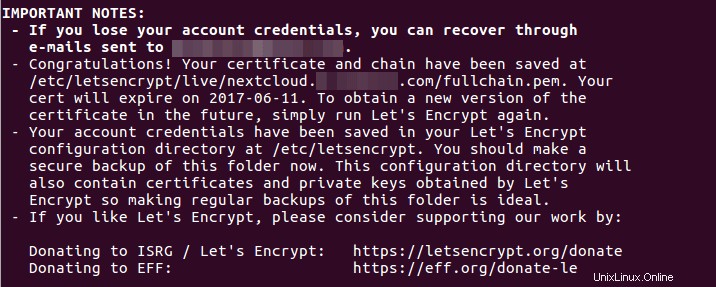
Webブラウザへのインストールを完了します
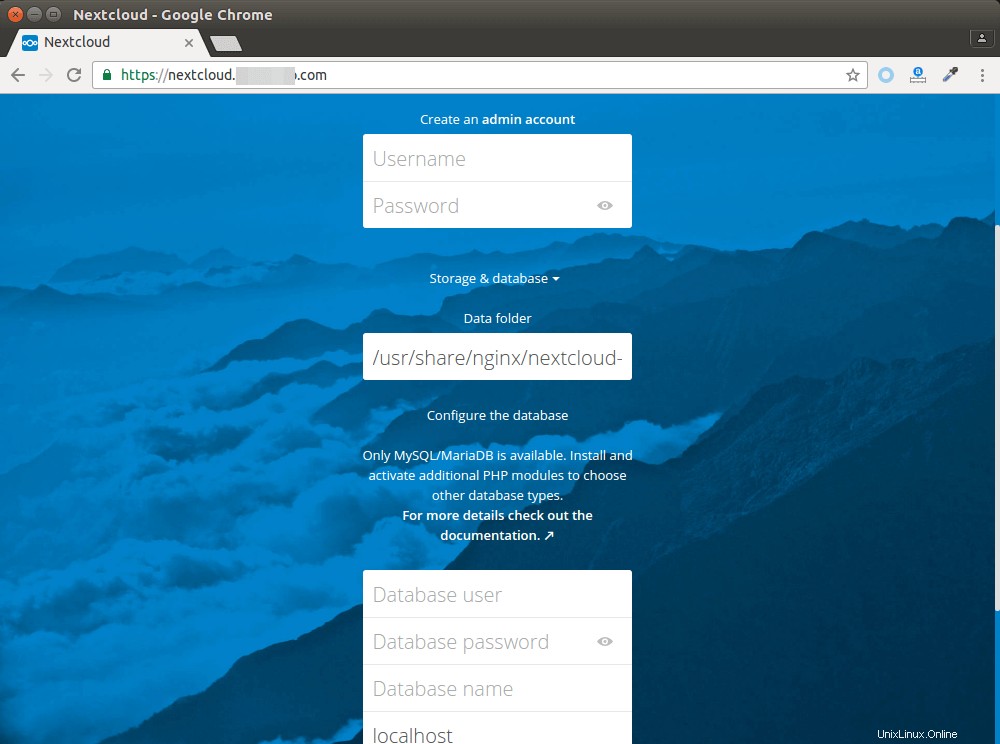
これで、HTTPS接続を使用してNextcloudWebインストールウィザードにアクセスできます。インストールを完了するには、管理者アカウントを作成し、Nextcloudデータフォルダーのパスを入力し、以前に作成したデータベースの詳細を入力する必要があります。
データフォルダは、ユーザーのファイルが保存される場所です。セキュリティのために、データディレクトリをNextcloudウェブルートの外に配置するのが最善です。したがって、ユーザーのファイルを/usr/share/nginx/nextcloud/data/に保存する代わりに 、/usr/share/nginx/nextcloud-dataに変更できます 、次のコマンドで作成できます:
sudo mkdir /usr/share/nginx/nextcloud-data
次に、Nginxユーザー(www-data )データディレクトリへの書き込み権限があります。
sudo chown www-data:www-data /usr/share/nginx/nextcloud-data -R
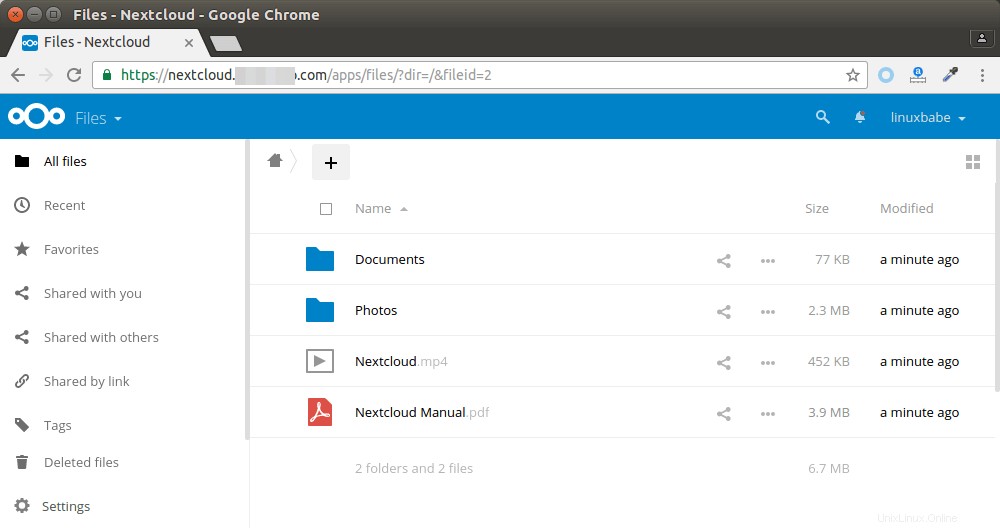
完了すると、NextcloudのWebインターフェースが表示されます。おめでとうございます!プライベートクラウドストレージとして使用を開始できます。
それでおしまい!このチュートリアルが、Nginx構成を使用してUbuntu16.04にNextcloudをインストールするのに役立つことを願っています。いつものように、この投稿が役に立った場合は、無料のニュースレターを購読してください。また、Google +、Twitter、またはFacebookページでフォローすることもできます。