WordPressは、約6000万のWebサイトを強化する、最も広く使用されているオープンソースのWebブログおよびコンテンツ管理ソフトウェアです。 PHPで記述されており、MariaDB/MySQLをデータベースとして使用します。
このチュートリアルは、Ubuntu 18.04 /Ubuntu16.04にNginxを使用してWordPress5.xをインストールする方法を説明します。
また、Webサイトを安全に配信するためにLet’s Encrypt SSLforWordPressをインストールする方法についても説明します。
LEMPスタックのインストール
先に進む前に、LEMPスタックをインストールする方法を確認することをお勧めします。
Ubuntu 18.04にLEMP(Nginx、MariaDB、PHP)スタックをインストールする
Ubuntu 16.04にLEMP(Nginx、MariaDB、PHP)スタックをインストールする
PHP拡張機能をインストールする
Ubuntu OSにWordPressをインストールして実行するには、次の拡張機能が必要です。
sudo apt install -y php-mysql php-dom php-simplexml php-ssh2 php-xml php-xmlreader php-curl php-exif php-ftp php-gd php-iconv php-imagick php-json php-mbstring php-posix php-sockets php-tokenizer
WordPress用にNginxサーバーブロックを構成する
WordPressインストール用のNginxサーバーブロックを作成しましょう。仮想ホスト構成ファイルは、/ etc / nginx/conf.dディレクトリにあります。
サーバーブロックには、ドメイン名、ポート番号、ドキュメントルート、ログの場所、高速CGIなどが必要です。
次のように仮定します
ドメイン名: www.itzgeek.net
ドキュメントルート: /sites/www.itzgeek.net/public_html/
ログ: /sites/www.itzgeek.net/logs/
仮想ホストを作成します。
UbuntuリポジトリからNginxをインストールした場合、仮想ホスト構成ファイルは/ etc / nginx / sites-enabledにあり、ファイルパスは/etc/nginx/sites-enabled/www.itzgeek.net.confのようになります。sudo nano /etc/nginx/conf.d/www.itzgeek.net.conf
次のコンテンツを配置します。
server {
	listen 80;
	server_name www.itzgeek.net;

	root /sites/www.itzgeek.net/public_html/;

	index index.html index.php;

	access_log /sites/www.itzgeek.net/logs/access.log;
	error_log /sites/www.itzgeek.net/logs/error.log;

	# Don't allow pages to be rendered in an iframe on external domains.
	add_header X-Frame-Options "SAMEORIGIN";

	# MIME sniffing prevention
	add_header X-Content-Type-Options "nosniff";

	# Enable cross-site scripting filter in supported browsers.
	add_header X-Xss-Protection "1; mode=block";

	# Prevent access to hidden files
	location ~* /\.(?!well-known\/) {
		deny all;
	}

	# Prevent access to certain file extensions
	location ~\.(ini|log|conf)$ {
		deny all;
	}

        # Enable WordPress Permananent Links
	location / {
		try_files $uri $uri/ /index.php?$args;
	}

	location ~ \.php$ {
        include /etc/nginx/fastcgi_params;
        fastcgi_pass 127.0.0.1:9000;
        fastcgi_index index.php;
        fastcgi_param SCRIPT_FILENAME $document_root$fastcgi_script_name;
	}

}
ドキュメントルートとログディレクトリを作成します。
sudo mkdir -p /sites/www.itzgeek.net/public_html/

sudo mkdir -p /sites/www.itzgeek.net/logs/
構成ファイルを確認します。
sudo nginx -t
次の場合は、仮想ホストのエントリが正しいことを意味します。
nginx: the configuration file /etc/nginx/nginx.conf syntax is ok
nginx: configuration file /etc/nginx/nginx.conf test is successful
サービスを再開します。
sudo systemctl restart nginx
現在の状況では、ほとんどすべてのWebサイトがHTTPS(SSL証明書)を使用して、ユーザーの通信をプライベートに保つために、信頼性と安全なアカウントを提供しています。 Googleは、セキュリティを強化し、ランキングを向上させるために、所有者にHTTPSに切り替えるように求めています。
Certbotのインストール
SSL証明書を生成するには、システムにCertbotACMEクライアントをインストールします。証明書の発行とインストールをダウンタイムなしで処理します。
CertbotクライアントはUbuntuリポジトリでは使用できません。そのため、UbuntuでCertbotPPAを構成する必要があります。
sudo apt update

sudo apt install -y software-properties-common

sudo add-apt-repository universe

sudo add-apt-repository ppa:certbot/certbot

sudo apt update
次に、certbotクライアントをインストールします。
sudo apt install -y certbot python-certbot-nginx
DNSレコードの更新/変更
ドメインレジストラにアクセスして、ドメインのA/CNAMEレコードを作成します。

レコードが伝播するまでしばらく待ちます。
インストールLet'sEncryptSSL証明書
certbotコマンドを使用して、Let’sEncrypt証明書を生成してインストールします。
sudo certbot --nginx
出力:
Saving debug log to /var/log/letsencrypt/letsencrypt.log
Plugins selected: Authenticator nginx, Installer nginx
Enter email address (used for urgent renewal and security notices) (Enter 'c' to
cancel): itzgeek.web@gmail.com  << Enter email id to receive notification

- - - - - - - - - - - - - - - - - - - - - - - - - - - - - - - - - - - - - - - -
Please read the Terms of Service at
https://letsencrypt.org/documents/LE-SA-v1.2-November-15-2017.pdf. You must
agree in order to register with the ACME server at
https://acme-v02.api.letsencrypt.org/directory
- - - - - - - - - - - - - - - - - - - - - - - - - - - - - - - - - - - - - - - -
(A)gree/(C)ancel: A  << Accept Terms of Service

- - - - - - - - - - - - - - - - - - - - - - - - - - - - - - - - - - - - - - - -
Would you be willing to share your email address with the Electronic Frontier
Foundation, a founding partner of the Let's Encrypt project and the non-profit
organization that develops Certbot? We'd like to send you email about our work
encrypting the web, EFF news, campaigns, and ways to support digital freedom.
- - - - - - - - - - - - - - - - - - - - - - - - - - - - - - - - - - - - - - - -
(Y)es/(N)o: Y  << Subscribe to newsletter

Which names would you like to activate HTTPS for?
- - - - - - - - - - - - - - - - - - - - - - - - - - - - - - - - - - - - - - - -
1: www.itzgeek.net
- - - - - - - - - - - - - - - - - - - - - - - - - - - - - - - - - - - - - - - -
Select the appropriate numbers separated by commas and/or spaces, or leave input
blank to select all options shown (Enter 'c' to cancel): 1  << Install SSL certificate for www.itzgeek.net
Deploying Certificate to VirtualHost /etc/nginx/conf.d/www.itzgeek.net.conf

Please choose whether or not to redirect HTTP traffic to HTTPS, removing HTTP access.
- - - - - - - - - - - - - - - - - - - - - - - - - - - - - - - - - - - - - - - -
1: No redirect - Make no further changes to the webserver configuration.
2: Redirect - Make all requests redirect to secure HTTPS access. Choose this for
new sites, or if you're confident your site works on HTTPS. You can undo this
change by editing your web server's configuration.
- - - - - - - - - - - - - - - - - - - - - - - - - - - - - - - - - - - - - - - -
Select the appropriate number [1-2] then [enter] (press 'c' to cancel): 2  < Redirect HTTP traffic to HTTPS site
Redirecting all traffic on port 80 to ssl in /etc/nginx/conf.d/www.itzgeek.net.conf

- - - - - - - - - - - - - - - - - - - - - - - - - - - - - - - - - - - - - - - -
Congratulations! You have successfully enabled https://www.itzgeek.net

You should test your configuration at:
https://www.ssllabs.com/ssltest/analyze.html?d=www.itzgeek.net
- - - - - - - - - - - - - - - - - - - - - - - - - - - - - - - - - - - - - - - -

IMPORTANT NOTES:
 - Congratulations! Your certificate and chain have been saved at:
   /etc/letsencrypt/live/www.itzgeek.net/fullchain.pem
   Your key file has been saved at:
   /etc/letsencrypt/live/www.itzgeek.net/privkey.pem
   Your cert will expire on 2019-12-12. To obtain a new or tweaked
   version of this certificate in the future, simply run certbot again
   with the "certonly" option. To non-interactively renew *all* of
   your certificates, run "certbot renew"
 - Your account credentials have been saved in your Certbot
   configuration directory at /etc/letsencrypt. You should make a
   secure backup of this folder now. This configuration directory will
   also contain certificates and private keys obtained by Certbot so
   making regular backups of this folder is ideal.
 - If you like Certbot, please consider supporting our work by:

   Donating to ISRG / Let's Encrypt:   https://letsencrypt.org/donate
   Donating to EFF:                    https://eff.org/donate-le
www以外のHTTPリクエストをNginxを使用してwwwHTTPSにリダイレクトする
ここで、www以外のHTTPサイトからのトラフィックをwwwHTTPSサイトにリダイレクトするための新しいサーバーブロックを作成します。つまり、 http://itzgeek.net >> https://www.itzgeek.net 。
sudo nano /etc/nginx/conf.d/www.itzgeek.net.conf
ファイルの最後に以下のブロックを追加します。
# Redirect NON-WWW HTTP to WWW HTTPS

server {
    if ($host = itzgeek.net) {
        return 301 https://www.itzgeek.net$request_uri;
    }


   server_name itzgeek.net;
    listen 80;
    return 404;

}
Nginxサービスを再起動します。
sudo systemctl restart nginx
WordPress用のデータベースを作成する
MySQLにログインします。
sudo mysql -u root -p
WordPressに必要なデータベースを作成します。
CREATE DATABASE wordpress;
ユーザーを作成します。
CREATE USER 'wpuser'@'localhost' IDENTIFIED BY 'wppassword';
作成したユーザーにデータベースへのアクセス許可を付与します。
GRANT ALL PRIVILEGES ON wordpress.* TO 'wpuser'@'localhost';
MariaDBシェルを終了します。
quit
WordPressをダウンロード
最新のWordPressパッケージをダウンロードします。
wget http://wordpress.org/latest.tar.gz
WordPressパッケージを抽出します。
tar -zxvf latest.tar.gz
WordPressファイルをドキュメントルートに移動します。
sudo mv wordpress/* /sites/www.itzgeek.net/public_html/
Apache(www-data)ユーザーをWordPressサイトの所有者にします。
sudo chown -R www-data:www-data /sites/www.itzgeek.net/public_html/

sudo chown -R www-data:www-data /sites/www.itzgeek.net/logs/
>
WordPressのインストール
ブラウザを開いて、次のサイトにアクセスしてください:
http:// your-web-site-urlWordPressインストールウィザードが表示されます。
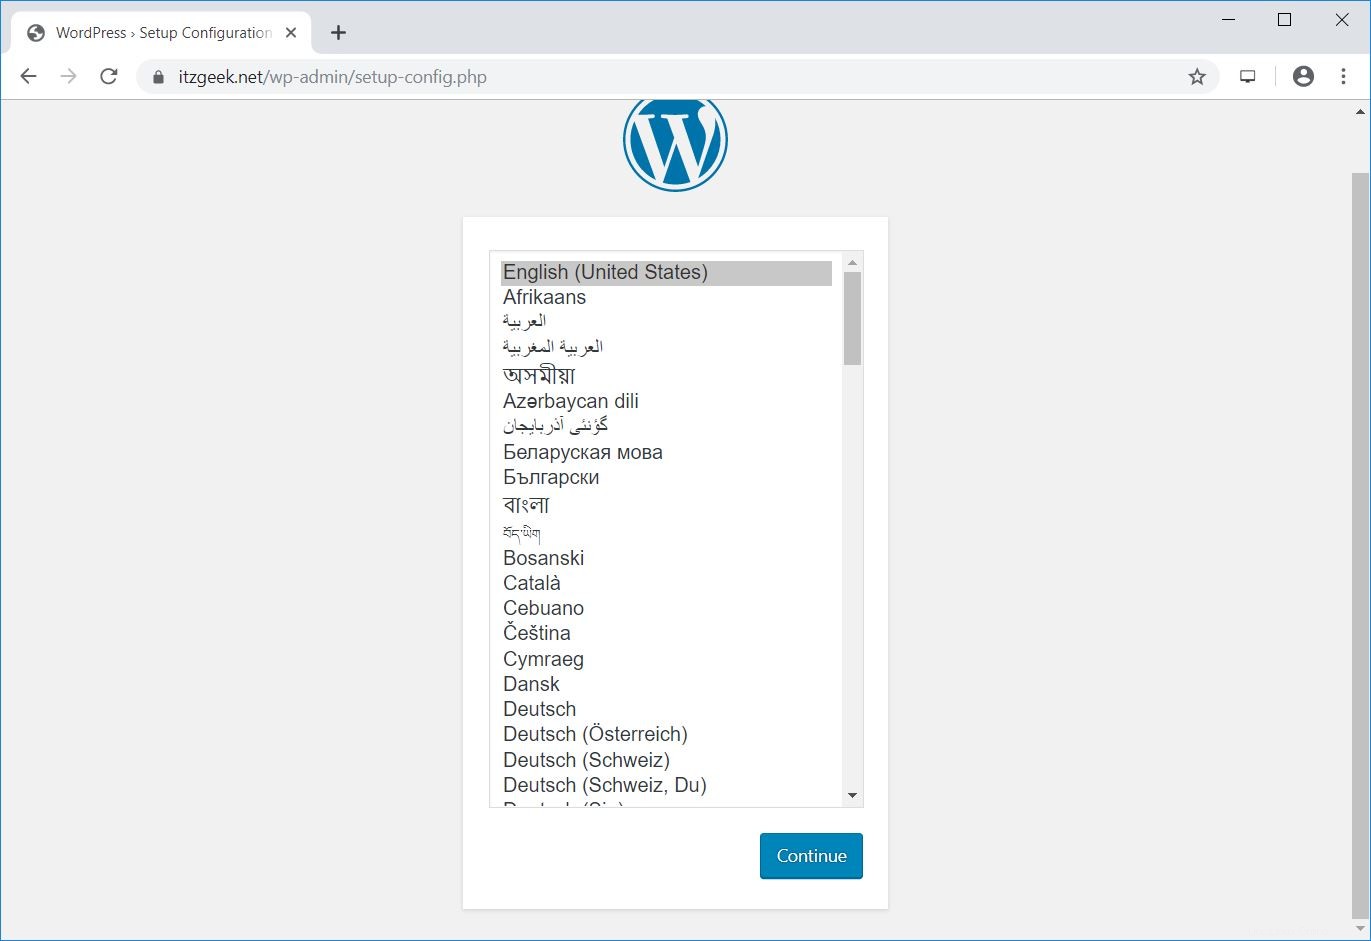
WordPressのインストールに使用する言語を選択してください。
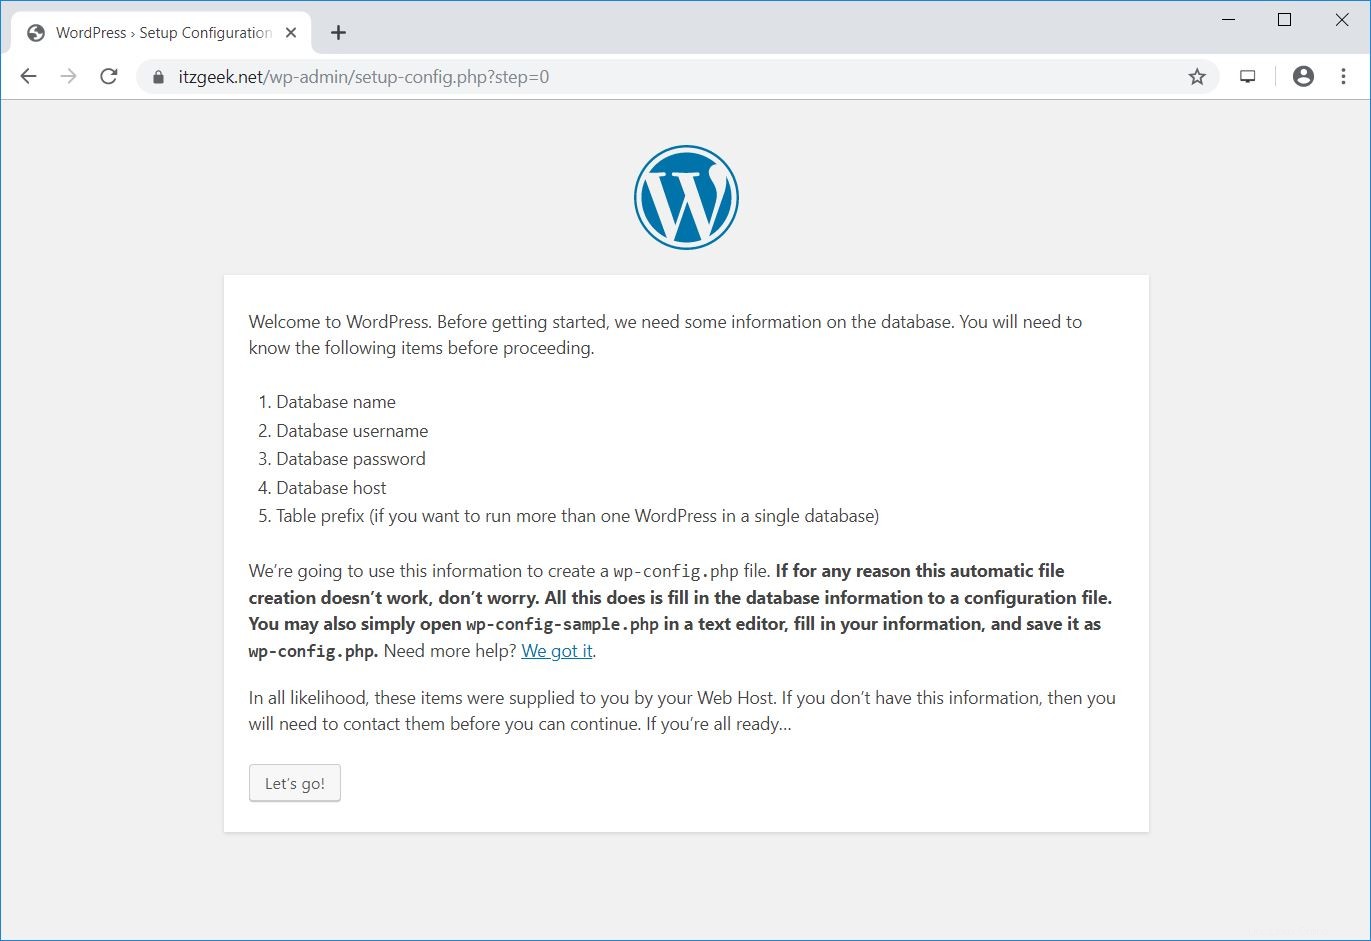
WordPressデータベース名、データベースユーザー、およびデータベースユーザーのパスワードがあることを確認してください。準備ができたら、[Let's go!]をクリックします。
このページに、WordPressがデータベースに接続できるようにするためのデータベース情報を入力します。

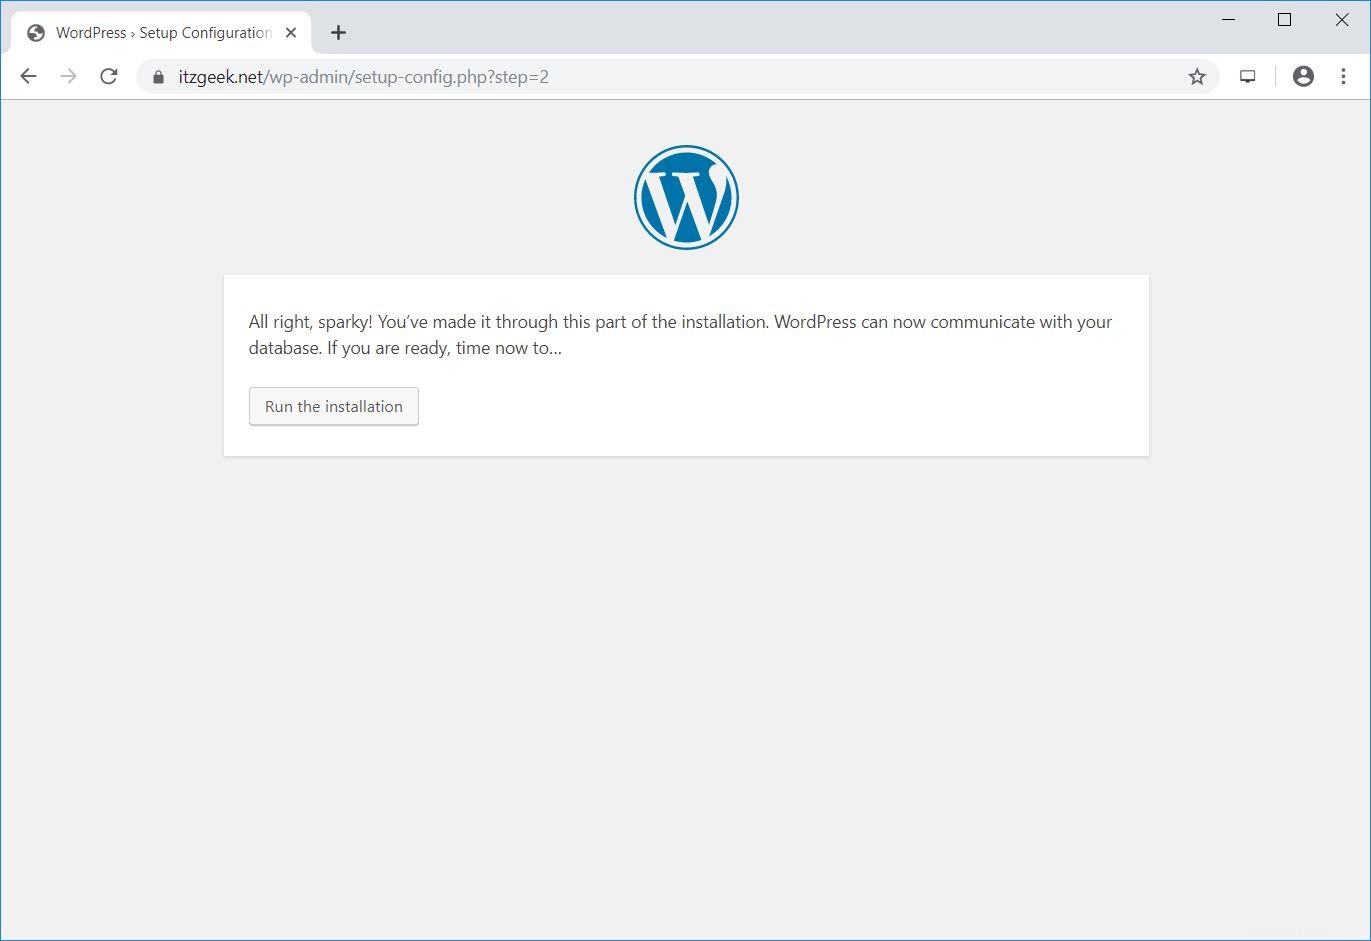
データベースへの接続が成功すると、以下のページが表示されます。 [インストールの実行]をクリックします。
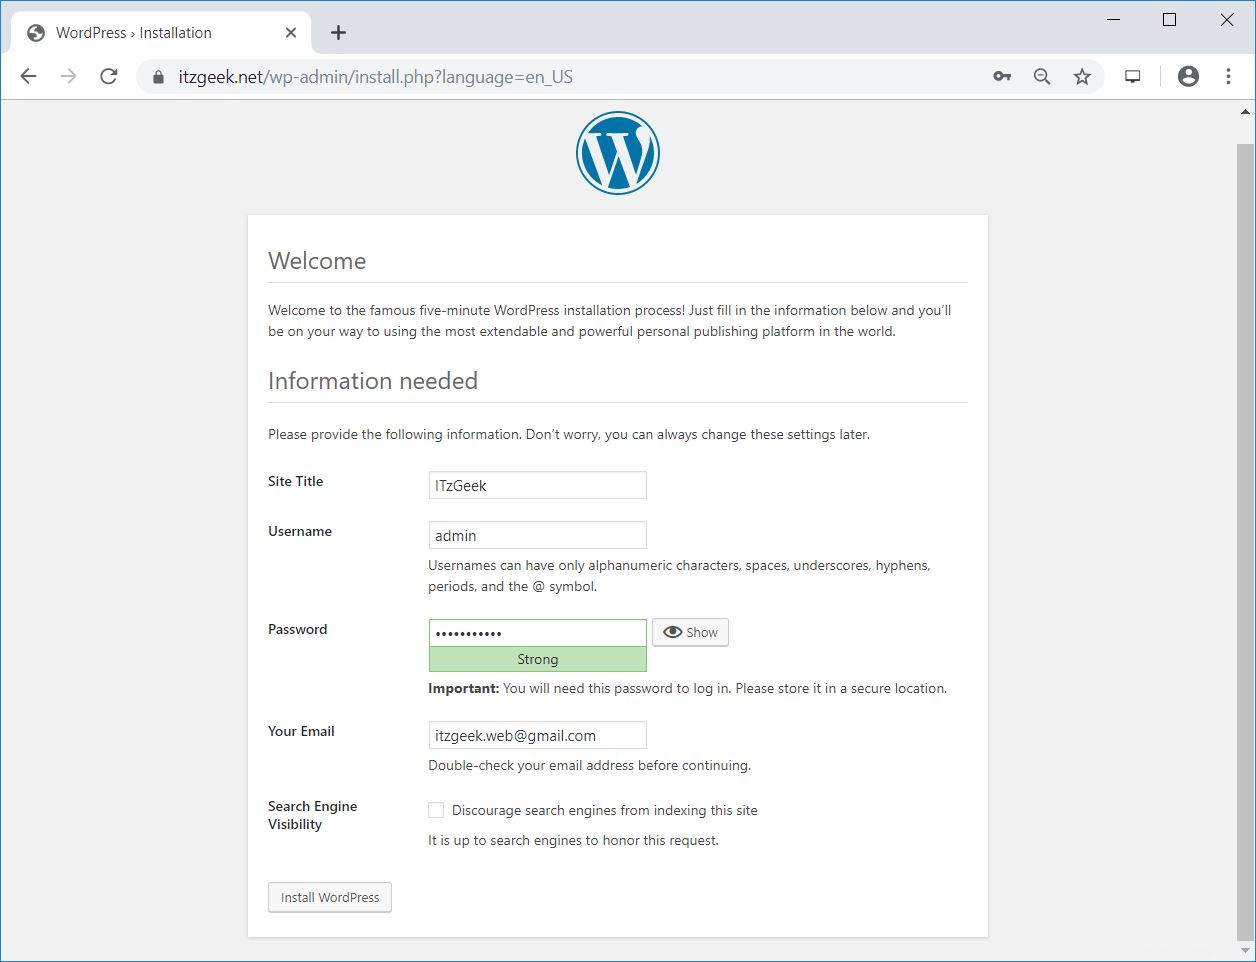
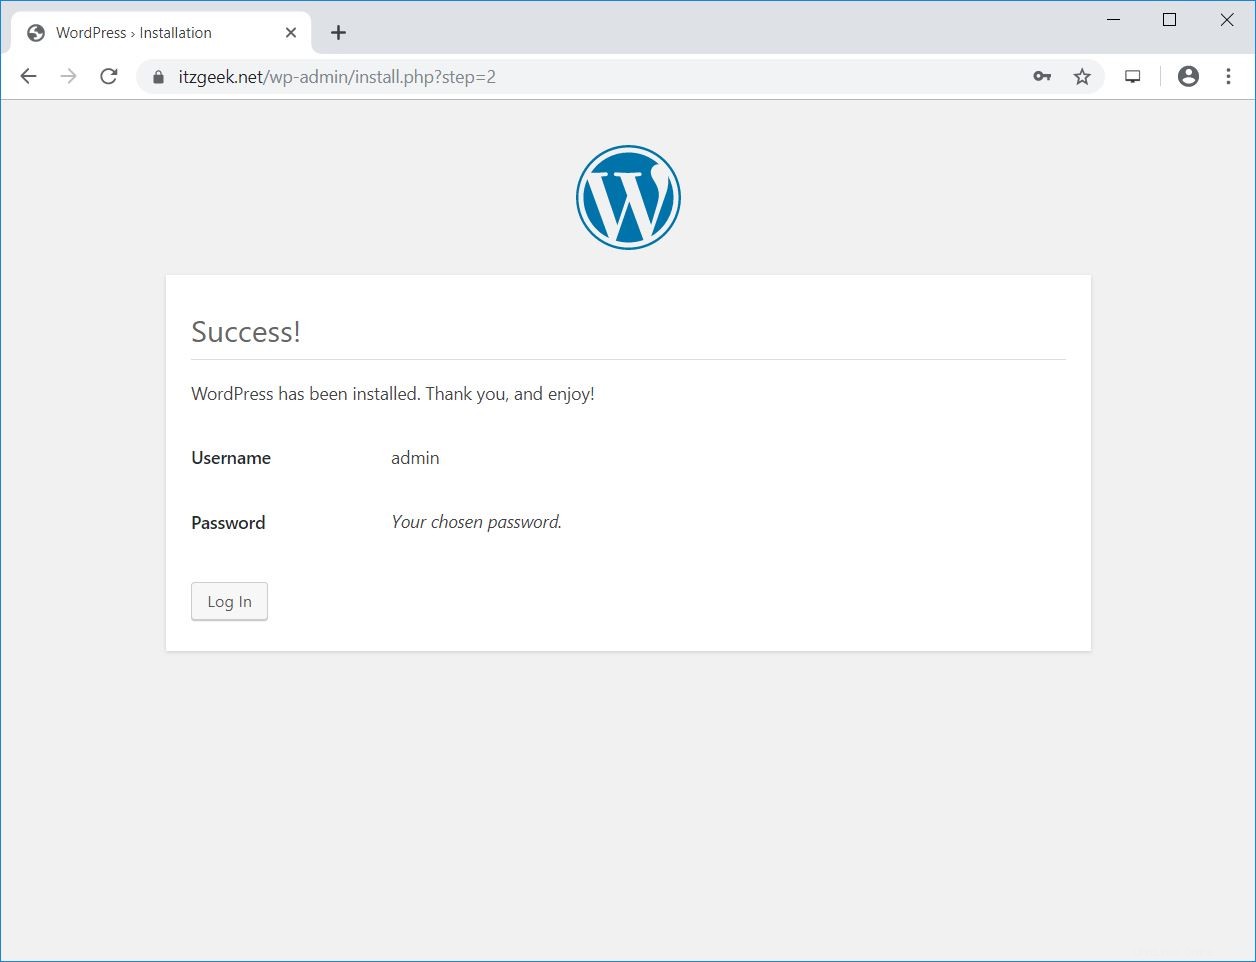
このページで、サイトのタイトル、WordPress管理者、およびパスワード(選択したもの)を入力してから、電子メールアドレスを入力します。次に、[WordPressのインストール]をクリックします。
これでWordPressのインストールが完了しました。ログインをクリックして、WordPress管理ページに移動できます。
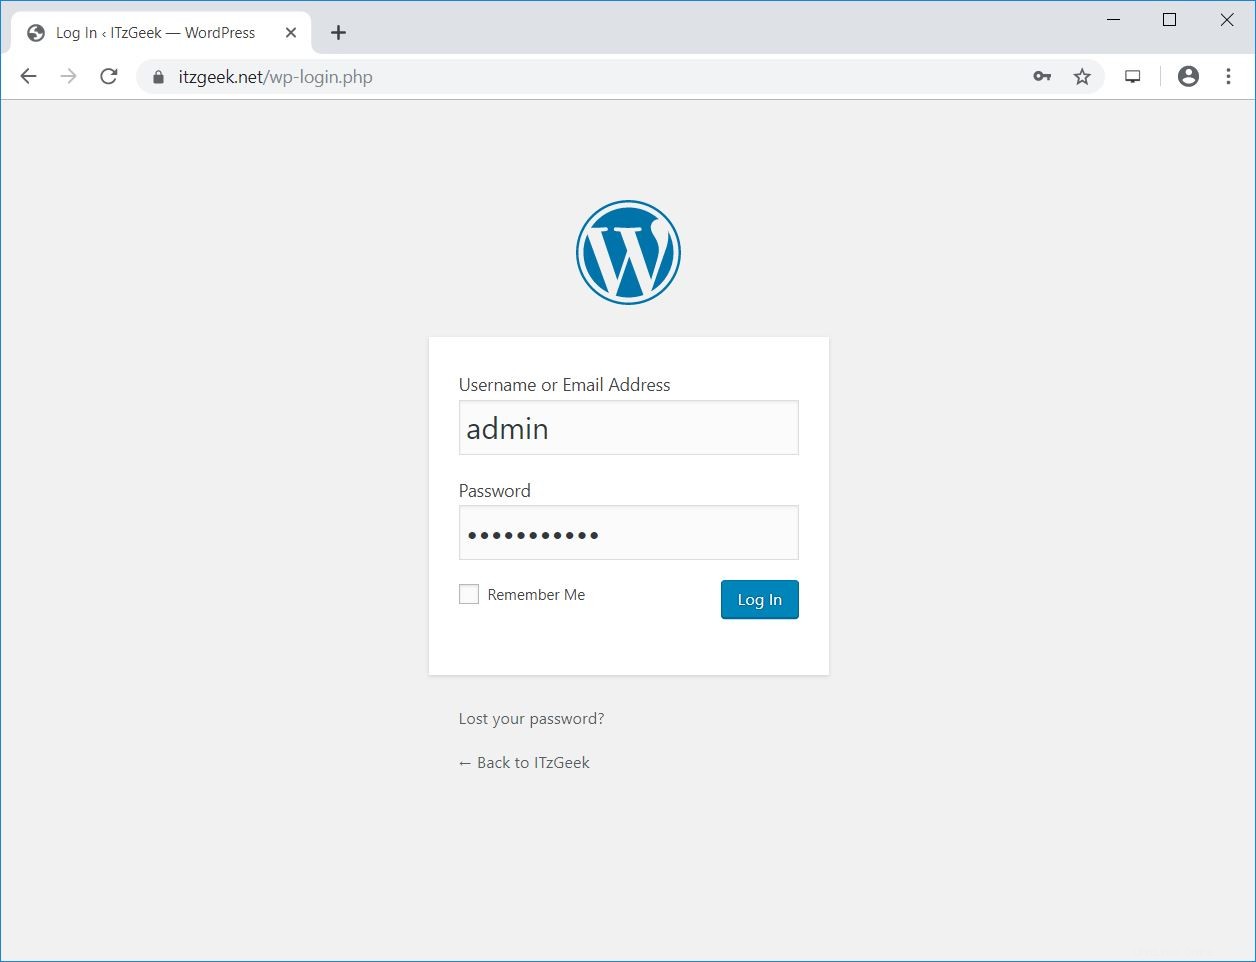
WordPress管理者ユーザーとそのパスワードを入力して、WordPress管理者ページにアクセスします。
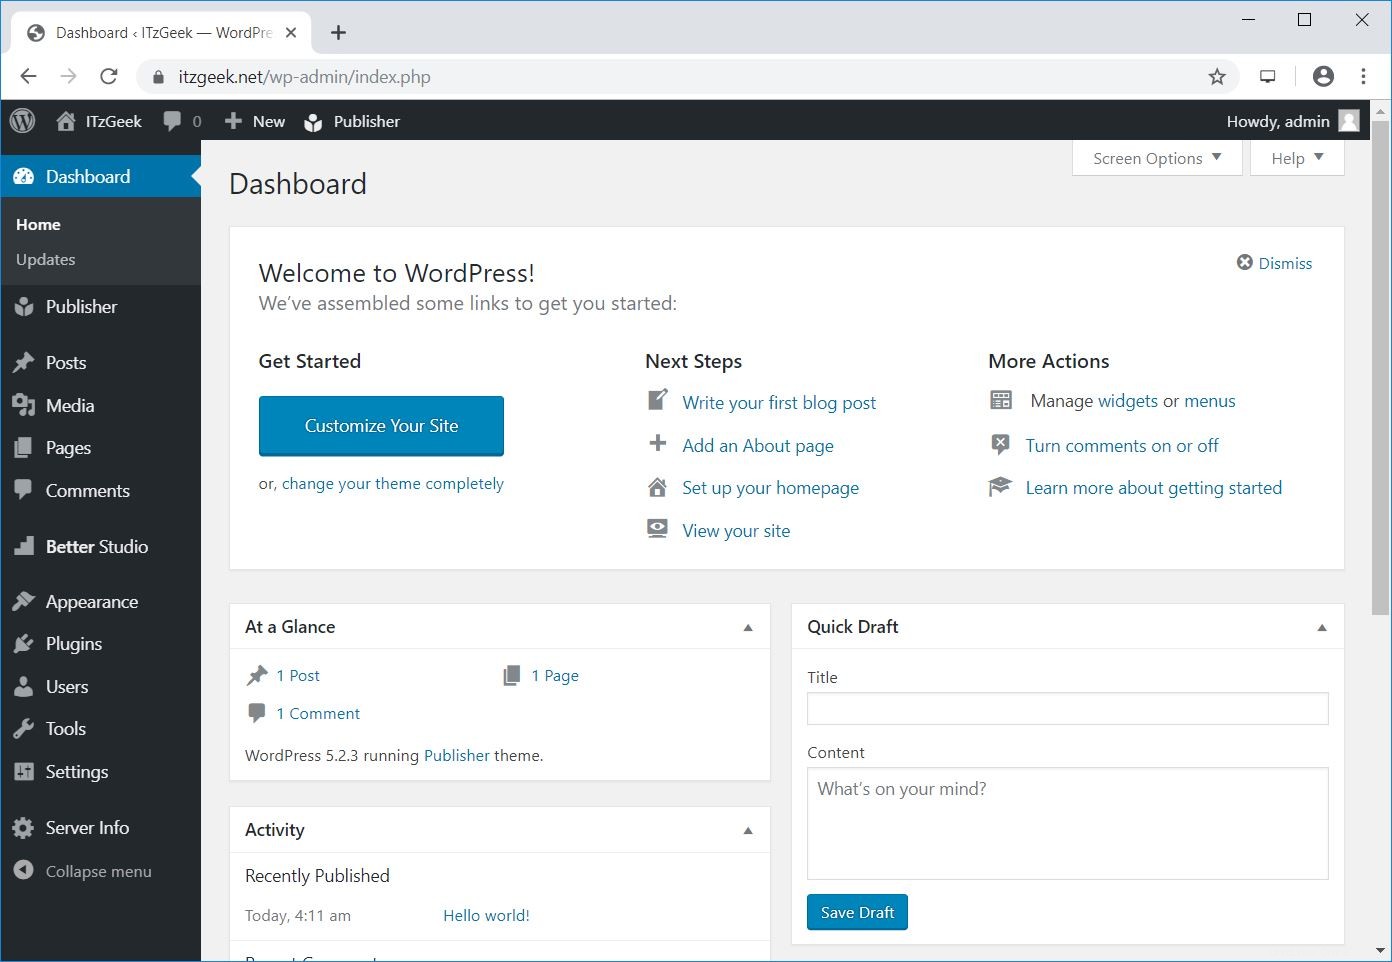
WordPress管理者:
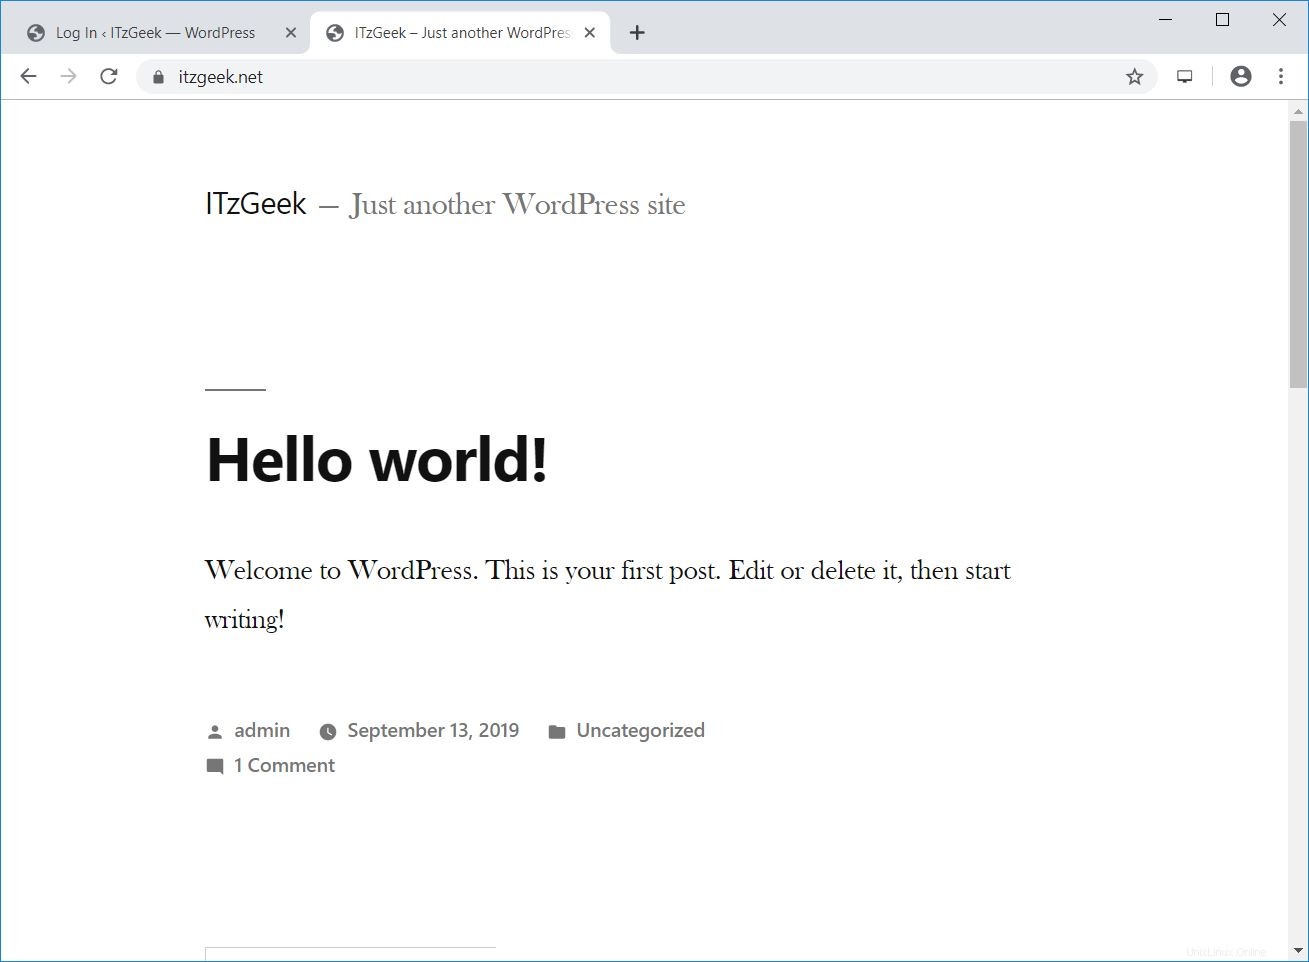
WordPressフロントエンド:
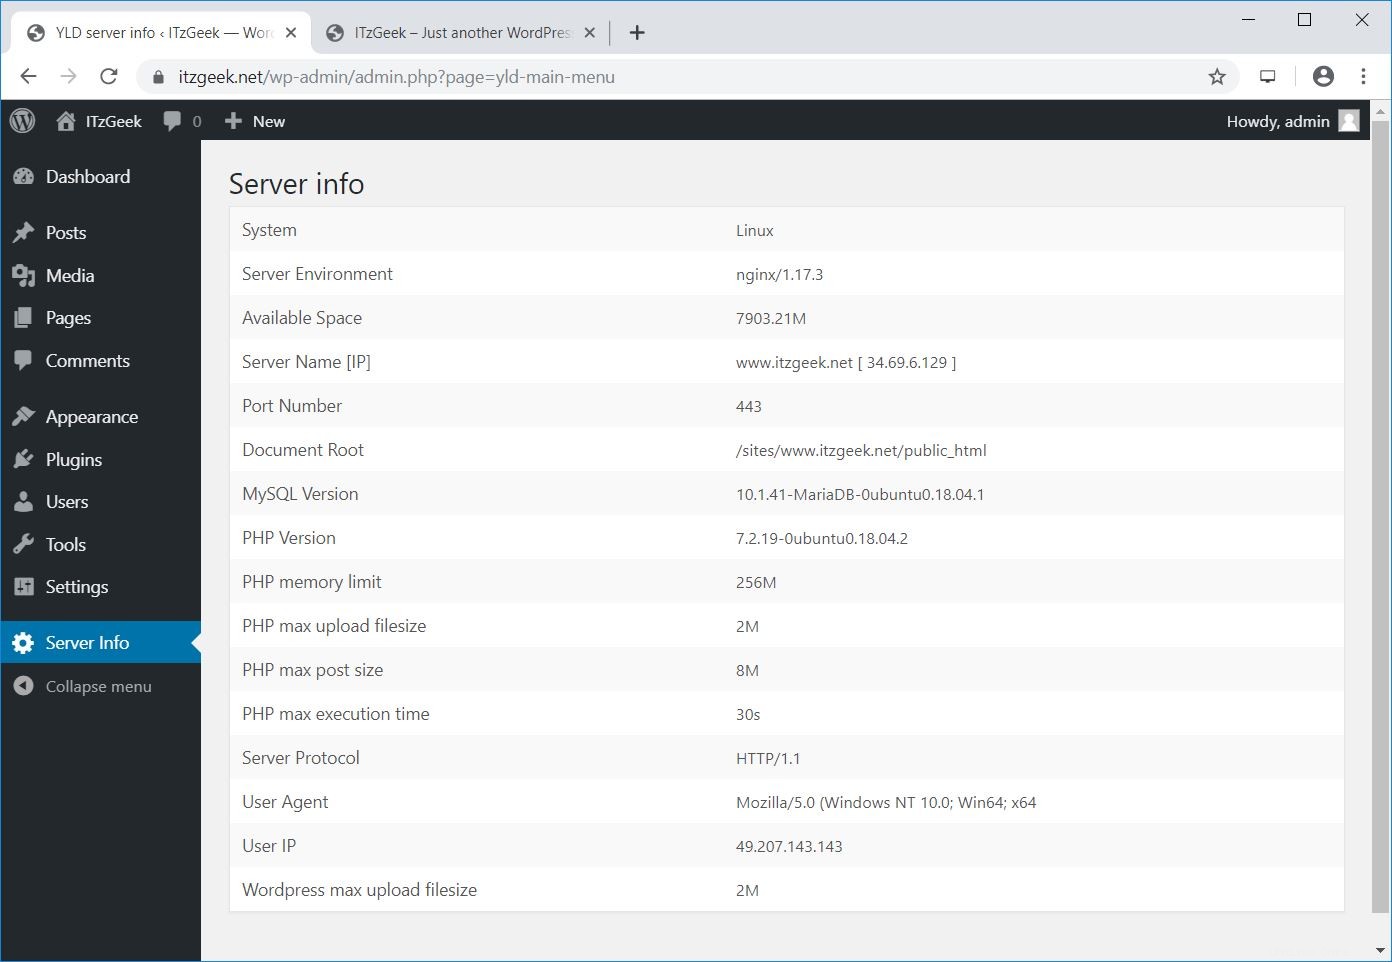
WordPressサーバー情報(YLDサーバー情報プラグイン):
いくつかの追加構成
WordPressの最大ファイルサイズのアップロードを構成する
デフォルトでは、PHPは2MBを超えるWebアップロードを許可していません。 WordPress Webインターフェースを介してより大きなファイルをアップロードできるようにするには、php.iniでupload_max_filesize設定を構成します。
sudo nano /etc/php/7.2/fpm/php.ini
要件に応じてアップロードサイズを変更します
; Maximum allowed size for uploaded files.
; http://php.net/upload-max-filesize
upload_max_filesize = 256M
php7.2-fpmサービスを再起動します。
sudo systemctl restart php7.2-fpm
WordPress用のNginxでclient_max_body_sizeを構成する
前の手順で最大アップロードファイルサイズを変更した場合でも、以下のエラーが発生する可能性があります。
2019/09/13 04:40:08 [error] 3803#3803: *517 client intended to send too large body: 9872781 bytes, client: 49.207.143.143, server: www.itzgeek.net, request: "POST /wp-admin/update.php?action=upload-theme HTTP/1.1", host: "www.itzgeek.net", referrer: "https://www.itzgeek.net/wp-admin/theme-install.php?browse=featured"
Nginxサーバー構成ファイルにclient_max_body_sizeコアモジュールを追加します。
sudo nano /etc/nginx/nginx.conf
ディレクティブは、httpブロック(すべてのサイト)、特定のサーバーブロック、またはロケーションコンテキストに追加できます。このサーバーで実行されているすべてのサイトの値を設定するディレクティブをhttpブロックに追加しています。
http {
....

    client_max_body_size 256M;

....
}
また、php7.2-fpmのpost_max_sizeの値を変更する必要があります。
sudo nano /etc/php/7.2/fpm/php.ini
要件に応じてアップロードサイズを変更します。
post_max_size = 256M
サービスを再開します。
sudo systemctl restart php7.2-fpm

sudo systemctl restart nginx
結論
それで全部です。 Ubuntu 18.04 /Ubuntu16.04にNginxを使用してWordPress5.xをインストールする方法を学んだことを願っています。コメントセクションでフィードバックを共有してください。