Gravは、データベースを必要としない、無料のオープンソースのフラットファイルCMSです。 PHPに基づいており、WordPress、Joomlaなどの他のCMSでは利用できない可能性のあるいくつかの機能を提供します。シンプルで使いやすく、Twigテンプレート、Markdown、YAMLなどの主要なテクノロジーが付属しています。 Parsedown、Doctrine Cache、Gregwar Image Library、SymfonyConsole。
このチュートリアルでは、Nginxを使用してGravCMSをインストールする方法とUbuntu20.04サーバーにSSLを暗号化する方法を紹介します。
- Ubuntu20.04を実行しているサーバー。
- サーバーIPで指定された有効なドメイン名。
- ルートパスワードはサーバーで構成されています。
まず、次のコマンドを実行して、システムパッケージを更新されたバージョンに更新します。
apt-get update -y
すべてのパッケージが更新されたら、次のステップに進むことができます。
NginxとPHPをインストールする
まず、Nginx Webサーバー、PHP、およびその他のPHP拡張機能をシステムにインストールする必要があります。次のコマンドですべてをインストールできます:
apt-get install nginx php php-cli php-fpm php-common php-curl php-gd php-json php-mbstring php-xml php-zip php-opcache php-apcu unzip -y
すべてのパッケージがインストールされたら、次のコマンドを使用してPHPのバージョンを確認します。
php --version
次の出力が得られるはずです:
PHP 7.4.3 (cli) (built: Jul  5 2021 15:13:35) ( NTS )
Copyright (c) The PHP Group
Zend Engine v3.4.0, Copyright (c) Zend Technologies
    with Zend OPcache v7.4.3, Copyright (c), by Zend Technologies
次に、php.iniファイルを編集し、いくつかの変更を加えます。
nano /etc/php/7.4/fpm/php.ini
次の行を変更します:
memory_limit = 256M
upload_max_filesize = 100M
max_execution_time = 360
max_input_vars = 1500
date.timezone = America/Chicago
ファイルを保存して閉じてから、PHP-FPMサービスを再起動して変更を適用します。
systemctl restart php7.4-fpm
終了したら、次のステップに進むことができます。
GravCMSをインストールする
次に、GravCMSをNginxWebルートディレクトリにダウンロードする必要があります。次のコマンドを使用して、Gravダウンロードページからダウンロードできます。
cd /var/www/html
wget https://getgrav.org/download/core/grav-admin/1.7.17
ダウンロードが完了したら、次のコマンドを使用してダウンロードしたファイルを解凍します。
unzip 1.7.17
次に、次のコマンドを使用して、抽出したディレクトリの名前をgravに変更します。
mv grav-admin grav
次に、適切な所有権をgravディレクトリに設定します。
chown -R www-data:www-data /var/www/html/grav
終了したら、次のステップに進むことができます。
GravCMS用にNginxを構成する
次に、GravCMSをホストするためのNginx仮想ホスト構成ファイルを作成する必要があります。次のコマンドで作成できます:
nano /etc/nginx/conf.d/grav.conf
次の行を追加します:
server {

listen 80;

server_name grav.example.com;
root /var/www/html/grav;

index index.html index.php;

location / {
   try_files $uri $uri/ /index.php?$query_string;
 }

   location ~* /(\.git|cache|bin|logs|backup|tests)/.*$ { return 403; }
   location ~* /(system|vendor)/.*\.(txt|xml|md|html|yaml|yml|php|pl|py|cgi|twig|sh|bat)$ { return 403; }
   location ~* /user/.*\.(txt|md|yaml|yml|php|pl|py|cgi|twig|sh|bat)$ { return 403; }
   location ~ /(LICENSE\.txt|composer\.lock|composer\.json|nginx\.conf|web\.config|htaccess\.txt|\.htaccess) { return 403; }

location ~ \.php$ {
   fastcgi_pass unix:/var/run/php/php7.4-fpm.sock;
   fastcgi_split_path_info ^(.+\.php)(/.+)$;
   fastcgi_index index.php;
   include fastcgi_params;
   fastcgi_param SCRIPT_FILENAME $document_root/$fastcgi_script_name;
 }

}
終了したらファイルを保存して閉じ、構文エラーがないかNginxを確認します。
nginx -t
次の出力が得られるはずです:
nginx: the configuration file /etc/nginx/nginx.conf syntax is ok
nginx: configuration file /etc/nginx/nginx.conf test is successful
最後に、Nginxサービスを再起動して、変更を適用します。
systemctl restart nginx
次のコマンドを使用して、Nginxのステータスを確認することもできます。
systemctl status nginx
次の出力が表示されます。
? nginx.service - A high performance web server and a reverse proxy server
     Loaded: loaded (/lib/systemd/system/nginx.service; enabled; vendor preset: enabled)
     Active: active (running) since Fri 2021-07-09 06:45:28 UTC; 3s ago
       Docs: man:nginx(8)
    Process: 33099 ExecStartPre=/usr/sbin/nginx -t -q -g daemon on; master_process on; (code=exited, status=0/SUCCESS)
    Process: 33110 ExecStart=/usr/sbin/nginx -g daemon on; master_process on; (code=exited, status=0/SUCCESS)
   Main PID: 33111 (nginx)
      Tasks: 2 (limit: 2353)
     Memory: 2.6M
     CGroup: /system.slice/nginx.service
             ??33111 nginx: master process /usr/sbin/nginx -g daemon on; master_process on;
             ??33112 nginx: worker process

Jul 09 06:45:28 node1 systemd[1]: Starting A high performance web server and a reverse proxy server...
Jul 09 06:45:28 node1 systemd[1]: Started A high performance web server and a reverse proxy server.
すべてが正常になったら、次のステップに進むことができます。
これで、URL http://grav.example.comを使用してGravCMSWebUIにアクセスできます。 。次の画面が表示されます。
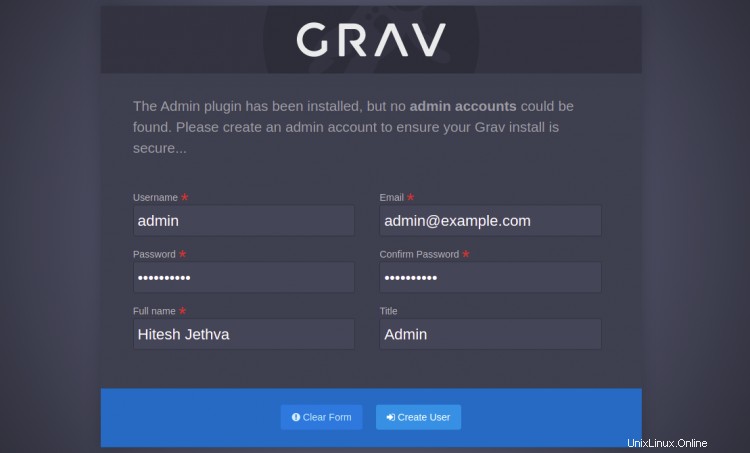
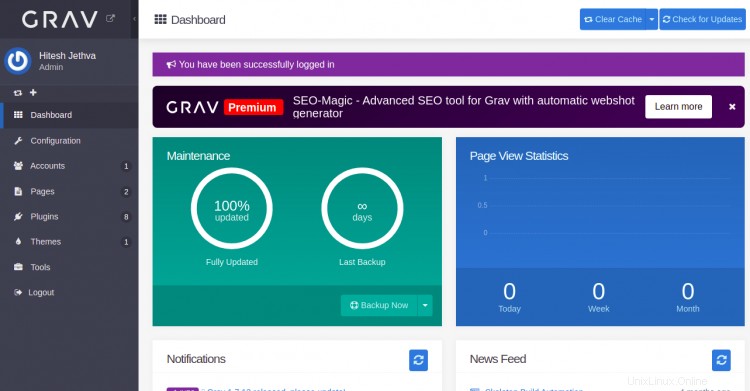
管理者のユーザー名とパスワードを設定し、ユーザーの作成をクリックします ボタン。 Grav CMSダッシュボードにリダイレクトされます:
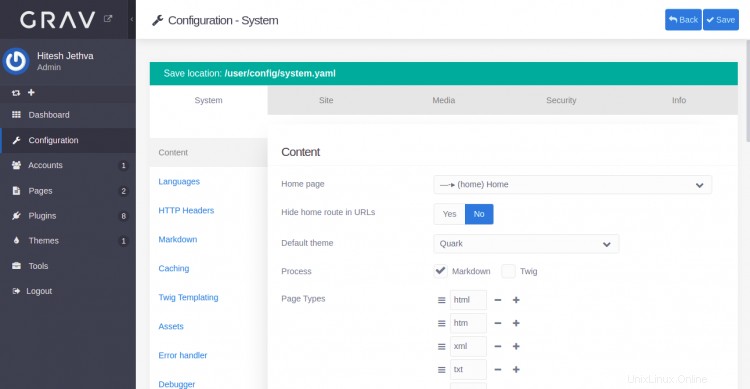
構成ページ
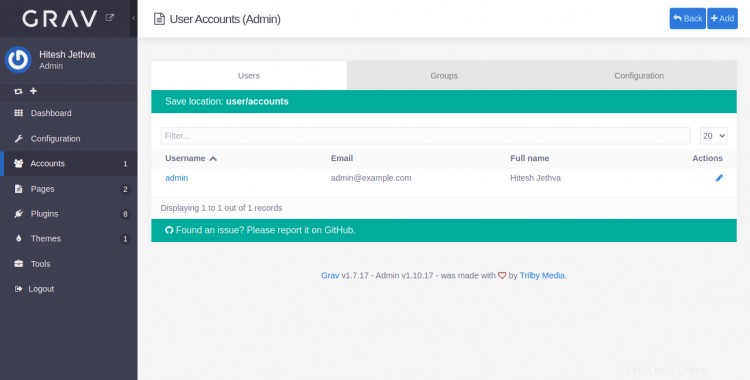
アカウントページ
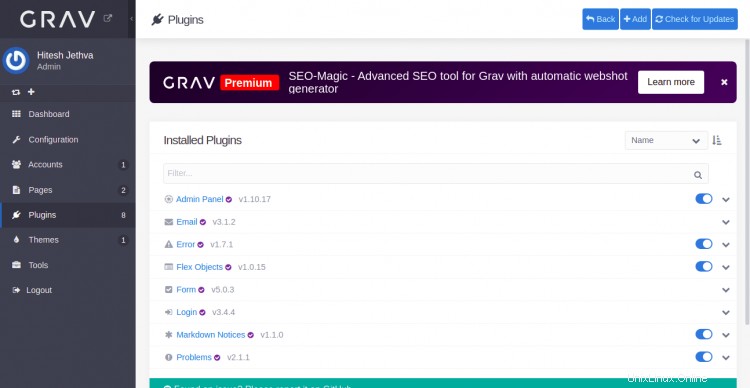
プラグインページ
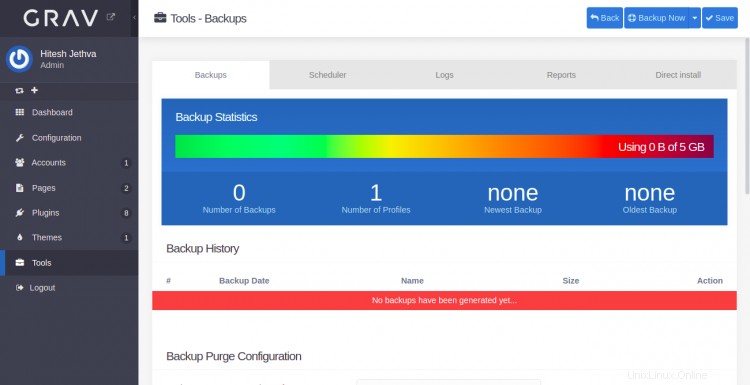
ツールページ
次に、Certbotクライアントパッケージをインストールして、Let'sEncryptSSLをインストールおよび管理する必要があります。
まず、次のコマンドを使用してCertbotをインストールします。
apt-get install python3-certbot-nginx -y
インストールが完了したら、次のコマンドを実行してLet'sEncryptSSLをWebサイトにインストールします。
certbot --nginx -d grav.example.com
以下に示すように、有効なメールアドレスを入力し、利用規約に同意するよう求められます。
Saving debug log to /var/log/letsencrypt/letsencrypt.log
Plugins selected: Authenticator nginx, Installer nginx
Enter email address (used for urgent renewal and security notices) (Enter 'c' to
cancel): [email protected]

- - - - - - - - - - - - - - - - - - - - - - - - - - - - - - - - - - - - - - - -
Please read the Terms of Service at
https://letsencrypt.org/documents/LE-SA-v1.2-November-15-2017.pdf. You must
agree in order to register with the ACME server at
https://acme-v02.api.letsencrypt.org/directory
- - - - - - - - - - - - - - - - - - - - - - - - - - - - - - - - - - - - - - - -
(A)gree/(C)ancel: A

- - - - - - - - - - - - - - - - - - - - - - - - - - - - - - - - - - - - - - - -
Would you be willing to share your email address with the Electronic Frontier
Foundation, a founding partner of the Let's Encrypt project and the non-profit
organization that develops Certbot? We'd like to send you email about our work
encrypting the web, EFF news, campaigns, and ways to support digital freedom.
- - - - - - - - - - - - - - - - - - - - - - - - - - - - - - - - - - - - - - - -
(Y)es/(N)o: Y
Obtaining a new certificate
Performing the following challenges:
http-01 challenge for grav.example.com
Waiting for verification...
Cleaning up challenges
Deploying Certificate to VirtualHost /etc/nginx/conf.d/grav.conf
次に、以下に示すように、HTTPトラフィックをHTTPSにリダイレクトするかどうかを選択します。
- - - - - - - - - - - - - - - - - - - - - - - - - - - - - - - - - - - - - - - -
1: No redirect - Make no further changes to the webserver configuration.
2: Redirect - Make all requests redirect to secure HTTPS access. Choose this for
new sites, or if you're confident your site works on HTTPS. You can undo this
change by editing your web server's configuration.
- - - - - - - - - - - - - - - - - - - - - - - - - - - - - - - - - - - - - - - -
Select the appropriate number [1-2] then [enter] (press 'c' to cancel): 2
2と入力し、Enterキーを押してインストールを終了します。次の出力が表示されます。
Redirecting all traffic on port 80 to ssl in /etc/nginx/conf.d/grav.conf

- - - - - - - - - - - - - - - - - - - - - - - - - - - - - - - - - - - - - - - -
Congratulations! You have successfully enabled https://grav.example.com

You should test your configuration at:
https://www.ssllabs.com/ssltest/analyze.html?d=grav.example.com
- - - - - - - - - - - - - - - - - - - - - - - - - - - - - - - - - - - - - - - -

IMPORTANT NOTES:
 - Congratulations! Your certificate and chain have been saved at:
   /etc/letsencrypt/live/grav.example.com/fullchain.pem
   Your key file has been saved at:
   /etc/letsencrypt/live/grav.example.com/privkey.pem
   Your cert will expire on 2021-12-30. To obtain a new or tweaked
   version of this certificate in the future, simply run certbot again
   with the "certonly" option. To non-interactively renew *all* of
   your certificates, run "certbot renew"
 - Your account credentials have been saved in your Certbot
   configuration directory at /etc/letsencrypt. You should make a
   secure backup of this folder now. This configuration directory will
   also contain certificates and private keys obtained by Certbot so
   making regular backups of this folder is ideal.
 - If you like Certbot, please consider supporting our work by:

   Donating to ISRG / Let's Encrypt:   https://letsencrypt.org/donate
   Donating to EFF:                    https://eff.org/donate-le

 - We were unable to subscribe you the EFF mailing list because your
   e-mail address appears to be invalid. You can try again later by
   visiting https://act.eff.org.
これで、HTTPSプロトコルを使用してGravCMSに安全にアクセスできます。
おめでとう!これで、Ubuntu20.04サーバーにNginxとLet'sEncryptSSLを使用してGravCMSが正常にインストールされました。 GravCMSを使用して簡単にWebサイトを作成できるようになりました。