以前はJBossと呼ばれていたWildFlyは、Java Enterprise Edition(Java EE)仕様を実装するJavaで記述された無料のオープンソースアプリケーションサーバーです。それは含む複数のプラットフォームで実行されます。 WindowsとLinux。 WildFlyはWebSocketsのサポートを提供し、アプリケーションが最適化されたカスタムプロトコルとバックエンドインフラストラクチャとの全二重通信を使用できるようにします。
このチュートリアルでは、Ubuntu18.04LTSにWildFlyアプリケーションサーバーをインストールする方法を説明します。
- Ubuntu18.04サーバーを実行しているサーバー。
- sudo権限を持つroot以外のユーザー。
- サーバーに静的IPアドレス192.168.0.235を設定します。
Javaのインストール
WildFlyはJavaで記述されているため、システムにJavaをインストールする必要があります。次のコマンドを実行してJavaをインストールできます。
sudo apt-get install default-jdk -y
Javaをインストールしたら、次のコマンドを使用してJavaのバージョンを確認できます。
java -version
出力:
openjdk version "10.0.2" 2018-07-17
OpenJDK Runtime Environment (build 10.0.2+13-Ubuntu-1ubuntu0.18.04.2)
OpenJDK 64-Bit Server VM (build 10.0.2+13-Ubuntu-1ubuntu0.18.04.2, mixed mode)
まず、WildFlyの最新バージョンを公式Webサイトからダウンロードする必要があります。次のコマンドでダウンロードできます:
wget http://download.jboss.org/wildfly/14.0.1.Final/wildfly-14.0.1.Final.tar.gz
ダウンロードが完了したら、次のコマンドを使用してダウンロードしたファイルを抽出します。
cd /opt
tar -xvzf wildfly-14.0.1.Final.tar.gz
sudo mv wildfly-14.0.1.Final wildfly
デフォルトでは、WildFlyサーバーは127.0.0.1にバインドされており、127.0.0.1を使用してのみアクセスできます。したがって、LAN上のどこからでもWildFlyに接続する場合は、バインドされたアドレスをサーバーIPに変更する必要があります。これを行うには、standalone.xmlファイルを編集します:
sudo nano /opt/wildfly/standalone/configuration/standalone.xml
次の行を変更します:
<subsystem xmlns="urn:jboss:domain:webservices:2.0">
<wsdl-host>${jboss.bind.address:192.168.0.235}</wsdl-host>
<endpoint-config name="Standard-Endpoint-Config"/>

<interface name="management">
<inet-address value="${jboss.bind.address.management:192.168.0.235}"/>
</interface>

<interface name="public">
<inet-address value=”${jboss.bind.address:192.168.0.235}”/>
</interface>
ファイルを保存してclsoeします。
次に、管理コンソールにアクセスするためのユーザーを追加する必要があります。次のスクリプトを実行して、ユーザーを追加できます。
sudo /opt/wildfly/bin/add-user.sh
以下に示すように、すべての質問に答えてください。
What type of user do you wish to add?
 a) Management User (mgmt-users.properties)
 b) Application User (application-users.properties)
(a):

Enter the details of the new user to add.
Using realm 'ManagementRealm' as discovered from the existing property files.
Username : wildflyadmin
Password recommendations are listed below. To modify these restrictions edit the add-user.properties configuration file.
 - The password should be different from the username
 - The password should not be one of the following restricted values {root, admin, administrator}
 - The password should contain at least 8 characters, 1 alphabetic character(s), 1 digit(s), 1 non-alphanumeric symbol(s)
Password :
Re-enter Password :
What groups do you want this user to belong to? (Please enter a comma separated list, or leave blank for none)[  ]: wildfly
About to add user 'wildflyadmin' for realm 'ManagementRealm'
Is this correct yes/no? yes
Added user 'wildflyadmin' to file '/opt/wildfly/standalone/configuration/mgmt-users.properties'
Added user 'wildflyadmin' to file '/opt/wildfly/domain/configuration/mgmt-users.properties'
Added user 'wildflyadmin' with groups wildfly to file '/opt/wildfly/standalone/configuration/mgmt-groups.properties'
Added user 'wildflyadmin' with groups wildfly to file '/opt/wildfly/domain/configuration/mgmt-groups.properties'
Is this new user going to be used for one AS process to connect to another AS process?
e.g. for a slave host controller connecting to the master or for a Remoting connection for server to server EJB calls.
yes/no? yes
To represent the user add the following to the server-identities definition
WildFlyコンソールにアクセス
WildFlyコンソールにアクセスする前に、wildflyインスタンスを起動する必要があります。次のコマンドで開始できます:
sudo sh /opt/wildfly/bin/standalone.sh
上記のコマンドは、wildflyインスタンスを起動します。
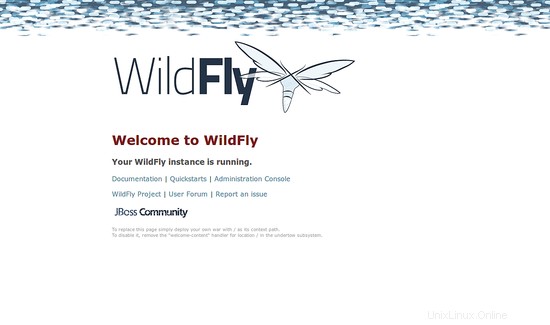
次に、Webブラウザーを開き、URLhttp://192.168.0.235:8080を入力します。 WildFlyのデフォルトページにリダイレクトされます:
管理コンソールにアクセスするには、Webブラウザーを開き、URLhttp://192.168.0.235:9990を入力します。次のページにリダイレクトされます:
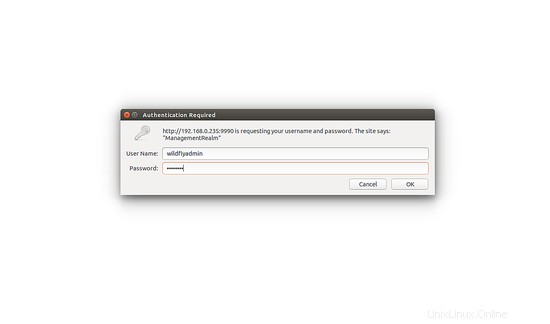
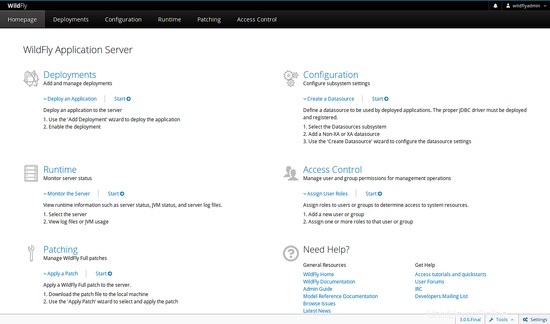
次に、WildFlyログインクレデンシャルを入力し、 OKをクリックします。 ボタン。次のページにWildFly管理コンソールダッシュボードが表示されます。
- http://wildfly.org/