LAMPは、Linux、Apache、MySQL、およびPHPの略です。ほとんどのWebサイトは上記の組み合わせで動作します。以下は、Fedora 27 /Fedora26/25にLAMPをインストールする手順です。
Apacheのインストール
まず、Apacheをインストールします。ターミナルを開き、ルートに切り替えます。
$ su
ターミナルで次のコマンドを入力して、Apacheサーバーをインストールします。
dnf install -y httpd
次のコマンドを使用してApacheを起動します。
systemctl start httpd
起動のたびにApacheを起動できるようにし、ターミナルで次のように入力してEnterキーを押します。
systemctl enable httpd
ファイアウォール
外部ネットワークからのHTTP要求を許可するようにファイアウォールを構成します。ここでは静的ファイアウォールルールを使用するため、firewalldを無効にし、iptablesとip6tablesを有効にします。
firewall-cmd --permanent --add-service=http
firewall-cmd --reload
Apacheのテスト
すべてが正しくインストールされていることを確認するために、Apacheをテストして正しく機能していることを確認します。
任意のWebブラウザを開き、Webアドレスに次のURLを入力します。
http:// localhost /または
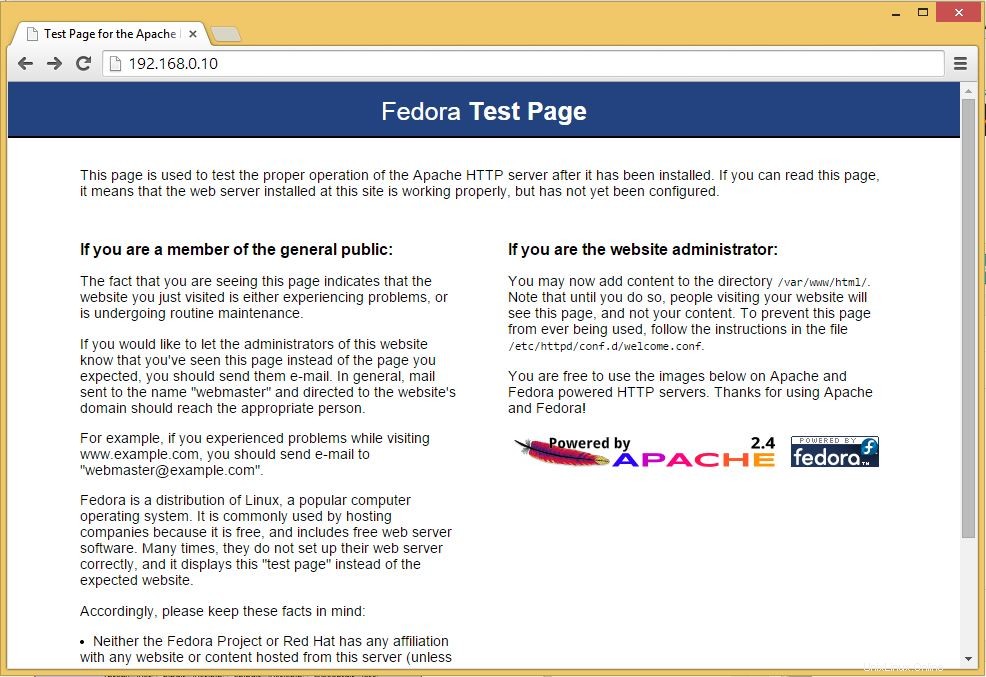
http://your.ip.addr.ess「Fedoraテストページ」というWebページが表示されます。これで、Apacheは正常に機能しています。 ApacheのデフォルトのドキュメントルートはFedoraの/var/ www / htmlであり、設定ファイルは/etc/httpd/conf/httpd.confです。追加の構成は/etc/httpd/conf.d/ディレクトリに保存されます。
MariaDBのインストール
次に、LinuxにMySQLをインストールし、手順に従います。次のコマンドを入力して、Enterキーを押します。
dnf install -y mariadb mariadb-server
MySQLサーバーを起動します。
systemctl start mariadb
起動のたびにMySQLを起動するには、ターミナルで次のように入力し、Enterキーを押します。
systemctl enable mariadb
次は、mysql_secure_installationコマンドを使用してMySQLを安全にすることです。
このプログラムを使用すると、次の方法でMySQLインストールのセキュリティを向上させることができます。
-
rootのパスワードを設定できます アカウント。 -
rootを削除できます ローカルホストの外部からアクセスできるアカウント。 - 匿名ユーザーアカウントを削除できます。
testを削除できます データベース(デフォルトでは、匿名ユーザーを含むすべてのユーザーがアクセスできます)、およびtest_で始まる名前のデータベースに誰でもアクセスできるようにする特権 。
#  mysql_secure_installation

NOTE: RUNNING ALL PARTS OF THIS SCRIPT IS RECOMMENDED FOR ALL MariaDB
SERVERS IN PRODUCTION USE! PLEASE READ EACH STEP CAREFULLY!

In order to log into MariaDB to secure it, we'll need the current
password for the root user. If you've just installed MariaDB, and
you haven't set the root password yet, the password will be blank,
so you should just press enter here.

Enter current password for root (enter for none): <--- Enter Root password
OK, successfully used password, moving on...

Setting the root password ensures that nobody can log into the MariaDB
root user without the proper authorisation.

Set root password? [Y/n] y <--- Yes, if you want to setup root password
New password: <--- Type password
Re-enter new password: <--- Re type root password
Password updated successfully!
Reloading privilege tables..
... Success!

By default, a MariaDB installation has an anonymous user, allowing anyone
to log into MariaDB without having to have a user account created for
them. This is intended only for testing, and to make the installation
go a bit smoother. You should remove them before moving into a
production environment.

Remove anonymous users? [Y/n] <--- Yes to remove anonymous users
... Success!

Normally, root should only be allowed to connect from 'localhost'. This
ensures that someone cannot guess at the root password from the network.

Disallow root login remotely? [Y/n] <--- Disable remote root login
... Success!

By default, MariaDB comes with a database named 'test' that anyone can
access. This is also intended only for testing, and should be removed
before moving into a production environment.

Remove test database and access to it? [Y/n] <--- Remove test database
- Dropping test database...
... Success!
- Removing privileges on test database...
... Success!

Reloading the privilege tables will ensure that all changes made so far
will take effect immediately.

Reload privilege tables now? [Y/n] <--- Reload privilleges
... Success!

Cleaning up...

All done! If you've completed all of the above steps, your MariaDB
installation should now be secure.

Thanks for using MariaDB!
PHPのインストール
デフォルトでは、ApacheサーバーはHTML言語のみをサポートしており、PHPをインストールする必要があるためPHPはサポートしていません。 PHPをインストールするには、手順に従ってください。
ターミナルで次の行を入力してEnterキーを押します。このコマンドには、MySQLのサポートパッケージが含まれています。
dnf install -y php php-mysqlnd
PHPのインストール後にapacheサービスを再起動する必要があります。これを行うには、ターミナルで次のように入力します。
systemctl restart httpd
PHPのテスト
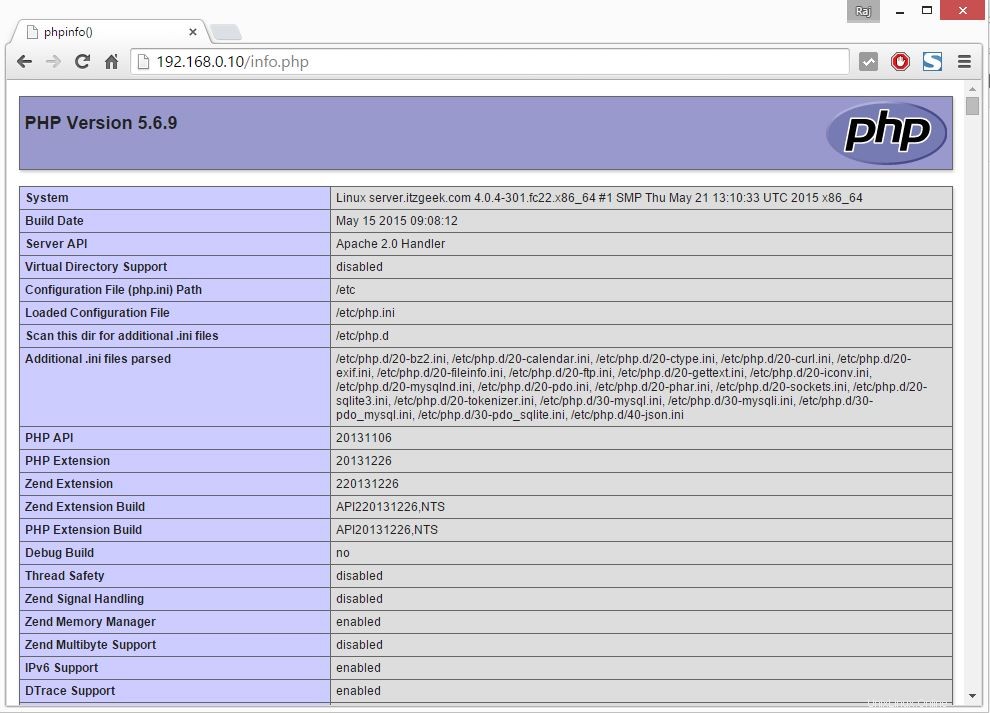
PHPをテストするには、1つのPHPファイルをApacheのデフォルトディレクトリに配置します。デフォルトのWebサイトのドキュメントルートは/var/ www/htmlです。次に、そのディレクトリに小さなPHPファイル(info.php)を作成し、ブラウザで呼び出します。このファイルには、インストールされているPHPのバージョンなど、PHPのインストールに関する多くの役立つ詳細が表示されます。
ターミナルで次の行をコピーして貼り付けます:
# vi /var/www/html/info.php
このコマンドは、 info.phpというファイルを開きます。 。
この行をコピーしてinfo.phpファイルに貼り付けます:
<?php phpinfo(); ?>
ファイルを保存して閉じます。 Esc +:wqを使用します ファイルを保存します。
次に、ウェブのブラウザを開きます Webアドレスに次のように入力します:
http://localhost/info.phpまたは
http://your.ip.addr.ess/info.phpページは次のようになります:
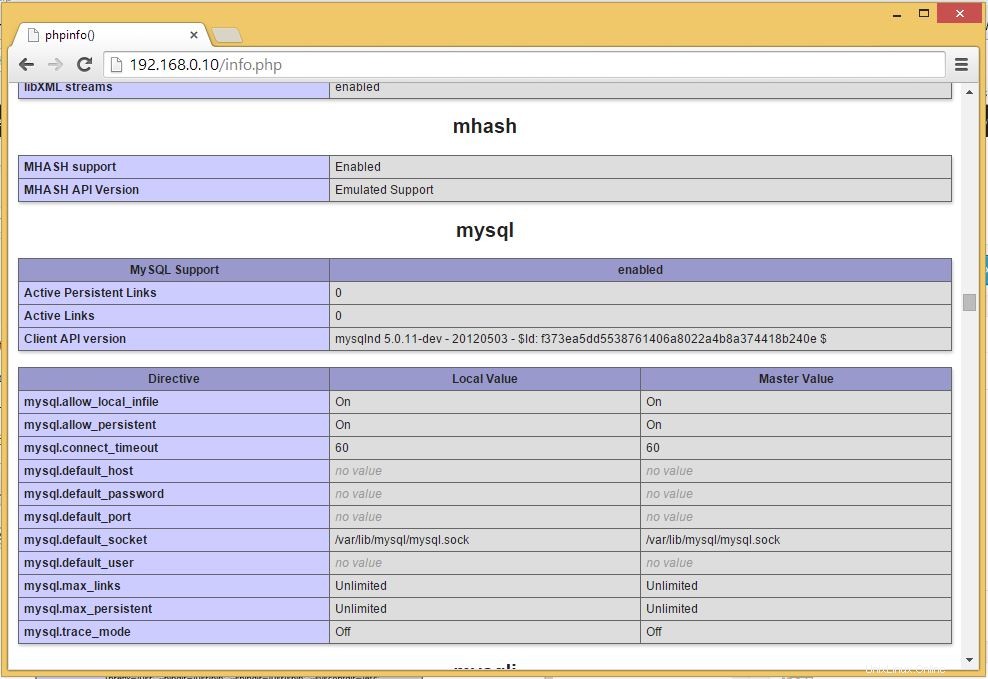
ブラウザを下にスクロールしてモジュールセクションに移動し、MySQLのサポートを確認します。以下のような画面が表示されます。
以上です。