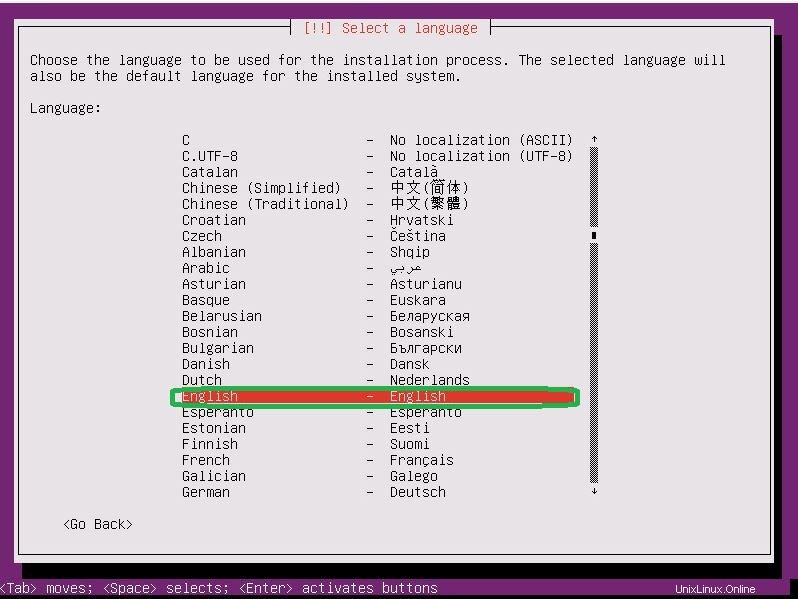
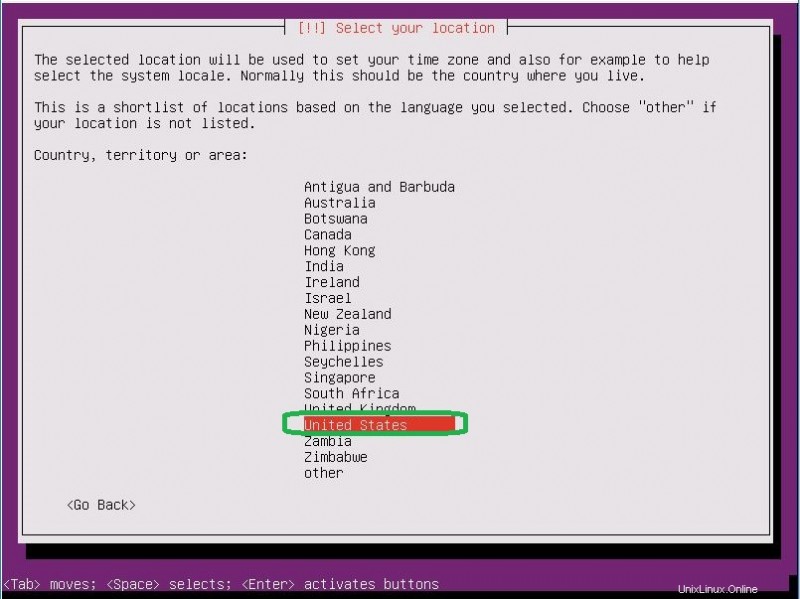
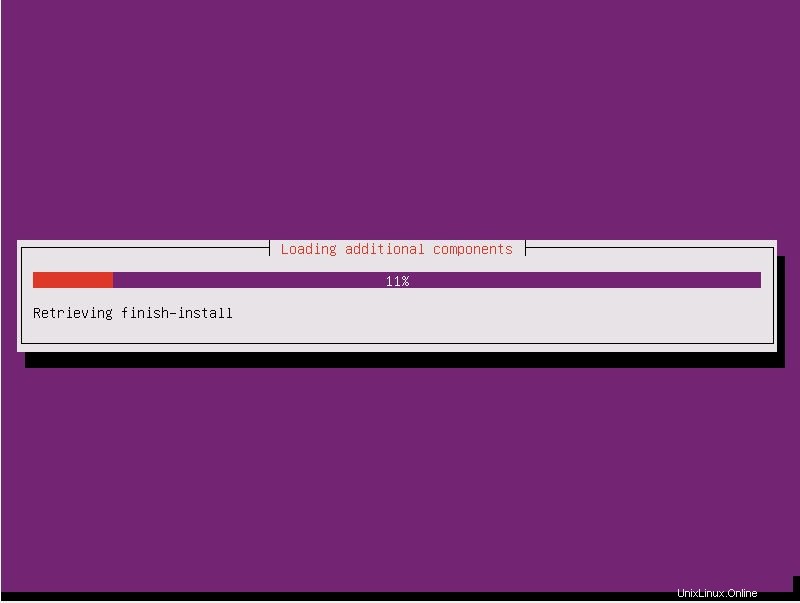
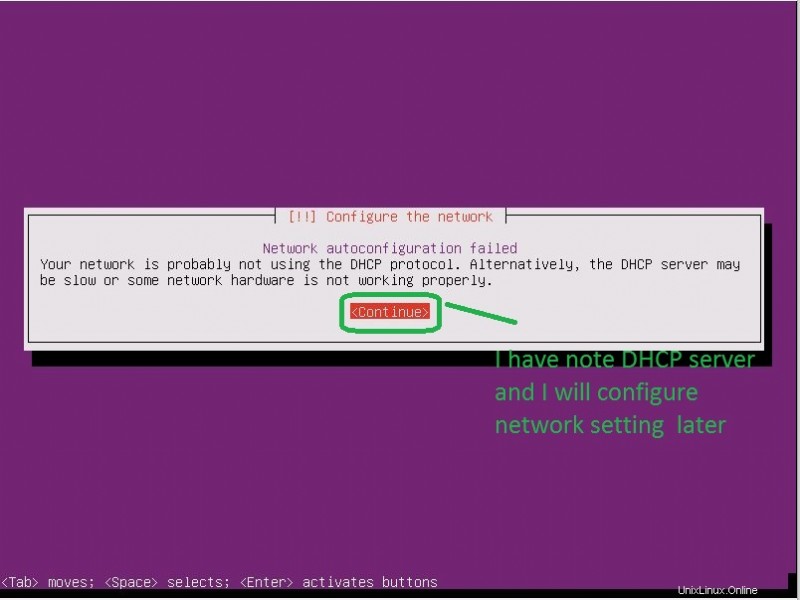
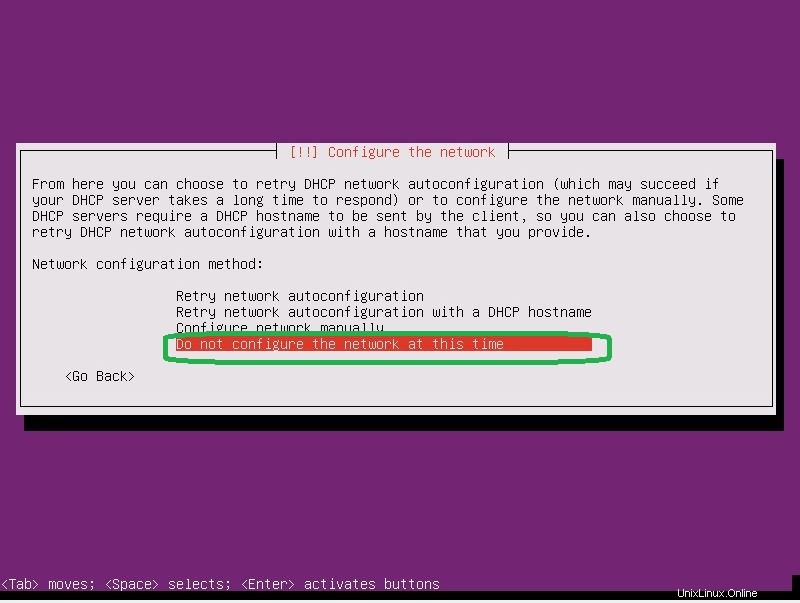
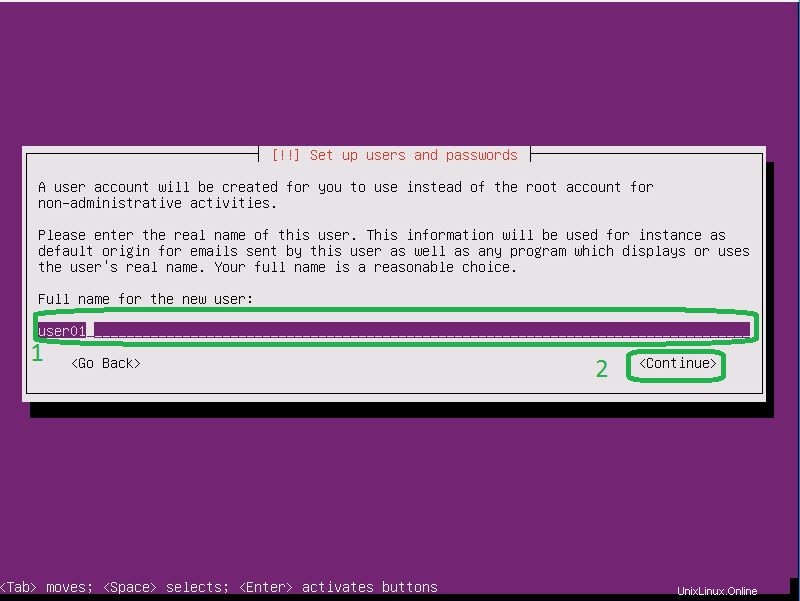
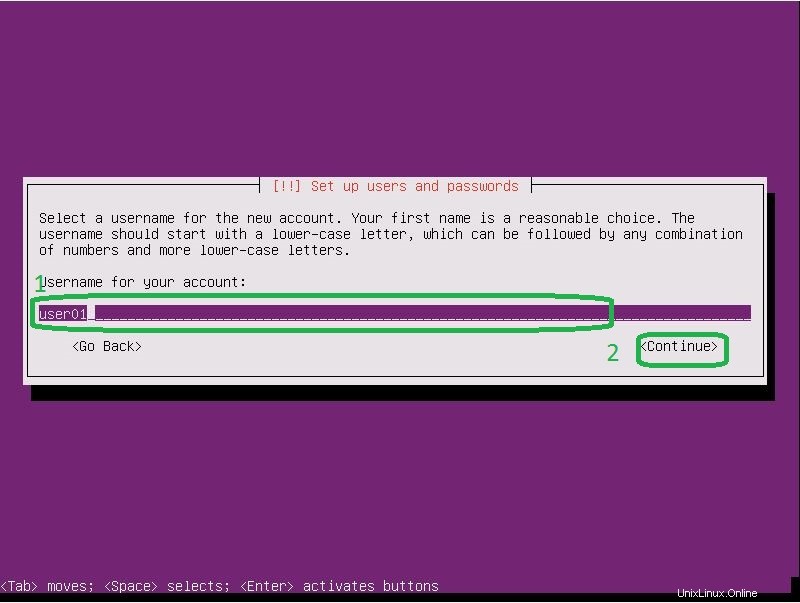
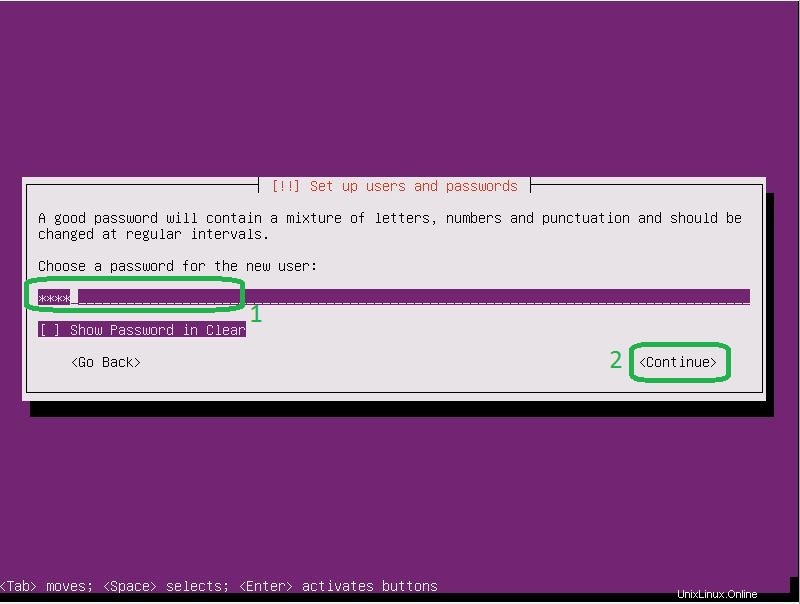
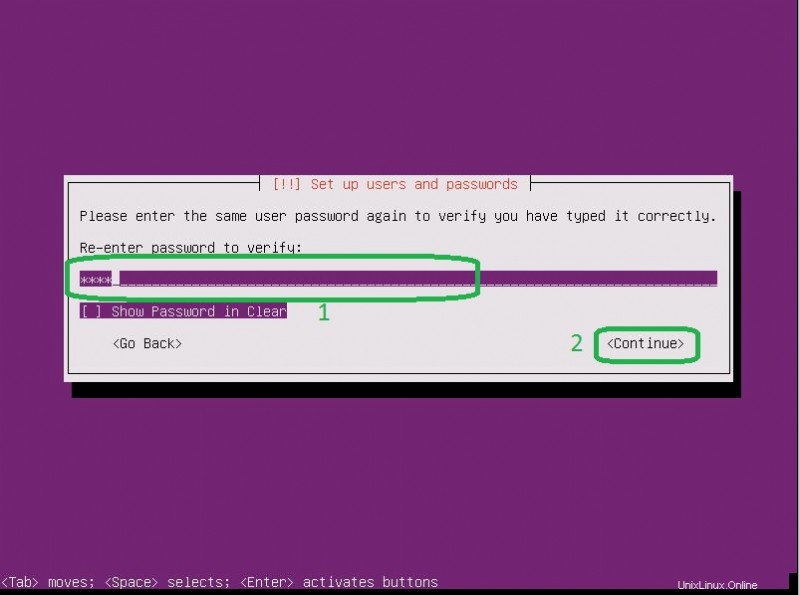
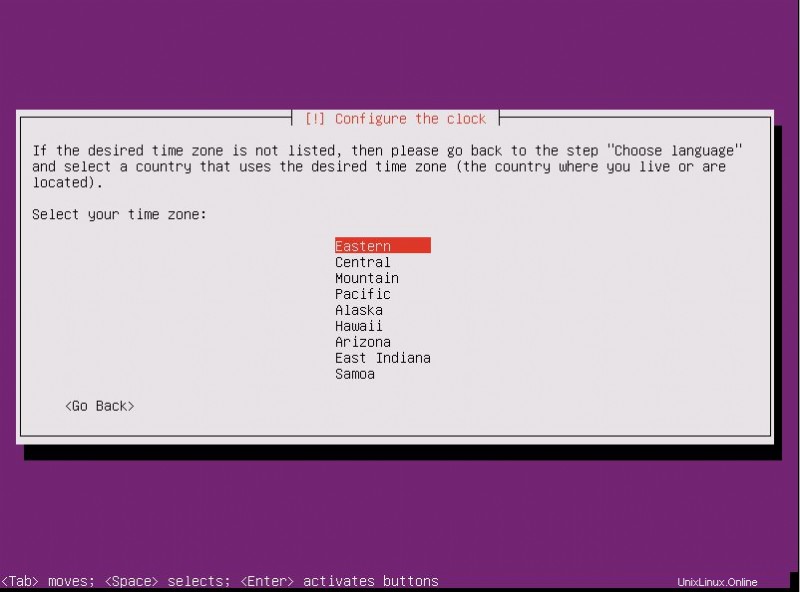
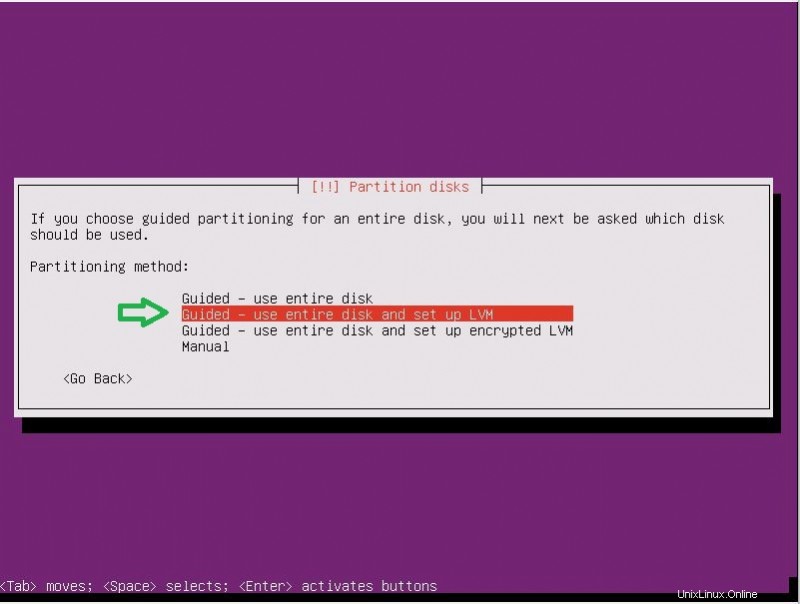
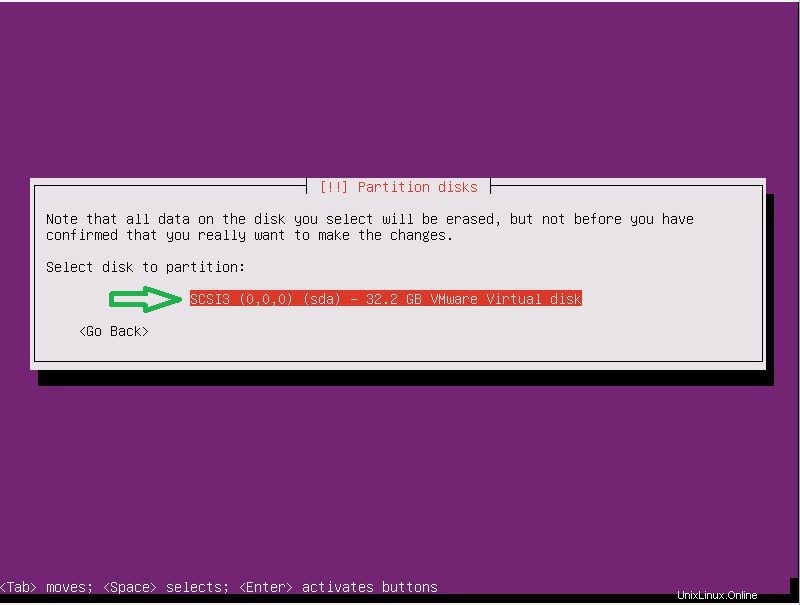
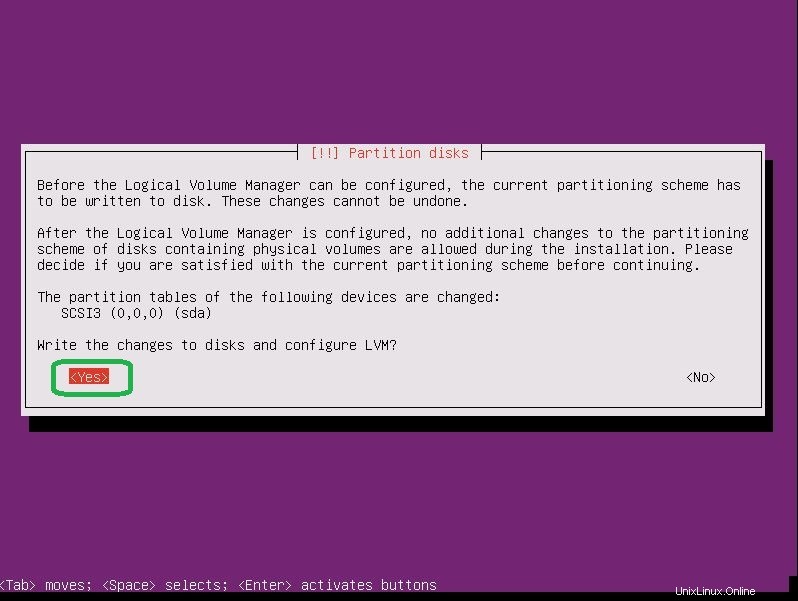
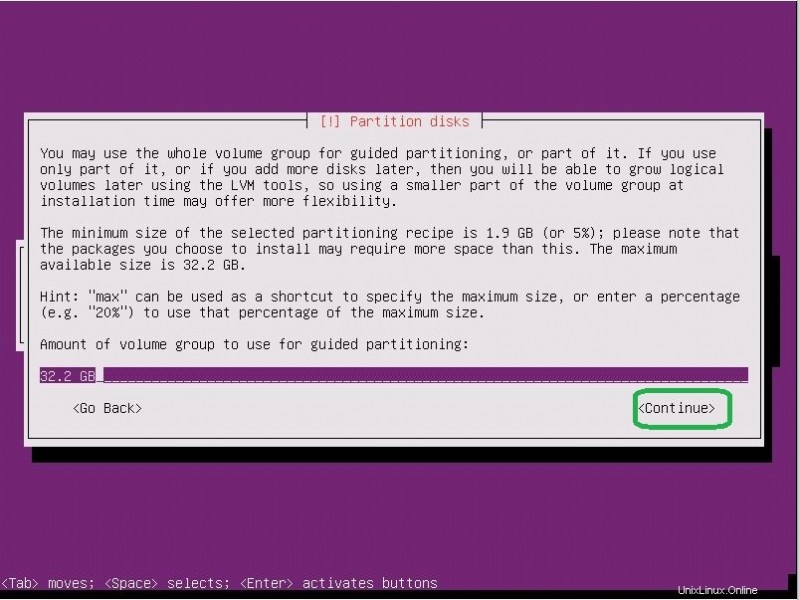
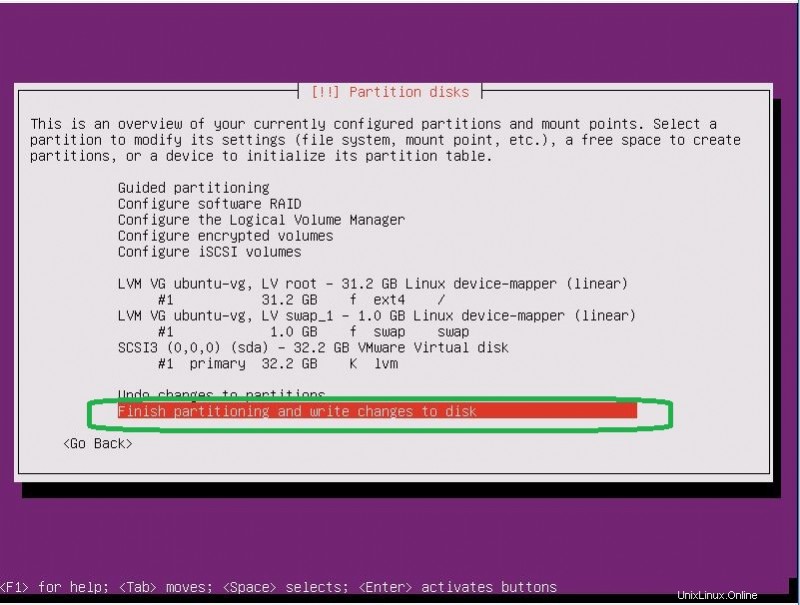
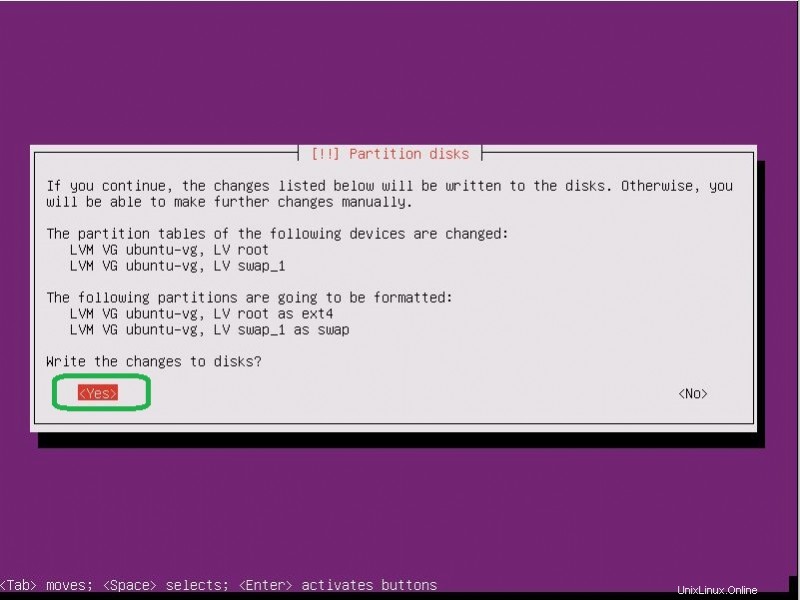
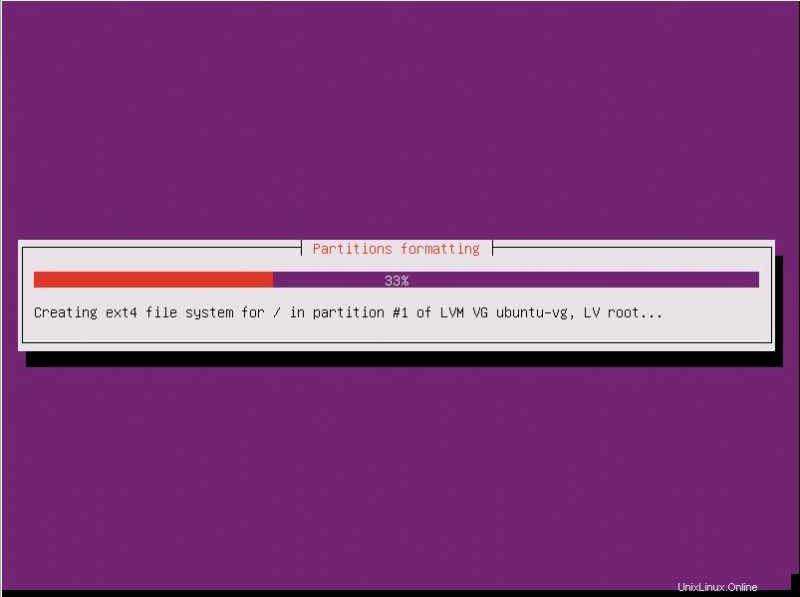
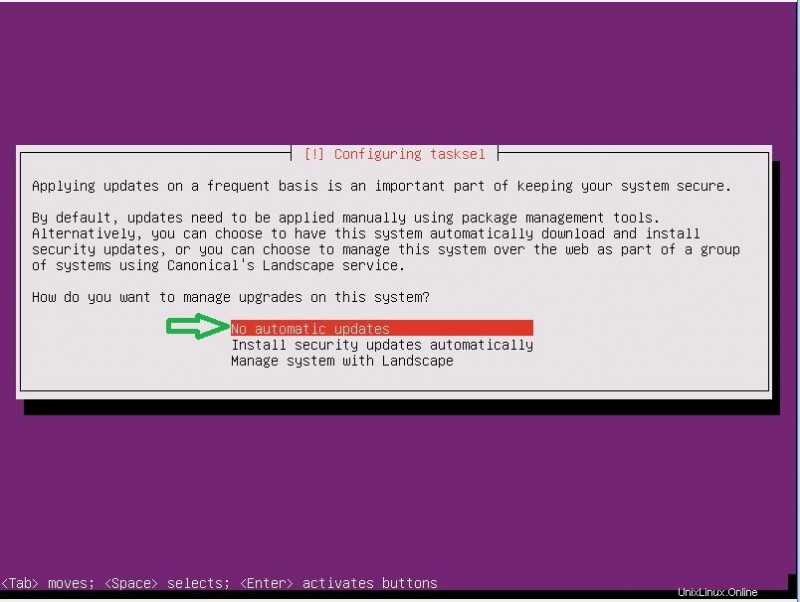
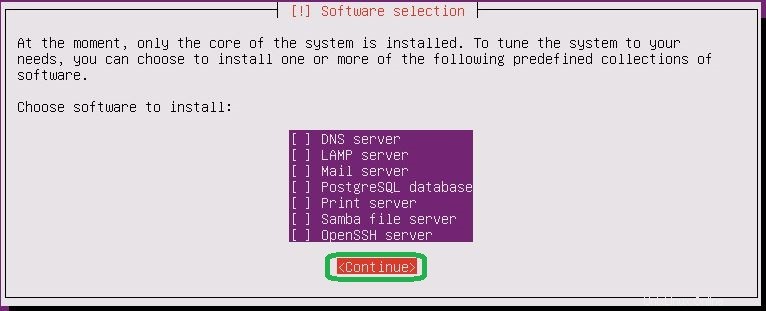
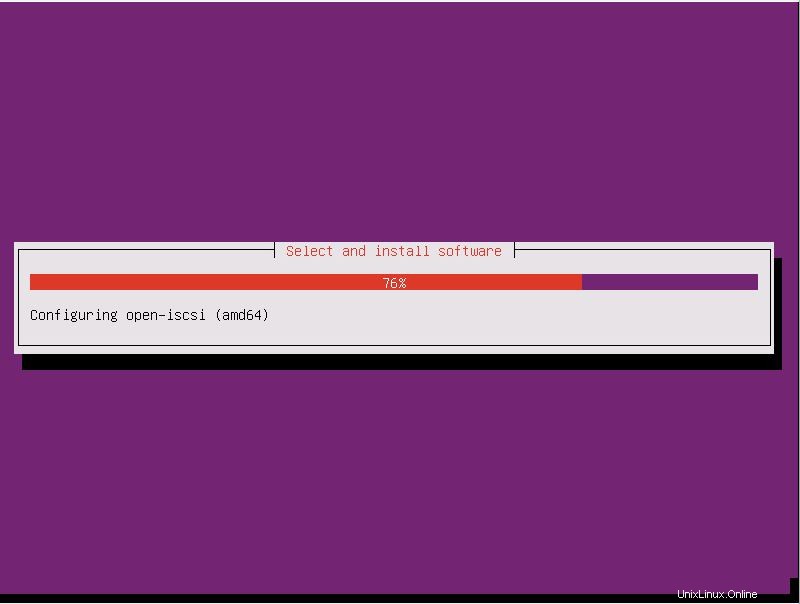
Ubuntu 19.04 OS をインストールするには、以下の手順に従います:
<オール>以下のスライドに従って、これらすべての手順を確認できます:


基本コマンド:サーバーの更新、サービス制御など
オペレーティング システムをインストールしたら、サーバーを更新する必要があります。これを行うには、以下のコマンドに従います:
root@thehackertips:~# apt update
root@thehackertips:~# apt upgrade
Ubuntu 19.04 で実行中のサービスを一覧表示するには、以下のコマンドを実行します:
root@thehackertips:~# systemctl -t service
これらのコマンドを使用して、サービスを開始、再起動、停止、またはステータスを表示するには:
root@thehackertips:~# systemctl start firewalld
root@thehackertips:~# systemctl restart  firewalld
root@thehackertips:~# systemctl stop  firewalld
root@thehackertips:~# systemctl status firewalld
新しいユーザーを追加してパスワードを設定
新しいユーザーを作成し、Ubuntu 19.04 でパスワードを設定するには、以下のコマンドに従います:
root@thehackertips:~# adduser ubuntuuser
Adding user `ubuntuuser' ...
Adding new group `ubuntuuser' (1001) ...
Adding new user `ubuntuuser' (1001) with group `ubuntuuser' ...
Creating home directory `/home/ubuntuuser' ...
Copying files from `/etc/skel' ...
New password:
Retype new password:
passwd: password updated successfully
Changing the user information for ubuntuuser
Enter the new value, or press ENTER for the default
        Full Name []: ubuntuuser
        Room Number []: 1
        Work Phone []: 1
        Home Phone []: 1
        Other []: 1
Is the information correct? [Y/n] Y
root@thehackertips:~#
root を ubuntuuser に、または ubuntuuser を root に切り替えることができます。これを行うには、以下のコマンドに従います:
root@thehackertips:~# su - ubuntuuser
ubuntuuser@thehackertips:~$ su -
Password: # your root password
root@thehackertips:~#
ルート/ユーザー パスワードのリセット
Ubuntu 19.04 でパスワードをリセットするには、以下のコマンドを使用する必要があります:
root@thehackertips:~# sudo passwd root
New password:
Retype new password:
passwd: password updated successfully
root@thehackertips:~# sudo passwd ubuntuuser      # ubuntuuser is a simple user
New password:
Retype new password:
passwd: password updated successfully
root@thehackertips:~#
ホスト名の設定
Ubuntu 19.04 でホスト名を変更するには、次の方法を使用できます:
- オプション 1:sudo vi /etc/hostname でホスト名ファイルを編集する
- オプション 2:hostnamectl set-hostname thehackertips.com # ホスト名を永続的に設定
- オプション 3:ホスト名 thehackertips.com # これは再起動後に消えます
このコマンドを使用してホスト名のステータスを確認するには:
 root@thehackertips:~# hostnamectl
    Static hostname: thehackertips.com
          Icon name: computer-vm
            Chassis: vm
         Machine ID: 8974aa87c0b349f2878938cabdf2269d
            Boot ID: ea59633ee9844c1f900a29ac3260fe71
     Virtualization: vmware
   Operating System: Ubuntu 19.04
             Kernel: Linux 5.0.0-13-generic
       Architecture: x86-64
 root@thehackertips:~#
ネットワーク設定を構成する
サーバーに静的 IP アドレスを設定する最良の方法の 1 つは、/etc/netplan/01-netcfg.yaml を編集することです。 ファイル。
root@thehackertips:~# vi /etc/netplan/01-netcfg.yaml
# This file describes the network interfaces available on your system
# For more information, see netplan(5).
network:
  version: 2
  renderer: networkd
  ethernets:
          ens32:
                 dhcp4: no
                 addresses: [172.16.171.224/24]
                 gateway4: 172.16.171.1
                 nameservers:
                         addresses: [8.8.8.8]
                 dhcp6: no
システムのアダプター名 [ens32] が異なる場合があります。 ip addr で確認できます 指図。 IP アドレス コマンドのステータスを表示するには、次のようになります。
root@thehackertips:~# ip add
 1: lo:  mtu 65536 qdisc noqueue state UNKNOWN group default qlen 1000
     link/loopback 00:00:00:00:00:00 brd 00:00:00:00:00:00
     inet 127.0.0.1/8 scope host lo
        valid_lft forever preferred_lft forever
     inet6 ::1/128 scope host
        valid_lft forever preferred_lft forever
 2: ens32:  mtu 1500 qdisc fq_codel state UP group default qlen 1000
     link/ether 00:0c:29:d4:7b:be brd ff:ff:ff:ff:ff:ff
     inet 172.16.171.224/24 brd 172.16.171.255 scope global ens32
        valid_lft forever preferred_lft forever
     inet6 fe80::20c:29ff:fed4:7bbe/64 scope link
        valid_lft forever preferred_lft forever
 root@thehackertips:~#