LAMPは、動的で高性能なWebサイトをホストするために使用される無料のオープンソースWeb開発プラットフォームです。 Linux、Apache、MySQL / MariaDB、PHPの4つのオープンソースコンポーネントで構成されています。 LAMPは、オペレーティングシステムとしてLinux、ウェブサーバーとしてApache、データベースとしてMySQL / MariaDB、スクリプト言語としてPHPを使用しています。
このチュートリアルでは、LAMPをインストールし、Ubuntu 18.04でLet’sEncryptの無料SSLを使用して保護する方法を説明します。
前提条件
- Atlantic.Netクラウドプラットフォーム上の新しいUbuntu18.04VPS。
- サーバーのIPアドレスを指す有効なドメイン名。このチュートリアルでは、example.comをドメインとして使用します。
ステップ1–Atlantic.Netクラウドサーバーを作成する
まず、Atlantic.Netクラウドサーバーにログインします。オペレーティングシステムとしてUbuntu18.04を選択し、少なくとも2GBのRAMを搭載した新しいサーバーを作成します。 SSH経由でクラウドサーバーに接続し、ページの上部で強調表示されているクレデンシャルを使用してログインします。
Ubuntu 18.04サーバーにログインしたら、次のコマンドを実行して、ベースシステムを最新の利用可能なパッケージで更新します。
apt-get update -y
ステップ2–ApacheWebサーバーのインストール
まず、次のコマンドを使用してApacheWebサーバーをインストールします。
apt-get install apache2 -y
インストールが完了したら、次のコマンドを使用してApacheサービスを開始し、システムの再起動後に開始できるようにします。
systemctl start apache2
systemctl enable apache2
次に、次のコマンドを使用してApacheWebサーバーを確認します。
systemctl status apache2
これで、Apache Webサーバーが実行され、ポート80でリッスンします。Webブラウザーを開き、URL http://your-server-ipを入力します。次の画面にApacheのデフォルトページが表示されます。
これは、ApacheWebサーバーが期待どおりに機能していることを意味します。
ステップ3–MariaDBデータベースサーバーのインストール
MariaDBは、MySQLリレーショナルデータベース管理システムの最も人気のあるフォークです。次のコマンドを実行してインストールできます:
apt-get install mariadb-server mariadb-client -y
インストールしたら、MariaDBサービスを開始し、次のコマンドを使用してシステムの再起動後に開始できるようにします。
systemctl start mariadb
systemctl enable mariadb
mysql_secure_installation
このスクリプトは、以下に示すように、rootパスワードを設定し、匿名ユーザーを削除し、rootログインをリモートで禁止し、テストデータベースとアクセスを削除します。
Enter current password for root (enter for none): Press the Enter key
Set root password? [Y/n]: Y
New password: Enter password
Re-enter new password: Repeat password
Remove anonymous users? [Y/n]: Y
Disallow root login remotely? [Y/n]: Y
Remove test database and access to it? [Y/n]:  Y
Reload privilege tables now? [Y/n]:  Y
ステップ4–PHPのインストール
apt-get install php php-cli php-mysql php-curl php-zip libapache2-mod-php -y
すべてのパッケージがインストールされたら、php.iniファイルを開き、いくつかの必要な設定を微調整します。
nano /etc/php/7.2/apache2/php.ini
次の行を変更します。以下の値は、LAMP環境に最適な設定です。
memory_limit = 256M
upload_max_filesize = 100M
max_execution_time = 360
date.timezone = America/Chicago
ファイルを保存して閉じます。次に、ApacheWebサーバーを再起動して構成を適用します。
systemctl restart apache2
次に、Apacheドキュメントのルートディレクトリにinfo.phpを作成して、ApacheでPHPをテストします。
nano /var/www/html/info.php
次の行を追加します:
<?php phpinfo( ); ?>
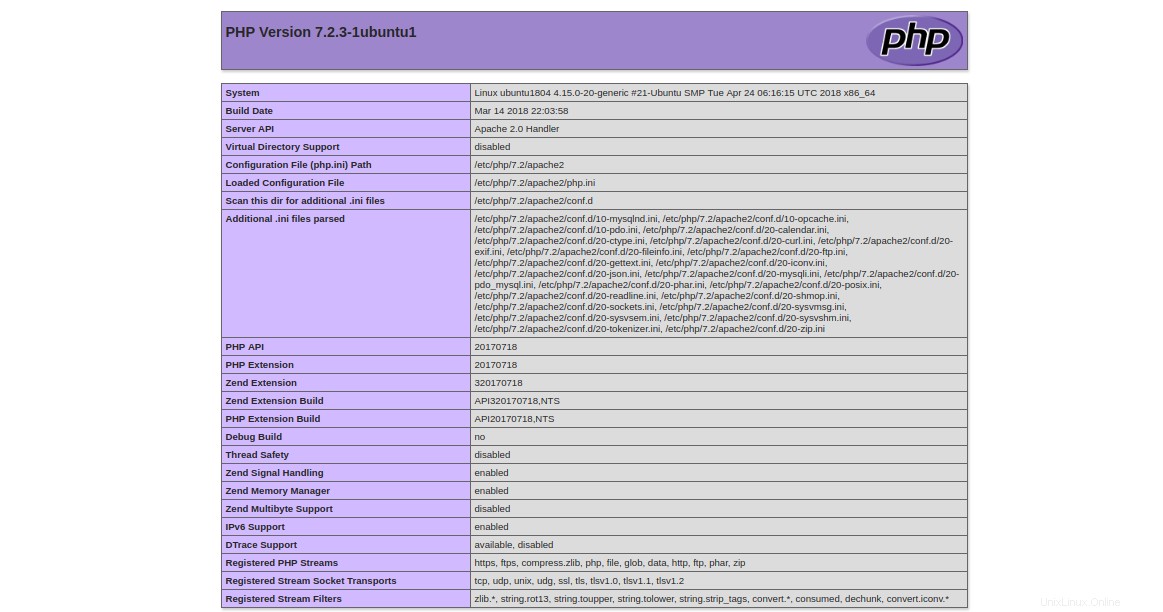
ファイルを保存して閉じます。次に、Webブラウザーを開き、URLhttp://your-server-ip/info.phpにアクセスします。次の画面に示すデフォルトのPHPテストページが表示されます。
テスト後、セキュリティ上の理由からinfo.phpファイルを削除することをお勧めします。
rm -rf /var/www/html/info.php
ステップ5–仮想ホストの作成
まず、ドメインexample.comのindex.htmlファイルを作成します。
mkdir /var/www/html/example.com
nano /var/www/html/example.com/index.html
次の行を追加します:
<html>
<title>example.com</title>
<h1>Welcome to example.com Website</h1>
<p>This is my LAMP server</p>
</html>
ファイルを保存して閉じます。次に、example.comディレクトリの所有権を変更し、必要な権限を付与します。
chown -R www-data:www-data /var/www/html/example.com
chmod -R 755 /var/www/html/example.com
次に、ドメインのApache仮想ホスト構成ファイルexample.comを作成する必要があります。
nano /etc/apache2/sites-available/example.com.conf
次の行を追加します:
<VirtualHost *:80>
    ServerAdmin example@unixlinux.online
    ServerName example.com
    DocumentRoot /var/www/html/example.com
    DirectoryIndex index.html
    ErrorLog ${APACHE_LOG_DIR}/example.com_error.log
    CustomLog ${APACHE_LOG_DIR}/example.com_access.log combined
</VirtualHost>
終了したら、ファイルを保存して閉じます。
上記のファイルの各パラメータの簡単な説明は次のとおりです。
- ServerAdmin: サーバー管理者のメールアドレスを指定してください。
- サーバー名: サーバーのIPアドレスに関連付けられているドメイン名。
- DocumentRoot: Webサイトのコンテンツの場所を指定します。
- DirectoryIndex: ディレクトリにアクセスしたときに表示するデフォルトのページを指定します。
- ErrorLog: エラーログファイルの場所。
- CustomLog: アクセスログファイルの場所。
次に、仮想ホストを有効にし、Apache Webサービスを再起動して、構成を適用します。
a2ensite example.com
systemctl restart apache2
Webサイトをテストするには、Webブラウザーを開き、URLhttp://example.comを入力します。次のページにリダイレクトされます:
ステップ6–Let'sEncryptを使用してWebサイトを保護する
この時点で、Webサイトは正常に機能していますが、セキュリティで保護されていません。 Let'sEncryptの無料SSLで保護する必要があります。
まず、サーバーにCertbotクライアントをインストールする必要があります。 Certbotは使いやすいクライアントであり、Let’s Encryptから証明書をダウンロードし、この証明書を使用するようにApacheWebサーバーを構成するために使用できます。
apt-get install software-properties-common apt-transport-https ca-certificates -y
add-apt-repository ppa:certbot/certbot
リポジトリが追加されたら、リポジトリを更新し、次のコマンドを使用してCertbotをインストールします。
apt-get update -y
apt-get install certbot python-certbot-apache -y
次に、次のコマンドを実行して、ウェブサイトexample.com用のLet’sEncryptの無料SSLをインストールします。
certbot --apache -d example.com
以下に示すように、メールアドレスを提供し、利用規約に同意するよう求められます。
Saving debug log to /var/log/letsencrypt/letsencrypt.log
Plugins selected: Authenticator apache, Installer apache
Enter email address (used for urgent renewal and security notices) (Enter 'c' to
cancel): example@unixlinux.online

- - - - - - - - - - - - - - - - - - - - - - - - - - - - - - - - - - - - - - - -
Please read the Terms of Service at
https://letsencrypt.org/documents/LE-SA-v1.2-November-15-2017.pdf. You must
agree in order to register with the ACME server at
https://acme-v02.api.letsencrypt.org/directory
- - - - - - - - - - - - - - - - - - - - - - - - - - - - - - - - - - - - - - - -
(A)gree/(C)ancel: A

- - - - - - - - - - - - - - - - - - - - - - - - - - - - - - - - - - - - - - - -
Would you be willing to share your email address with the Electronic Frontier
Foundation, a founding partner of the Let's Encrypt project and the non-profit
organization that develops Certbot? We'd like to send you email about our work
encrypting the web, EFF news, campaigns, and ways to support digital freedom.
- - - - - - - - - - - - - - - - - - - - - - - - - - - - - - - - - - - - - - - -
(Y)es/(N)o: Y
Obtaining a new certificate
Performing the following challenges:
http-01 challenge for example.com
Enabled Apache rewrite module
Waiting for verification...
Cleaning up challenges
Created an SSL vhost at /etc/apache2/sites-available/example.com-le-ssl.conf
Deploying Certificate to VirtualHost /etc/apache2/sites-available/example.com-le-ssl.conf
Enabling available site: /etc/apache2/sites-available/example.com-le-ssl.conf

Please choose whether or not to redirect HTTP traffic to HTTPS, removing HTTP access.
- - - - - - - - - - - - - - - - - - - - - - - - - - - - - - - - - - - - - - - -
1: No redirect - Make no further changes to the webserver configuration.
2: Redirect - Make all requests redirect to secure HTTPS access. Choose this for
new sites, or if you're confident your site works on HTTPS. You can undo this
change by editing your web server's configuration.
- - - - - - - - - - - - - - - - - - - - - - - - - - - - - - - - - - - - - - - -
Select the appropriate number [1-2] then [enter] (press 'c' to cancel): 2
次に、オプション2を選択し、Enterキーを押して、Let’s Encrypt証明書をダウンロードし、この証明書を使用するようにApacheWebサーバーを構成します。インストールプロセスが完了すると、次の出力が表示されます。
Enabled Apache rewrite module
Redirecting vhost in /etc/apache2/sites-enabled/example.com.conf to ssl vhost in /etc/apache2/sites-available/example.com-le-ssl.conf

- - - - - - - - - - - - - - - - - - - - - - - - - - - - - - - - - - - - - - - -
Congratulations! You have successfully enabled https://example.com

You should test your configuration at:
https://www.ssllabs.com/ssltest/analyze.html?d=example.com
- - - - - - - - - - - - - - - - - - - - - - - - - - - - - - - - - - - - - - - -

IMPORTANT NOTES:
 - Congratulations! Your certificate and chain have been saved at:
   /etc/letsencrypt/live/example.com/fullchain.pem
   Your key file has been saved at:
   /etc/letsencrypt/live/example.com/privkey.pem
   Your cert will expire on 2019-10-22. To obtain a new or tweaked
   version of this certificate in the future, simply run certbot again
   with the "certonly" option. To non-interactively renew *all* of
   your certificates, run "certbot renew"
 - Your account credentials have been saved in your Certbot
   configuration directory at /etc/letsencrypt. You should make a
   secure backup of this folder now. This configuration directory will
   also contain certificates and private keys obtained by Certbot so
   making regular backups of this folder is ideal.
 - If you like Certbot, please consider supporting our work by:

   Donating to ISRG / Let's Encrypt:   https://letsencrypt.org/donate
   Donating to EFF:                    https://eff.org/donate-le
次に、Webブラウザーを開き、URLhttps://example.comを使用してWebサイトに安全にアクセスします。
結論
上記のチュートリアルでは、Ubuntu18.04VPSにLAMPサーバーをインストールする方法を学びました。また、Let’sEncryptの無料SSLを使用してLAMPサーバーを保護する方法も学びました。これで、LAMPサーバーを簡単にインストールし、VPSホスティングサービスを使用してUbuntu 18.04でLet’sEncryptの無料SSLを使用してサーバーを保護できます。