Netcat(略してNC)は、伝送制御プロトコル(TCP)とユーザーデータグラムプロトコルを使用してネットワークを管理し、システム間のネットワークトラフィックデータのフローを監視するための幅広いコマンドをサポートする、機能豊富なコンピューターネットワーキング、デバッグ、および調査ユーティリティです。 (UDP)。
Netcatは、ネットワークおよびシステム管理者にとって、ネットワークのパフォーマンスとシステムで発生しているネットワークアクティビティの種類をすばやく認識するための非常に便利なツールです。
この記事では、この用途の広いnetcatユーティリティをインストールして使用し、Linuxシステムで開いているポートを特定するための簡単なポートスキャンを実行する方法について説明します。
LinuxにNetcatをインストールする
Netcatは、示されているデフォルトのパッケージマネージャーを使用して、ほとんどすべての最新のLinuxディストリビューションで入手できるはずです。
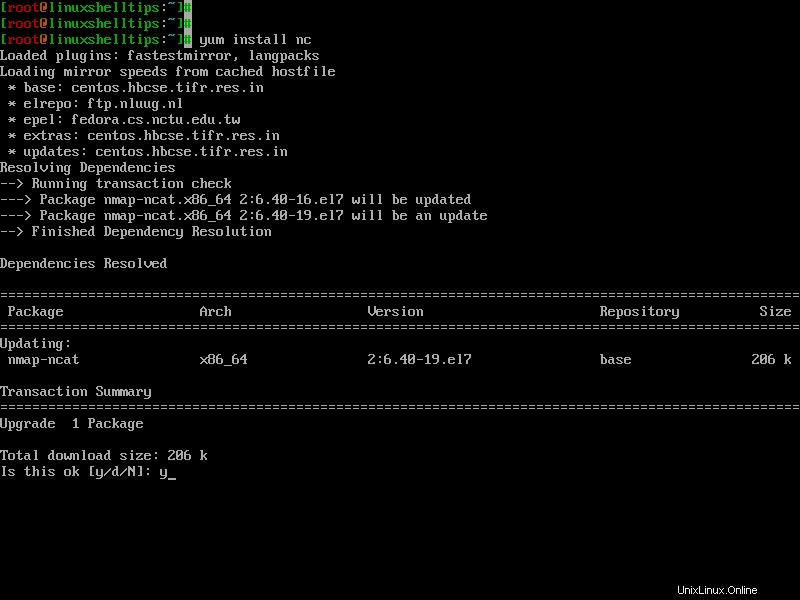
$ sudo yum install nc         [On CentOS/RHEL/Rocky Linux/AlmaLinux]
$ sudo dnf install nc         [On Fedora 22+ and RHEL 8]
$ sudo apt install Netcat     [On Debian/Ubuntu]
Netcatコマンドを使用したLinuxポートスキャン
LinuxサーバーにNetcatユーティリティをインストールしたら、ネットワークポートスキャンの実行を開始できます。これにより、指定したドメインまたはIPアドレスのすべてのポートのステータスが検査され、ファイアウォールまたはその他のブロックメカニズムが使用されているかどうかを確認できます。場所。
たとえば、 1000までのすべてのポートをスキャンできます -zを使用して次のコマンドを実行する オプション。接続を開こうとする代わりにスキャンのみを実行し、-v より詳細な情報を生成するようにnetcatに通知するオプション。
$ netcat -z -v google.com 1-1000
Or
$ nc -z -v google.com 1-1000
出力は次のようになります:
netcat: connect to google.com port 1 (tcp) failed: Connection timed out
netcat: connect to google.com port 1 (tcp) failed: Network is unreachable
netcat: connect to google.com port 2 (tcp) failed: Connection timed out
netcat: connect to google.com port 2 (tcp) failed: Network is unreachable
netcat: connect to google.com port 3 (tcp) failed: Connection timed out
netcat: connect to google.com port 3 (tcp) failed: Network is unreachable
netcat: connect to google.com port 4 (tcp) failed: Connection timed out
netcat: connect to google.com port 4 (tcp) failed: Network is unreachable
netcat: connect to google.com port 5 (tcp) failed: Connection timed out
netcat: connect to google.com port 5 (tcp) failed: Network is unreachable
....
-nを使用して、IPアドレスのポートスキャンを実行することもできます。 DNSを使用してIPアドレスを解決する必要がないことを定義するオプション。
$ netcat -z -n -v 192.168.0.173 1-1000
OR
$ nc -z -n -v 192.168.0.173 1-1000
出力は次のようになります:
netcat: connect to 192.168.0.173 port 1 (tcp) failed: Connection refused
netcat: connect to 192.168.0.173 port 2 (tcp) failed: Connection refused
netcat: connect to 192.168.0.173 port 3 (tcp) failed: Connection refused
netcat: connect to 192.168.0.173 port 4 (tcp) failed: Connection refused
netcat: connect to 192.168.0.173 port 5 (tcp) failed: Connection refused
netcat: connect to 192.168.0.173 port 6 (tcp) failed: Connection refused
netcat: connect to 192.168.0.173 port 7 (tcp) failed: Connection refused
netcat: connect to 192.168.0.173 port 8 (tcp) failed: Connection refused
netcat: connect to 192.168.0.173 port 9 (tcp) failed: Connection refused
netcat: connect to 192.168.0.173 port 10 (tcp) failed: Connection refused
netcat: connect to 192.168.0.173 port 11 (tcp) failed: Connection refused
netcat: connect to 192.168.0.173 port 12 (tcp) failed: Connection refused
netcat: connect to 192.168.0.173 port 13 (tcp) failed: Connection refused
netcat: connect to 192.168.0.173 port 14 (tcp) failed: Connection refused
netcat: connect to 192.168.0.173 port 15 (tcp) failed: Connection refused
netcat: connect to 192.168.0.173 port 16 (tcp) failed: Connection refused
netcat: connect to 192.168.0.173 port 17 (tcp) failed: Connection refused
netcat: connect to 192.168.0.173 port 18 (tcp) failed: Connection refused
netcat: connect to 192.168.0.173 port 19 (tcp) failed: Connection refused
netcat: connect to 192.168.0.173 port 20 (tcp) failed: Connection refused
netcat: connect to 192.168.0.173 port 21 (tcp) failed: Connection refused
Connection to 192.168.0.173 22 port [tcp/*] succeeded!
netcat: connect to 192.168.0.173 port 23 (tcp) failed: Connection refused
netcat: connect to 192.168.0.173 port 24 (tcp) failed: Connection refused
netcat: connect to 192.168.0.173 port 25 (tcp) failed: Connection refused
netcat: connect to 192.168.0.173 port 26 (tcp) failed: Connection refused
netcat: connect to 192.168.0.173 port 27 (tcp) failed: Connection refused
...
上記の出力から、従来のSSHポートが 1〜1000の範囲で開いていることがはっきりとわかります。 リモートマシン上で。
画面に開いているポートのみを印刷する場合は、図のようにgrepコマンドを使用して出力をフィルタリングする必要があります。
$ netcat -z -n -v 192.168.0.173 1-1000 2>&1 | grep succeeded
OR
$ nc -z -n -v 192.168.0.173 1-1000 2>&1 | grep succeeded
出力:
Connection to 192.168.0.173 22 port [tcp/*] succeeded!
Connection to 192.168.0.173 80 port [tcp/*] succeeded!
個々のポートをスキャンすることもできます。
$ nc -zv 192.168.0.173 80
$ nc -zv 192.168.0.173 22
Or
$ nc -zv 192.168.0.173 http
$ nc -zv 192.168.0.173 ssh
[あなたも好きかもしれません:Linuxで開いているポートを見つけて閉じる方法]
詳細と使用法については、netcatのmanページを参照してください。