ランプ スタックはLの組み合わせです inux、 A pache Webサーバー、 M ySQL / M ariaDB、 P HP。このステップバイステップガイドでは、CentOS 8最小サーバーにApache、MariaDB、PHP(LAMPスタック)をインストールする方法について説明します。 LAMPスタックは、Webベースのアプリケーションを展開し、動的なWebサイトをホストするために使用されます。このガイドはCentOS8でテストしましたが、以下の手順はRHEL8サーバーでも機能するはずです。始めましょう。
CentOS 8にApache、MariaDB、PHP(LAMPスタック)をインストールする
これが私のテストマシンの詳細です:
- オペレーティングシステム -CentOS 8最小サーバー(8.1.1911(コア))
- IPアドレス --192.168.225.52 / 24
- ホスト名 --centos8.ostechnix.lan
以下に示すすべてのコマンドは、 "root"として実行する必要があります ユーザー。通常のユーザーとしてログインする場合は、各コマンドの前に「sudo」を使用します。 # 記号は、私がrootユーザーとしてのコマンドであることを表します。
注:
CentOS 8の主要な更新の1つは、デフォルトのパッケージマネージャーがYUMからDNFに移行されたことです。ただし、慣れている場合は、CentOS8でYUMを実行できます。 DNFの使用法はYUMとまったく同じです。初心者向けのDNFコマンド例のリストをまとめました。 DNFの使用方法に興味がある場合は、次のリンクを参照してください。
- 初心者向けのDNFコマンドの例
1。 CentOS8にApacheWebサーバーをインストールします
CentOS 8にApacheをインストールするには、rootユーザーとして次のコマンドを実行します。
# dnf install httpd
Apacheをインストールしたら、次のコマンドを使用してapacheサービスを有効にして開始します。
# systemctl enable httpd
# systemctl start httpd
または、次のワンライナーコマンドを使用することもできます 一度にapacheサービスを有効にして開始します。
# systemctl enable --now httpd
次のコマンドを使用して、Apacheサービスが実行されているかどうかを確認します。
# systemctl status httpd
出力例:
● httpd.service - The Apache HTTP Server
   Loaded: loaded (/usr/lib/systemd/system/httpd.service; enabled; vendor preset: disabled)
   Active: active (running) since Fri 2020-02-07 12:25:08 IST; 39min ago
     Docs: man:httpd.service(8)
 Main PID: 1736 (httpd)
   Status: "Total requests: 6; Idle/Busy workers 100/0;Requests/sec: 0.00253; Bytes served/sec: 13>
    Tasks: 213 (limit: 11501)
   Memory: 25.7M
   CGroup: /system.slice/httpd.service
           ├─1736 /usr/sbin/httpd -DFOREGROUND
           ├─1873 /usr/sbin/httpd -DFOREGROUND
           ├─1874 /usr/sbin/httpd -DFOREGROUND
           ├─1875 /usr/sbin/httpd -DFOREGROUND
           └─1876 /usr/sbin/httpd -DFOREGROUND

Feb 07 12:25:08 centos8.ostechnix.lan systemd[1]: Starting The Apache HTTP Server...
Feb 07 12:25:08 centos8.ostechnix.lan systemd[1]: Started The Apache HTTP Server.
Feb 07 12:25:08 centos8.ostechnix.lan httpd[1736]: Server configured, listening on: port 80
> ご覧のとおり、Apacheサービスがロードされて実行されています。そして、ポート80でリッスンしています。 特定のポートでリッスンしているサービスを見つけるには、このガイドを参照してください。 。
Apacheのバージョンを確認してください:
# httpd -v
Server version: Apache/2.4.37 (centos)
Server built: Dec 23 2019 20:45:34
次に、すべてのApacheサーバーのデフォルトポート 80 および443 ファイアウォールとルーターを介して。
httpポート80がファイアウォールを通過できるようにするには、次のコマンドを実行します。
# firewall-cmd --permanent --add-service=http
httpsポート443を許可するには:
# firewall-cmd --permanent --add-service=https
次のコマンドを使用してファイアウォールを再起動し、変更を適用します:
$ systemctl restart firewalld
1.1。 ApacheWebサーバーをテストする
ApacheWebサーバーをデプロイするために必要なすべての手順を完了しました。先に進んで、それが本当に機能しているかどうかを確認しましょう。これを行うには、Webブラウザを開き(GUIのない最小限のサーバーであるため、ネットワーク内の任意のリモートシステムで)、- http:// ip-addressに移動します。 。 CentOSシステムにGUIがインストールされている場合は、 http:// localhostに移動できます。 またはhttp:// ip-address / またはhttp:// domain-name 。
すべて問題がなければ、ブラウザに次のテストページが表示されます。
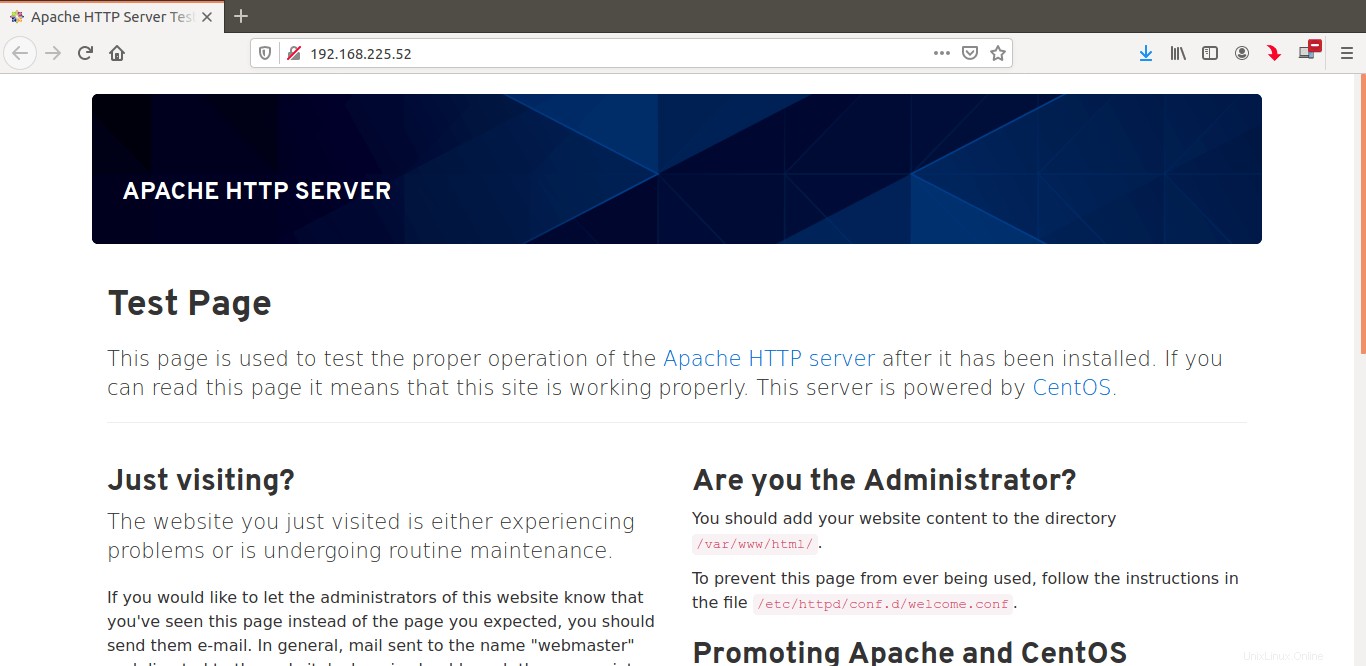
さて、Apache Webサーバーは機能しています!
LAMPセットアップの次のステップは、データベースサーバーをインストールすることです。
2。 CentOS8にMariaDBデータベースサーバーをインストールする
ターミナルから次のコマンドを実行して、CentOS8にMariaDBをインストールします。
# dnf install mariadb-server mariadb
MariaDBをインストールしたら、次のコマンドを使用してmariadbサービスを有効にして開始します。
# systemctl enable mariadb
# systemctl start mariadb
または、次のone-linerコマンドを使用して、mariadbサービスを一度に有効にして開始します。
# systemctl enable --now mariadb
mariadbサービスが開始されているかどうかを確認するには、次のコマンドを実行します:
# systemctl status mariadb
出力例:
● mariadb.service - MariaDB 10.3 database server
   Loaded: loaded (/usr/lib/systemd/system/mariadb.service; enabled; vendor preset: disabled)
   Active: active (running) since Fri 2020-02-07 14:16:59 IST; 16s ago
     Docs: man:mysqld(8)
           https://mariadb.com/kb/en/library/systemd/
  Process: 5447 ExecStartPost=/usr/libexec/mysql-check-upgrade (code=exited, status=0/SUCCESS)
  Process: 5312 ExecStartPre=/usr/libexec/mysql-prepare-db-dir mariadb.service (code=exited, statu>
  Process: 5288 ExecStartPre=/usr/libexec/mysql-check-socket (code=exited, status=0/SUCCESS)
 Main PID: 5415 (mysqld)
   Status: "Taking your SQL requests now..."
    Tasks: 30 (limit: 11501)
   Memory: 84.6M
   CGroup: /system.slice/mariadb.service
           └─5415 /usr/libexec/mysqld --basedir=/usr

Feb 07 14:16:59 centos8.ostechnix.lan mysql-prepare-db-dir[5312]: Please report any problems at ht>
Feb 07 14:16:59 centos8.ostechnix.lan mysql-prepare-db-dir[5312]: The latest information about Mar>
Feb 07 14:16:59 centos8.ostechnix.lan mysql-prepare-db-dir[5312]: You can find additional informat>
Feb 07 14:16:59 centos8.ostechnix.lan mysql-prepare-db-dir[5312]: http://dev.mysql.com
Feb 07 14:16:59 centos8.ostechnix.lan mysql-prepare-db-dir[5312]: Consider joining MariaDB's stron>
Feb 07 14:16:59 centos8.ostechnix.lan mysql-prepare-db-dir[5312]: https://mariadb.org/get-involved/
Feb 07 14:16:59 centos8.ostechnix.lan mysqld[5415]: 2020-02-07 14:16:59 0 [Note] /usr/libexec/mysq>
Feb 07 14:16:59 centos8.ostechnix.lan mysqld[5415]: 2020-02-07 14:16:59 0 [Warning] Could not incr>
Feb 07 14:16:59 centos8.ostechnix.lan mysqld[5415]: 2020-02-07 14:16:59 0 [Warning] Changed limits>
Feb 07 14:16:59 centos8.ostechnix.lan systemd[1]: Started MariaDB 10.3 database server
Mariadbサービスが読み込まれ、アクティブになりました!
MariaDBバージョンのインストールを確認してください:
# mysql -V
mysql Ver 15.1 Distrib 10.3.17-MariaDB, for Linux (x86_64) using readline 5.1
2.1。データベースのrootユーザー(管理者)のパスワードを設定する
デフォルトでは、データベースのrootユーザーのパスワードは空です。データベースサーバーを保護するには、rootユーザーのパスワードを設定する必要があります。これを行うには、mysql_secure_installationスクリプトを実行します。
# mysql_secure_installation
いくつか質問があります。それに応じてそれらを読んで答えてください。まず、rootユーザーの現在のパスワードを入力するように求められます。パスワードはデフォルトでは空なので、Enterキーを押すだけで先に進むことができます。次に、次の質問に答えるように求められます。
- ルートパスワードを設定しますか? -「y」と入力します パスワードを設定し、パスワードを2回入力します。
- 匿名ユーザーを削除しますか? -「y」と入力します 匿名ユーザーを削除します。匿名ユーザーは、デフォルトでテスト目的で提供されます。本番環境では匿名ユーザーを削除する必要があります。
- rootログインをリモートで禁止しますか? -「y」と入力します rootユーザーがリモートシステムからデータベースサーバーにアクセスできないようにするため。
- テストデータベースを削除してアクセスしますか? -「y」と入力します テストデータベースを削除します。
- 特権テーブルを今すぐリロードしますか? -「y」と入力します 行われたすべての変更を有効にします。
出力例:
NOTE: RUNNING ALL PARTS OF THIS SCRIPT IS RECOMMENDED FOR ALL MariaDB
      SERVERS IN PRODUCTION USE!  PLEASE READ EACH STEP CAREFULLY!

In order to log into MariaDB to secure it, we'll need the current
password for the root user.  If you've just installed MariaDB, and
you haven't set the root password yet, the password will be blank,
so you should just press enter here.

Enter current password for root (enter for none): #Press ENTER
OK, successfully used password, moving on...

Setting the root password ensures that nobody can log into the MariaDB
root user without the proper authorisation.

Set root password? [Y/n] y #Type y and press ENTER
New password:  #Enter password
Re-enter new password: #Re-enter password
Password updated successfully!
Reloading privilege tables..
 ... Success!


By default, a MariaDB installation has an anonymous user, allowing anyone
to log into MariaDB without having to have a user account created for
them.  This is intended only for testing, and to make the installation
go a bit smoother.  You should remove them before moving into a
production environment.

Remove anonymous users? [Y/n] y #Type y and press ENTER
 ... Success!

Normally, root should only be allowed to connect from 'localhost'.  This
ensures that someone cannot guess at the root password from the network.

Disallow root login remotely? [Y/n] y #Type y and ress ENTER
 ... Success!

By default, MariaDB comes with a database named 'test' that anyone can
access.  This is also intended only for testing, and should be removed
before moving into a production environment.

Remove test database and access to it? [Y/n] y #Type y and press ENTER
 - Dropping test database...
 ... Success!
 - Removing privileges on test database...
 ... Success!

Reloading the privilege tables will ensure that all changes made so far
will take effect immediately.

Reload privilege tables now? [Y/n] y #Type y and press ENTER
 ... Success!

Cleaning up...

All done!  If you've completed all of the above steps, your MariaDB
installation should now be secure.

Thanks for using MariaDB!
これで、MariaDBのインストールが保護されました。
2.2。 MariaDBシェルにログイン
次のコマンドを実行して、rootユーザーとしてmariadbシェルにログインします。
# mysql -u root -p
Enter password:
Welcome to the MariaDB monitor.  Commands end with ; or \g.
Your MariaDB connection id is 16
Server version: 10.3.17-MariaDB MariaDB Server

Copyright (c) 2000, 2018, Oracle, MariaDB Corporation Ab and others.

Type 'help;' or '\h' for help. Type '\c' to clear the current input statement.

MariaDB [(none)]>
mariadbシェルを終了するには、次のコマンドを実行します。
exit;
3。 CentOS8にPHPをインストールする
PHPはLAMPスタックの最後のコンポーネントです。他のすべての必要なphpモジュールに沿ってphpをインストールするには、rootユーザーとして次のコマンドを実行します。
# dnf install php php-fpm php-mysqlnd php-opcache php-gd php-xml php-mbstring
3.1。 PHP-FPMを使用してApacheを構成する
ApacheでPHPを実行するための最も一般的な既知の方法の1つは、 mod_phpです。 モジュール。ただし、PHP-FPM(FastCGI Process Manager)には、mod_phpに比べていくつかの利点があります。不思議に思う人のために、PHP-FPMはPHPのFastCGI実装です。 PHP-FPMはスタンドアロンのFastCGIサーバーとして実行され、PHP環境のパフォーマンスを大幅に向上させます。
すでにphp-fpmをインストールしているので、コマンドを使用してphp-fpmサービスを有効にして開始しましょう:
# systemctl enable php-fpm
# systemctl start php-fpm
または、次のワンライナーコマンドを使用して、php-fpmサービスを一度に有効にして開始します。
# systemctl enable --now php-fpm
php-fpmサービスが開始されているかどうかを確認するには、次のコマンドを実行します。
# systemctl status php-fpm
出力例:
● php-fpm.service - The PHP FastCGI Process Manager
   Loaded: loaded (/usr/lib/systemd/system/php-fpm.service; enabled; vendor preset: disabled)
   Active: active (running) since Fri 2020-02-07 17:24:44 IST; 8s ago
 Main PID: 6053 (php-fpm)
   Status: "Ready to handle connections"
    Tasks: 6 (limit: 11501)
   Memory: 22.6M
   CGroup: /system.slice/php-fpm.service
           ├─6053 php-fpm: master process (/etc/php-fpm.conf)
           ├─6054 php-fpm: pool www
           ├─6055 php-fpm: pool www
           ├─6056 php-fpm: pool www
           ├─6057 php-fpm: pool www
           └─6058 php-fpm: pool www

Feb 07 17:24:44 centos8.ostechnix.lan systemd[1]: Starting The PHP FastCGI Process Manager...
Feb 07 17:24:44 centos8.ostechnix.lan systemd[1]: Started The PHP FastCGI Process Manager.
さて、php-fpmサービスがロードされ、アクティブになりました。
3.2。 PHPをテストする
PHPが正しく機能しているかどうかを確認するには、「info.php」という名前のサンプルファイルを作成します。 Webルートフォルダ内:
# vi /var/www/html/info.php
次の行を追加します:
<?php
phpinfo();
?>
Apacheサービスを再起動して、変更を有効にします。
# systemctl restart httpd
次に、Webブラウザーを開いて、 http://IP_Address/info.phpに移動します。 。
インストールされているすべてのモジュールと、phpバージョン、ビルド日、コマンドなどの詳細を一覧表示する次のphpページが表示されます。

おめでとうございます!この段階では、CentOS8サーバー上に完全に機能するLAMPスタックが必要です。
さまざまなLinuxプラットフォームへのLAMPスタックのインストールはすでに公開されています。さまざまなLinuxディストリビューションでLAMPをセットアップする方法については、次のリンクを確認してください。
- LAMPスタックガイド