oVirtは、Fedora、CentOS、RHELなどのオペレーティングシステムのようなLinuxで使用される無料のオープンソース仮想化ソフトウェアです。つまり、oVirtは VMware vSphereの代替手段であると言えます。 Linuxでは。 OvirtコミュニティはRedHatによって設立およびサポートされており、Red Hat Enterprise Virtualization( RHEV )のアップストリームプロジェクトと見なされています。 。
oVirtは2つの主要なコンポーネントで構成されています:
- oVirtエンジン
- oVirtノード
oVirtエンジン はグラフィカルユーザーインターフェイスであるか、仮想マシン、コンピューティング、ネットワーク、およびストレージリソースを管理できるWeb管理者ポータルであると言えます。
oVirtノード は、vdsmサービスが稼働しているRHEL/CentOSまたはFedoraサーバーのいずれかです。 Ovirtノードは、すべての仮想マシンが作成されるハイパーバイザー(KVM)として機能します。
この記事では、最新バージョンをインストールします oVirt 4.0.3 CentOS 7 /RHEL7で。 2つのサーバーを使用します。1つはovirtエンジンとして機能し、もう1つはovirtノードとして機能します。詳細は以下のとおりです:
oVirtエンジン:ovirtengine.example.com(192.168.1.30)
oVirtノード:ovirtnode.example.com(192.168.1.40)
ローカルのdnsサーバーがない場合は、/ etc/hostsファイルの以下のエントリを更新してください。
192.168.1.30  ovirtengine.example.com
192.168.1.40  ovirtnode.example.com
CentOS 7 /RHEL7へのoVirtエンジンのインストール手順
以下は、ovirt-engineの最小要件です:
- 最小OS(CentOS 7.x / RHEL 7.x)
- デュアルコアサーバー
- 4 GB RAM
- 25GBのディスク容量
- 1GbpsLANカード
次の手順を次々に実行して、ovirtエンジンをインストールします。
ステップ:1yumコマンドを使用してサーバーを更新します
underyumコマンドを使用してサーバーに最新の更新をインストールします。
[[email protected] ~]# yum update -y
アップデートがインストールされたら、サーバーを再起動します。
ステップ:2oVirt4.0.3リポジトリを有効にする
ovirtエンジンパッケージは、CentOSおよびRHELyumリポジトリでは使用できません。以下のコマンドを実行して、ovirt4.0レパートリーを設定および有効にします
[[email protected] ~]# yum install http://resources.ovirt.org/pub/yum-repo/ovirt-release40.rpm
ステップ:3yumコマンドを使用してoVirtエンジンパッケージをインストールします
次のyumコマンドを実行して、ovirtengineをインストールします。
[[email protected] ~]# yum install ovirt-engine -y
ステップ:4ovirtエンジンインストーラーを起動します
コマンド「engine-setu」を実行します コンソールからp’を実行すると、ovirtエンジンインストーラーが起動し、インストール中に一連の質問をインタラクティブに行い、すべての回答を回答ファイルに保存します。インストールを自動化するために、回答ファイルを再利用できます。
[[email protected] ~]# engine-setup --generate-answer=/root/answer.txt
[ INFO ] Stage: Initializing
[ INFO ] Stage: Environment setup
 Configuration files: ['/etc/ovirt-engine-setup.conf.d/10-packaging-jboss.conf', '/etc/ovirt-engine-setup.conf.d/10-packaging.conf']
 Log file: /var/log/ovirt-engine/setup/ovirt-engine-setup-20160918040600-2gbi6m.log
 Version: otopi-1.5.2 (otopi-1.5.2-1.el7.centos)
[ INFO ] Stage: Environment packages setup
[ INFO ] Yum Downloading: base/7/x86_64 (0%)
[ INFO ] Yum Downloading: updates/7/x86_64 (0%)
[ INFO ] Stage: Programs detection
[ INFO ] Stage: Environment setup
[ INFO ] Stage: Environment customization

 --== PRODUCT OPTIONS ==--

 Configure Engine on this host (Yes, No) [Yes]: Yes
 Configure Image I/O Proxy on this host? (Yes, No) [Yes]: Yes
 Configure WebSocket Proxy on this host (Yes, No) [Yes]: Yes
 Please note: Data Warehouse is required for the engine. If you choose to not configure it on this host, you have to configure it on a remote host, and then configure the engine on this host so that it can access the database of the remote Data Warehouse host.
 Configure Data Warehouse on this host (Yes, No) [Yes]: Yes
 Configure VM Console Proxy on this host (Yes, No) [Yes]: Yes

 --== PACKAGES ==--

[ INFO ] Checking for product updates...
[ INFO ] No product updates found

 --== NETWORK CONFIGURATION ==--

 Host fully qualified DNS name of this server [ovirtengine.example.com]: ovirtengine.example.com
[WARNING] Failed to resolve ovirtengine.example.com using DNS, it can be resolved only locally
 Setup can automatically configure the firewall on this system.
 Note: automatic configuration of the firewall may overwrite current settings.
 Do you want Setup to configure the firewall? (Yes, No) [Yes]: No

 --== DATABASE CONFIGURATION ==--

 Where is the DWH database located? (Local, Remote) [Local]: Local
 Setup can configure the local postgresql server automatically for the DWH to run. This may conflict with existing applications.
 Would you like Setup to automatically configure postgresql and create DWH database, or prefer to perform that manually? (Automatic, Manual) [Automatic]: Automatic
 Where is the Engine database located? (Local, Remote) [Local]: Local
 Setup can configure the local postgresql server automatically for the engine to run. This may conflict with existing applications.
 Would you like Setup to automatically configure postgresql and create Engine database, or prefer to perform that manually? (Automatic, Manual) [Automatic]: Automatic

 --== OVIRT ENGINE CONFIGURATION ==--

 Engine admin password:
 Confirm engine admin password:
[WARNING] Password is weak: it is too simplistic/systematic
 Use weak password? (Yes, No) [No]: Yes
 Application mode (Virt, Gluster, Both) [Both]: Both

 --== STORAGE CONFIGURATION ==--

 Default SAN wipe after delete (Yes, No) [No]: No

 --== PKI CONFIGURATION ==--

 Organization name for certificate [example.com]: example.com

 --== APACHE CONFIGURATION ==--

 Setup can configure the default page of the web server to present the application home page. This may conflict with existing applications.
 Do you wish to set the application as the default page of the web server? (Yes, No) [Yes]: Yes
 Setup can configure apache to use SSL using a certificate issued from the internal CA.
 Do you wish Setup to configure that, or prefer to perform that manually? (Automatic, Manual) [Automatic]: Automatic

 --== SYSTEM CONFIGURATION ==--

 Configure an NFS share on this server to be used as an ISO Domain? (Yes, No) [No]: No

 --== MISC CONFIGURATION ==--

 Please choose Data Warehouse sampling scale:
 (1) Basic
 (2) Full
 (1, 2)[1]: 1

 --== END OF CONFIGURATION ==--

[ INFO ] Stage: Setup validation
[WARNING] Warning: Not enough memory is available on the host. Minimum requirement is 4096MB, and 16384MB is recommended.
 Do you want Setup to continue, with amount of memory less than recommended? (Yes, No) [No]: Yes

 --== CONFIGURATION PREVIEW ==--

 Application mode : both
 Default SAN wipe after delete : False
 Update Firewall : False
 Host FQDN : ovirtengine.example.com
 Engine database secured connection : False
 Engine database host : localhost
 Engine database user name : engine
 Engine database name : engine
 Engine database port : 5432
 Engine database host name validation : False
 DWH database secured connection : False
 DWH database host : localhost
 DWH database user name : ovirt_engine_history
 DWH database name : ovirt_engine_history
 DWH database port : 5432
 DWH database host name validation : False
 Engine installation : True
 PKI organization : example.com
 Configure local Engine database : True
 Set application as default page : True
 Configure Apache SSL : True
 DWH installation : True
 Configure local DWH database : True
 Engine Host FQDN : ovirtengine.example.com
 Configure Image I/O Proxy : True
 Configure VMConsole Proxy : True
 Configure WebSocket Proxy : True

 Please confirm installation settings (OK, Cancel) [OK]: OK

[ INFO ] Stage: Transaction setup
[ INFO ] Stopping engine service
[ INFO ] Stopping ovirt-fence-kdump-listener service
[ INFO ] Stopping dwh service
[ INFO ] Stopping Image I/O Proxy service
[ INFO ] Stopping websocket-proxy service
[ INFO ] Stage: Misc configuration
[ INFO ] Stage: Package installation
[ INFO ] Stage: Misc configuration
[ INFO ] Upgrading CA
[ INFO ] Initializing PostgreSQL
[ INFO ] Creating PostgreSQL 'engine' database
[ INFO ] Configuring PostgreSQL
[ INFO ] Creating PostgreSQL 'ovirt_engine_history' database
[ INFO ] Configuring PostgreSQL
[ INFO ] Creating CA
[ INFO ] Creating/refreshing Engine database schema
[ INFO ] Creating/refreshing DWH database schema
[ INFO ] Configuring Image I/O Proxy
[ INFO ] Setting up ovirt-vmconsole proxy helper PKI artifacts
[ INFO ] Setting up ovirt-vmconsole SSH PKI artifacts
[ INFO ] Configuring WebSocket Proxy
[ INFO ] Creating/refreshing Engine 'internal' domain database schema
[ INFO ] Generating post install configuration file '/etc/ovirt-engine-setup.conf.d/20-setup-ovirt-post.conf'
[ INFO ] Stage: Transaction commit
[ INFO ] Stage: Closing up
[ INFO ] Starting engine service
[ INFO ] Starting dwh service
[ INFO ] Restarting ovirt-vmconsole proxy service

 --== SUMMARY ==--

[ INFO ] Restarting httpd
 In order to configure firewalld, copy the files from
 /etc/ovirt-engine/firewalld to /etc/firewalld/services
 and execute the following commands:
 firewall-cmd --permanent --add-service ovirt-postgres
 firewall-cmd --permanent --add-service ovirt-https
 firewall-cmd --permanent --add-service ovirt-fence-kdump-listener
 firewall-cmd --permanent --add-service ovirt-imageio-proxy
 firewall-cmd --permanent --add-service ovirt-websocket-proxy
 firewall-cmd --permanent --add-service ovirt-http
 firewall-cmd --permanent --add-service ovirt-vmconsole-proxy
 firewall-cmd --reload
 The following network ports should be opened:
 tcp:2222
 tcp:443
 tcp:5432
 tcp:54323
 tcp:6100
 tcp:80
 udp:7410
 An example of the required configuration for iptables can be found at:
 /etc/ovirt-engine/iptables.example
 Please use the user '[email protected]' and password specified in order to login
 Web access is enabled at:
 http://ovirtengine.example.com:80/ovirt-engine
 https://ovirtengine.example.com:443/ovirt-engine
 Internal CA E2:96:0B:A0:6C:1E:B5:0D:BB:7B:B5:29:4D:88:92:5A:DA:1E:95:BC
 SSH fingerprint: 1f:7b:59:12:01:8c:b5:d7:21:49:3b:e9:e4:d1:72:da
[WARNING] Warning: Not enough memory is available on the host. Minimum requirement is 4096MB, and 16384MB is recommended.

 --== END OF SUMMARY ==--

[ INFO ] Stage: Clean up
 Log file is located at /var/log/ovirt-engine/setup/ovirt-engine-setup-20160918040600-2gbi6m.log
[ INFO ] Generating answer file '/var/lib/ovirt-engine/setup/answers/20160918041930-setup.conf'
[ INFO ] Generating answer file '/root/answer.txt'
[ INFO ] Stage: Pre-termination
[ INFO ] Stage: Termination
[ INFO ] Execution of setup completed successfully
[[email protected] ~]#
サーバーでファイアウォールが有効になっている場合は、上記の出力に記載されている手順を実行します。
ステップ:5oVirtEngineWeb管理者ポータルにアクセスします。
Webブラウザーを開き、URLを入力します:
https://ovirtengine.example.com
または
https:// IP_Address
設定に従って、ドメイン名またはIPアドレスを置き換えます。
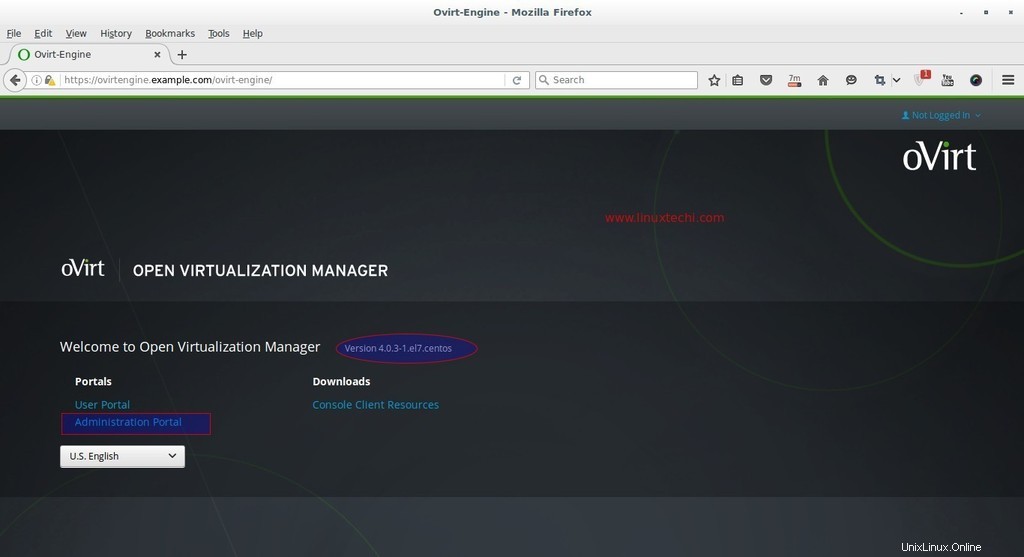
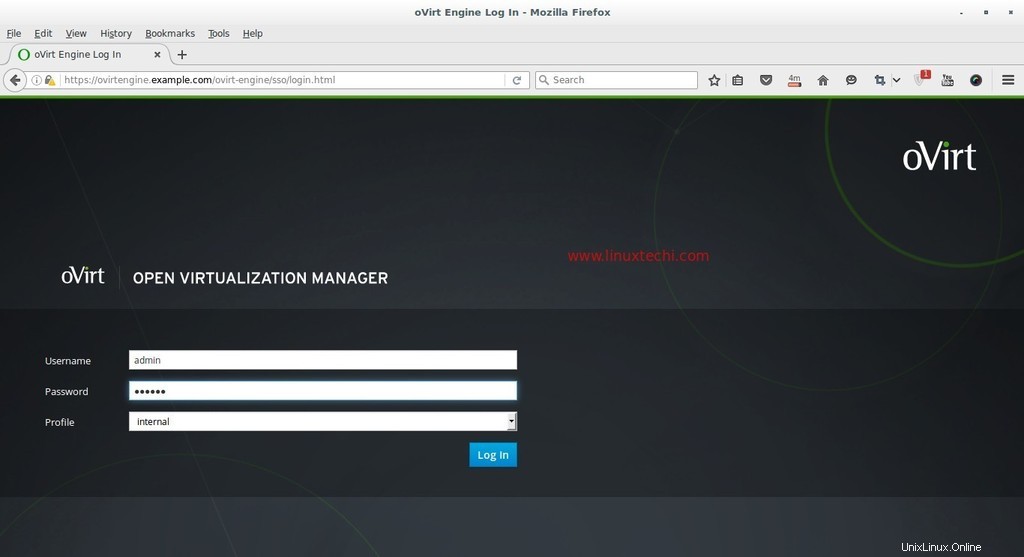
管理者ポータルをクリックします。
ユーザー名を「admin」と入力します ‘と、インストール時に言及したパスワードと内部としてのプロファイル。
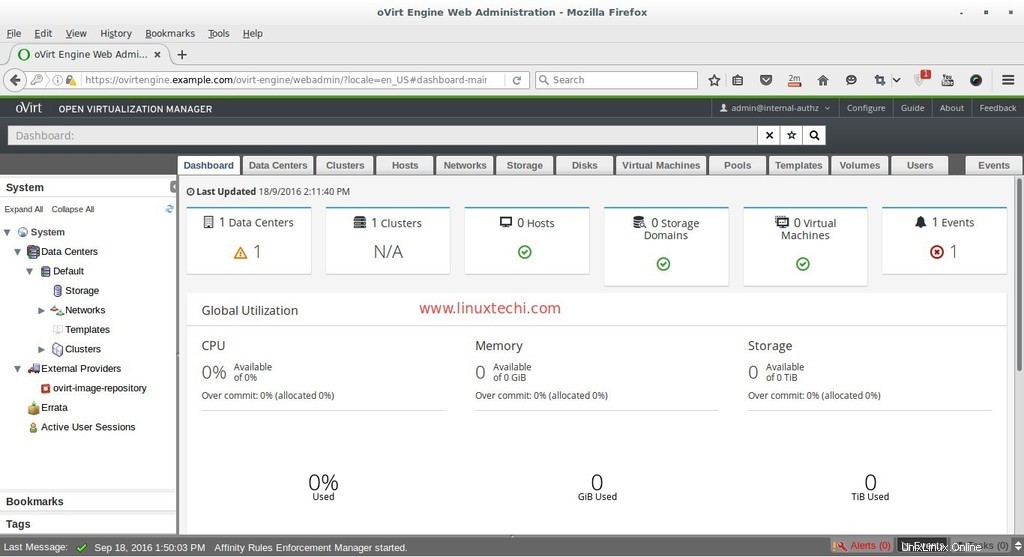
この時点でovirtエンジンのインストールが完了しました。次に、ovirtノードをインストールします。
oVirtノード(ハイパーバイザー)のインストール手順
oVirt Nodeは、2つの異なる方法で構成できます。最初の方法は、ハイパーバイザーまたは ovirt-node isoをダウンロードできることです。 公式Webサイトからファイルを作成し、ダウンロードしたisoファイルからサーバーをインストールします。
2番目の方法は、既存の CentOSを作成できることです。 、 RHEL およびFedora vdsmパッケージをインストールしてovirtノードとしてサーバーを作成し、そのホストまたはサーバーをovirtエンジン管理者ポータルから手動で追加します。
oVirtノードの最小要件は次のとおりです:
- デュアルコアシステム
- 10GBの物理RAM
- 10GBのディスク容量
- 1GbpsLANカード
このチュートリアルでは、最初の方法を使用します。すでに oVirt 4.0 Node isoをダウンロードしています。 ファイル。ダウンロードしたisoファイルをDVDまたはUSBドライブに書き込み、画面の指示に従ってDVD/USBでサーバーを起動します。

最初のオプション「oVirtノード4.0.3のインストール」を選択します ‘
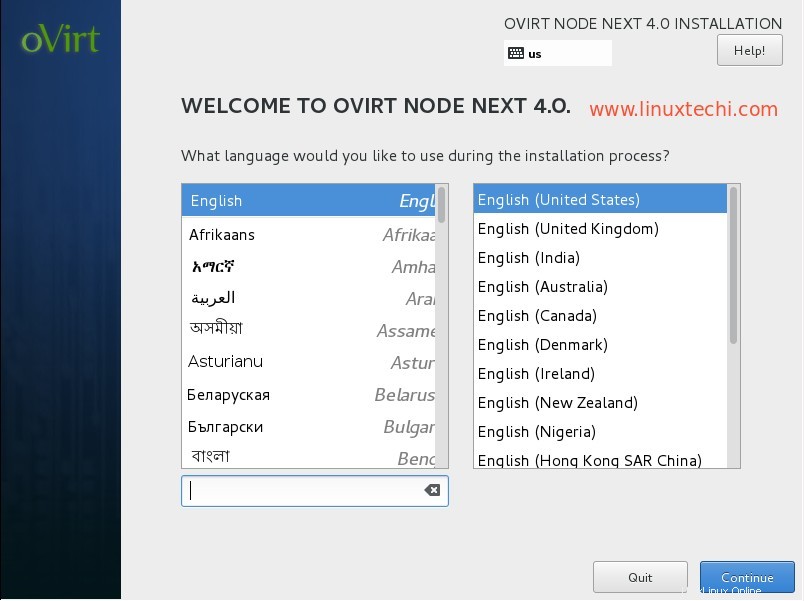
言語を選択し、[続行]をクリックします…
次のステップでは、次のステップを実行します:
- ネットワークの構成
- ホスト名を設定
- OSをインストールするディスクを選択します
- 設定による日付と時刻
- キーボードレイアウト
私の場合、ホスト名は「 ovirtnode.example.com」です。 」とIPアドレスは192.168.1.40
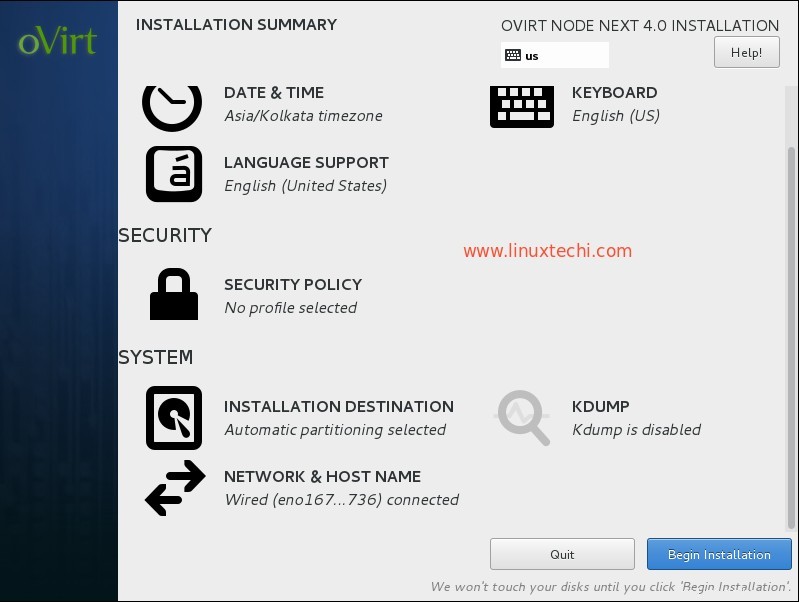
[インストールの開始]をクリックします
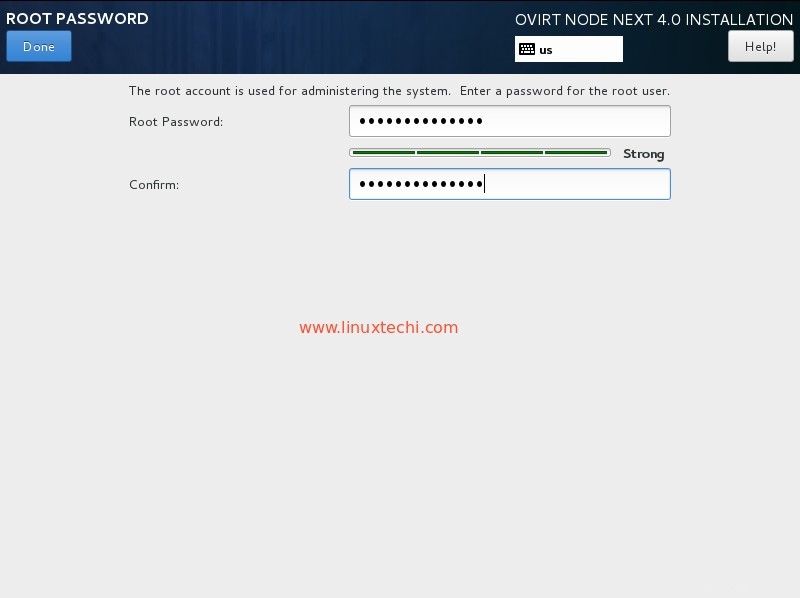
ルートパスワードを設定し、[完了]をクリックします
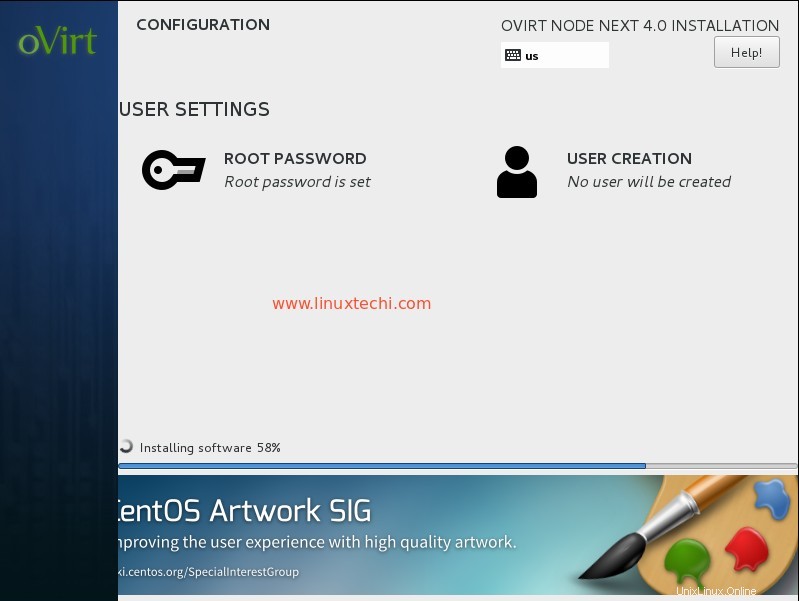
oVirt4.0.3ノードのインストールが進行中です。
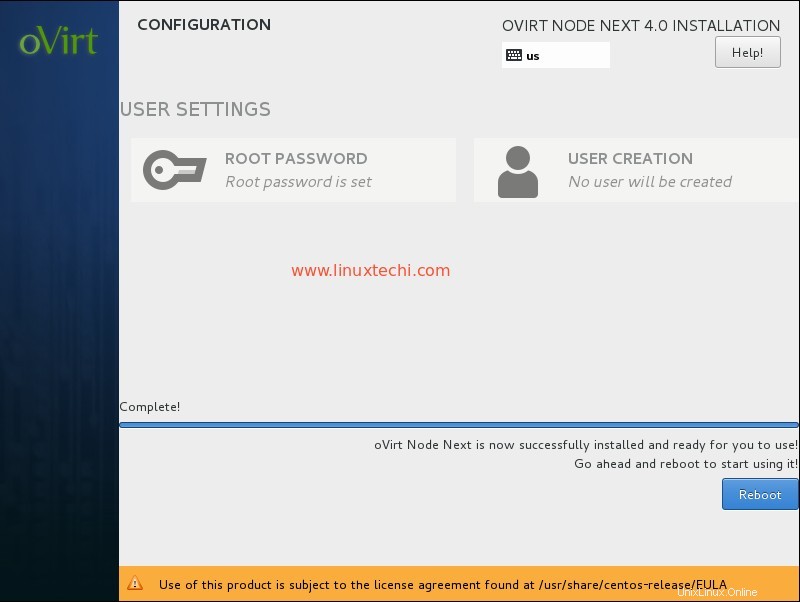
インストールが完了したら、サーバーを再起動します。
Web管理者ポータルからovirtエンジンにoVirtノード(ovirtnode.example)を追加します。
管理者ポータルにログインし、[ホスト]タブに移動します—>[新規]をクリックします
ovirtノードの詳細を指定します。
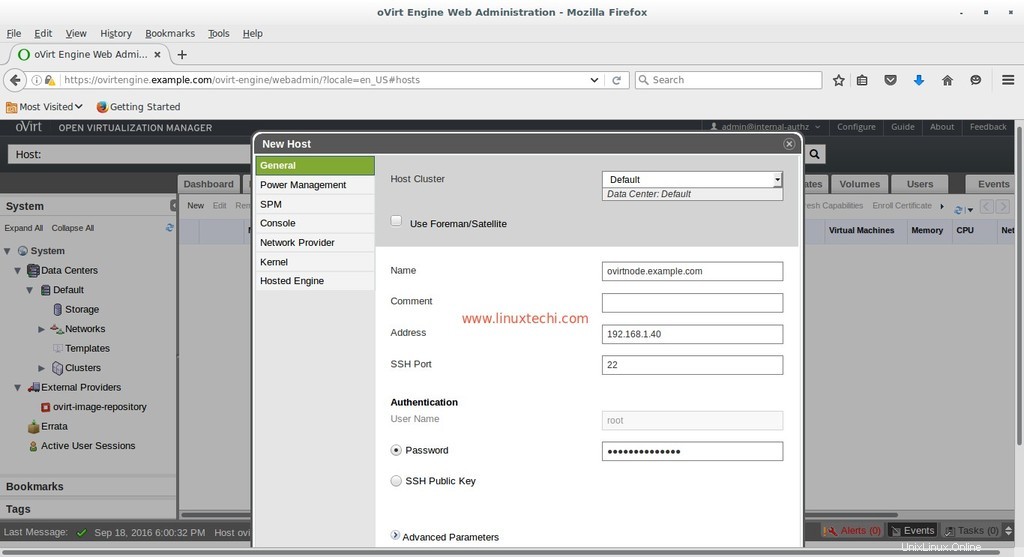
エントリが完了したら、[OK]をクリックします。
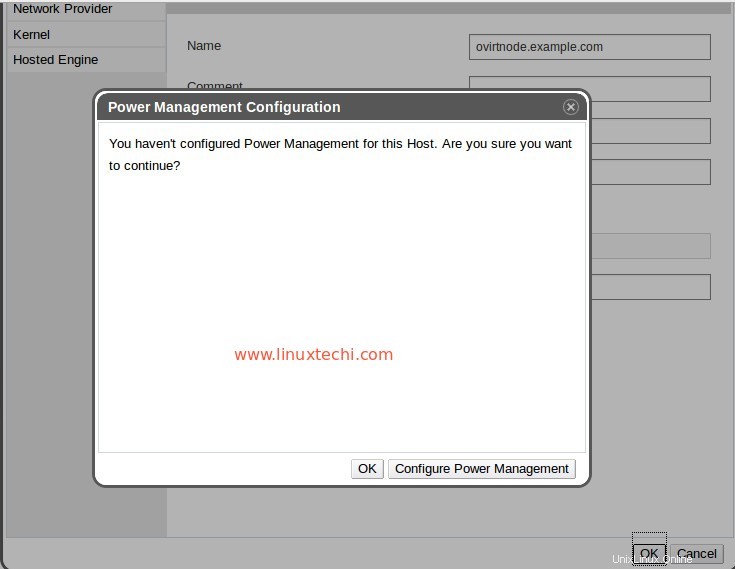
ラボでこのセットアップを行っているため、「電源管理の構成」は行いません。 「。 [OK]をクリックします
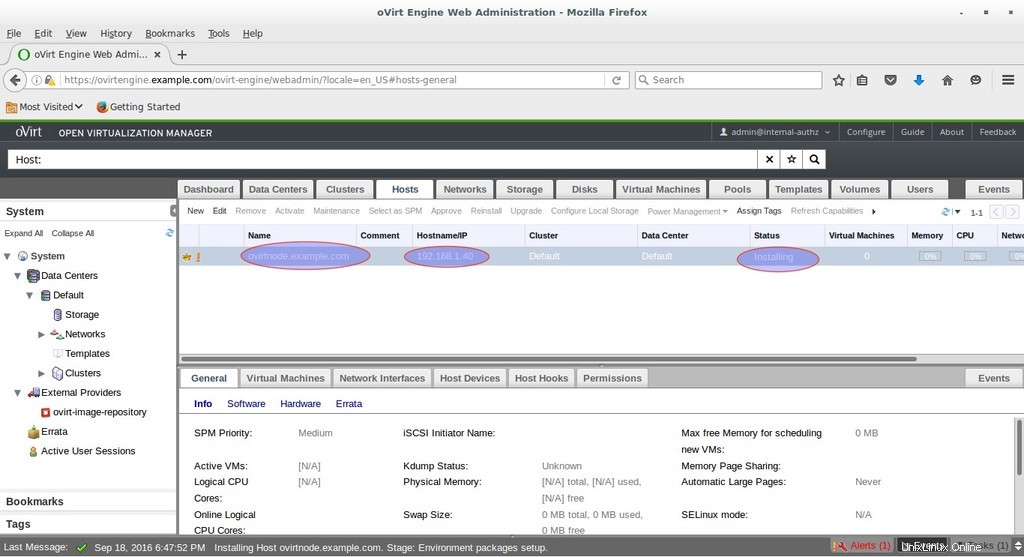
以下に示すように、ovirtエンジンがソフトウェアをovirtノードにインストールしています。ソフトウェアのインストール後にホストがアクティブ化されない場合は、[ホスト]を選択し、[アクティブ化]をクリックします
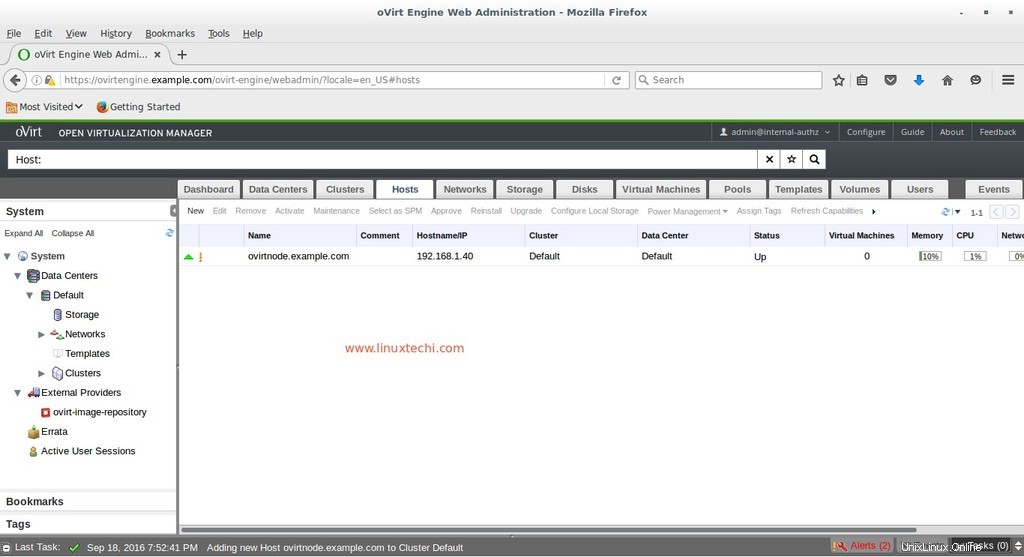
ご覧のとおり、ホストがアクティブになっています。
それで全部です。 oVirt 4.0.3のインストールと構成の手順が気に入っていただければ幸いです。次の記事では、データセンター、クラスター、仮想マシンの作成方法について説明します。