この記事では、httpdをインストールして構成する手順について説明します。 HTTPS経由でコンテンツを提供するサービス。基本HTTPではなくHTTPSを使用する目的は、コンテンツが転送中に暗号化されることです。これは、誰かがシステムとWebサーバー間のトラフィックをキャプチャした場合、送信された内容を確認できないことを意味します。基本的なHTTPサーバーにアクセスしている場合は、コンテンツを見ることができます。
前提条件
まず、使用する環境は、基本的なRed Hat Enterprise Linux(RHEL)8.2仮想マシンです。システムがRedHatSatelliteまたはRedHatカスタマーポータルのいずれかに登録されていることを確認してください。それについては、登録アシスタントをご覧ください。
システムが登録され、正しいサブスクリプションが添付されたら、httpdをインストールします およびmod_ssl :
[root@webserver ~]# dnf install httpd mod_ssl
### Output truncated ###

Installed:
  apr-1.6.3-9.el8.x86_64                                                         apr-util-1.6.1-6.el8.x86_64
  apr-util-bdb-1.6.1-6.el8.x86_64                                                apr-util-openssl-1.6.1-6.el8.x86_64
  httpd-2.4.37-21.module+el8.2.0+5008+cca404a3.x86_64                            httpd-filesystem-2.4.37-21.module+el8.2.0+5008+cca404a3.noarch
  httpd-tools-2.4.37-21.module+el8.2.0+5008+cca404a3.x86_64                      mod_http2-1.11.3-3.module+el8.2.0+7758+84b4ca3e.1.x86_64
  mod_ssl-1:2.4.37-21.module+el8.2.0+5008+cca404a3.x86_64                        redhat-logos-httpd-81.1-1.el8.noarch

Complete!
[root@webserver ~]#
[読者も気に入っています:エンタープライズLinuxでのセキュリティ監査の存続]
証明書の生成
RPMをインストールした後、まだ持っていない場合は、選択したCAから証明書を生成します。
[root@webserver ~]# openssl req -newkey rsa:2048 -nodes -keyout /etc/pki/tls/private/httpd.key -x509 -days 3650 -out /etc/pki/tls/certs/httpd.crt
Generating a RSA private key
..............+++++
..........................................................................+++++
writing new private key to '/etc/pki/tls/private/httpd.key'
-----
You are about to be asked to enter information that will be incorporated
into your certificate request.
What you are about to enter is what is called a Distinguished Name or a DN.
There are quite a few fields, but you can leave some blank
For some fields, there will be a default value,
If you enter '.', the field will be left blank.
-----
Country Name (2 letter code) [XX]:US
State or Province Name (full name) []:North Carolina
Locality Name (eg, city) [Default City]:Holly Springs
Organization Name (eg, company) [Default Company Ltd]:Example Co
Organizational Unit Name (eg, section) []:Example Unit
Common Name (eg, your name or your server's hostname) []:webserver
Email Address []:root@localhost

[root@webserver ~]#
ファイルが作成されたことを確認できます:
[root@webserver ~]# ls -l /etc/pki/tls/private/ /etc/pki/tls/certs/
/etc/pki/tls/certs/:
total 4
lrwxrwxrwx. 1 root root   49 Oct 18  2019 ca-bundle.crt -> /etc/pki/ca-trust/extracted/pem/tls-ca-bundle.pem
lrwxrwxrwx. 1 root root   55 Oct 18  2019 ca-bundle.trust.crt -> /etc/pki/ca-trust/extracted/openssl/ca-bundle.trust.crt
-rw-r--r--. 1 root root 1489 Oct  1 12:02 httpd.crt

/etc/pki/tls/private/:
total 4
-rw-------. 1 root root 1704 Oct  1 12:00 httpd.key
証明書が生成されたので、Webサーバーがコンテンツを提供するディレクトリを作成する必要があります。例:
[root@webserver ~]# mkdir /var/www/https サンプルコンテンツをindex.htmlに配置できます そこにファイルする:
[root@webserver ~]# echo secure content > /var/www/https/index.html
[root@webserver ~]# cat /var/www/https/index.html
secure content
[root@webserver ~]#
SELinuxセキュリティ
正しいSELinuxコンテキストが設定されていることを確認します:
[root@webserver ~]# ll -Z /var/www
total 0
drwxr-xr-x. 2 root root system_u:object_r:httpd_sys_script_exec_t:s0 6 Dec  2  2019 cgi-bin
drwxr-xr-x. 2 root root system_u:object_r:httpd_sys_content_t:s0     6 Dec  2  2019 html
drwxr-xr-x. 2 root root unconfined_u:object_r:httpd_sys_content_t:s0 6 Oct  1 12:34 https

[root@webserver ~]#
また、SELinuxコンテキストが index.htmlに対して正しいことを確認してください ファイル:
[root@webserver ~]# ll -Z /var/www/https/index.html
-rw-r--r--. 1 root root unconfined_u:object_r:httpd_sys_content_t:s0 15 Oct  1 15:07 /var/www/https/index.html

[root@webserver ~]#
適切な証明書があり、ディレクトリが作成され、SELinuxが正しいので、httpdに伝えます。 キーを使用するには:
[root@webserver ~]# vi /etc/httpd/conf.d/ssl.conf
[root@webserver ~]# grep -e httpd.crt -e httpd.key /etc/httpd/conf.d/ssl.conf -B1
#SSLCertificateFile /etc/pki/tls/certs/localhost.crt
SSLCertificateFile /etc/pki/tls/certs/httpd.crt
--
#SSLCertificateKeyFile /etc/pki/tls/private/localhost.key
SSLCertificateKeyFile /etc/pki/tls/private/httpd.key
[root@webserver ~]#
[root@webserver ~]# grep DocumentRoot /etc/httpd/conf.d/ssl.conf
DocumentRoot "/var/www/https"
#DocumentRoot "/var/www/html"

[root@webserver ~]#
ファイアウォール設定
httpd これでサービスが構成されましたが、トラフィックがファイアウォールを通過できることを確認する必要があります。ポート443を有効にしてから、ファイアウォールをリロードします:
[root@webserver ~]# firewall-cmd --permanent --add-port=443/tcp
success

[root@webserver ~]# firewall-cmd --reload
success
最終的な構成とテスト
httpdを有効にする 起動時に開始してからhttpdを再起動するサービス サービス:
[root@webserver ~]# systemctl enable httpd
Created symlink /etc/systemd/system/multi-user.target.wants/httpd.service → /usr/lib/systemd/system/httpd.service.
[root@webserver ~]# systemctl restart httpd
[root@webserver ~]# systemctl status httpd
● httpd.service - The Apache HTTP Server
   Loaded: loaded (/usr/lib/systemd/system/httpd.service; enabled; vendor preset: disabled)
   Active: active (running) since Thu 2020-10-01 12:35:26 EDT; 1min 30s ago
     Docs: man:httpd.service(8)
 Main PID: 33387 (httpd)
   Status: "Total requests: 1; Idle/Busy workers 100/0;Requests/sec: 0.0112; Bytes served/sec:  40 B/sec"
    Tasks: 213 (limit: 74790)
   Memory: 35.6M
   CGroup: /system.slice/httpd.service
           ├─33387 /usr/sbin/httpd -DFOREGROUND
           ├─33390 /usr/sbin/httpd -DFOREGROUND
           ├─33391 /usr/sbin/httpd -DFOREGROUND
           ├─33392 /usr/sbin/httpd -DFOREGROUND
           └─33393 /usr/sbin/httpd -DFOREGROUND

Oct 01 12:35:26 webserver.example.com systemd[1]: Starting The Apache HTTP Server...
Oct 01 12:35:26 webserver.example.com systemd[1]: Started The Apache HTTP Server.
Oct 01 12:35:26 webserver.example.com httpd[33387]: Server configured, listening on: port 443, port 80

[root@webserver ~]#
netstatを使用して、サービスがポート443で実行され、リッスンしていることを確認できます。 :
[root@webserver ~]# netstat -tlpn
Active Internet connections (only servers)
Proto Recv-Q Send-Q Local Address Foreign Address State PID/Program name
tcp 0 0 192.168.124.1:53 0.0.0.0:* LISTEN 1505/dnsmasq
tcp 0 0 0.0.0.0:22 0.0.0.0:* LISTEN 1438/sshd
tcp 0 0 127.0.0.1:631 0.0.0.0:* LISTEN 1904/cupsd
tcp 0 0 0.0.0.0:111 0.0.0.0:* LISTEN 1/systemd
tcp6 0 0 :::80 :::* LISTEN 33387/httpd
tcp6 0 0 :::22 :::* LISTEN 1438/sshd
tcp6 0 0 ::1:631 :::* LISTEN 1904/cupsd
tcp6 0 0 :::443 :::* LISTEN 33387/httpd
tcp6 0 0 :::111 :::* LISTEN 1/systemd
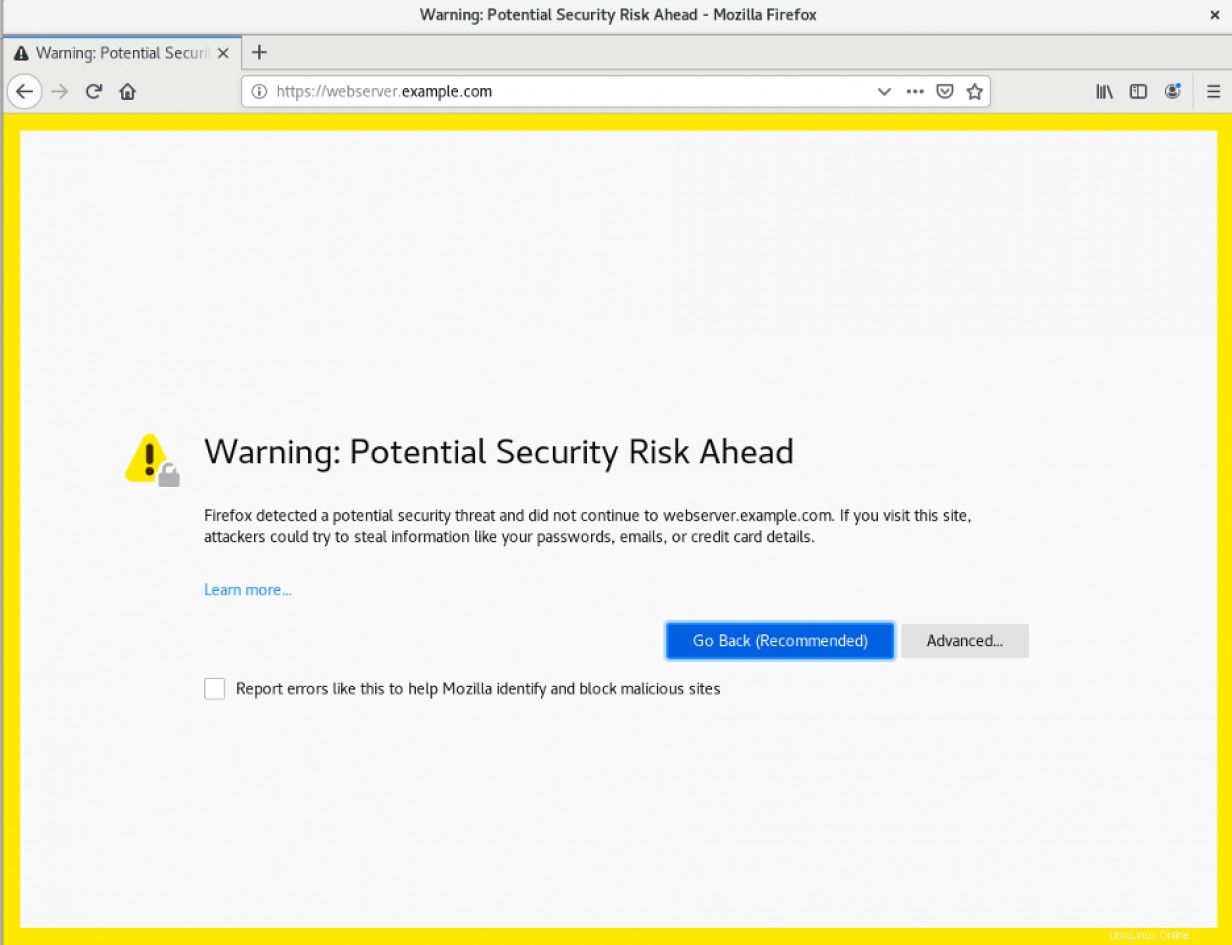
[root@webserver ~]# この時点で、Webサービスは正しく機能し、クライアントに表示されているはずです。これを確認するには、Webブラウザを使用してサイトにアクセスしてみてください。自己署名証明書を使用している場合は、それを受け入れる必要があります:
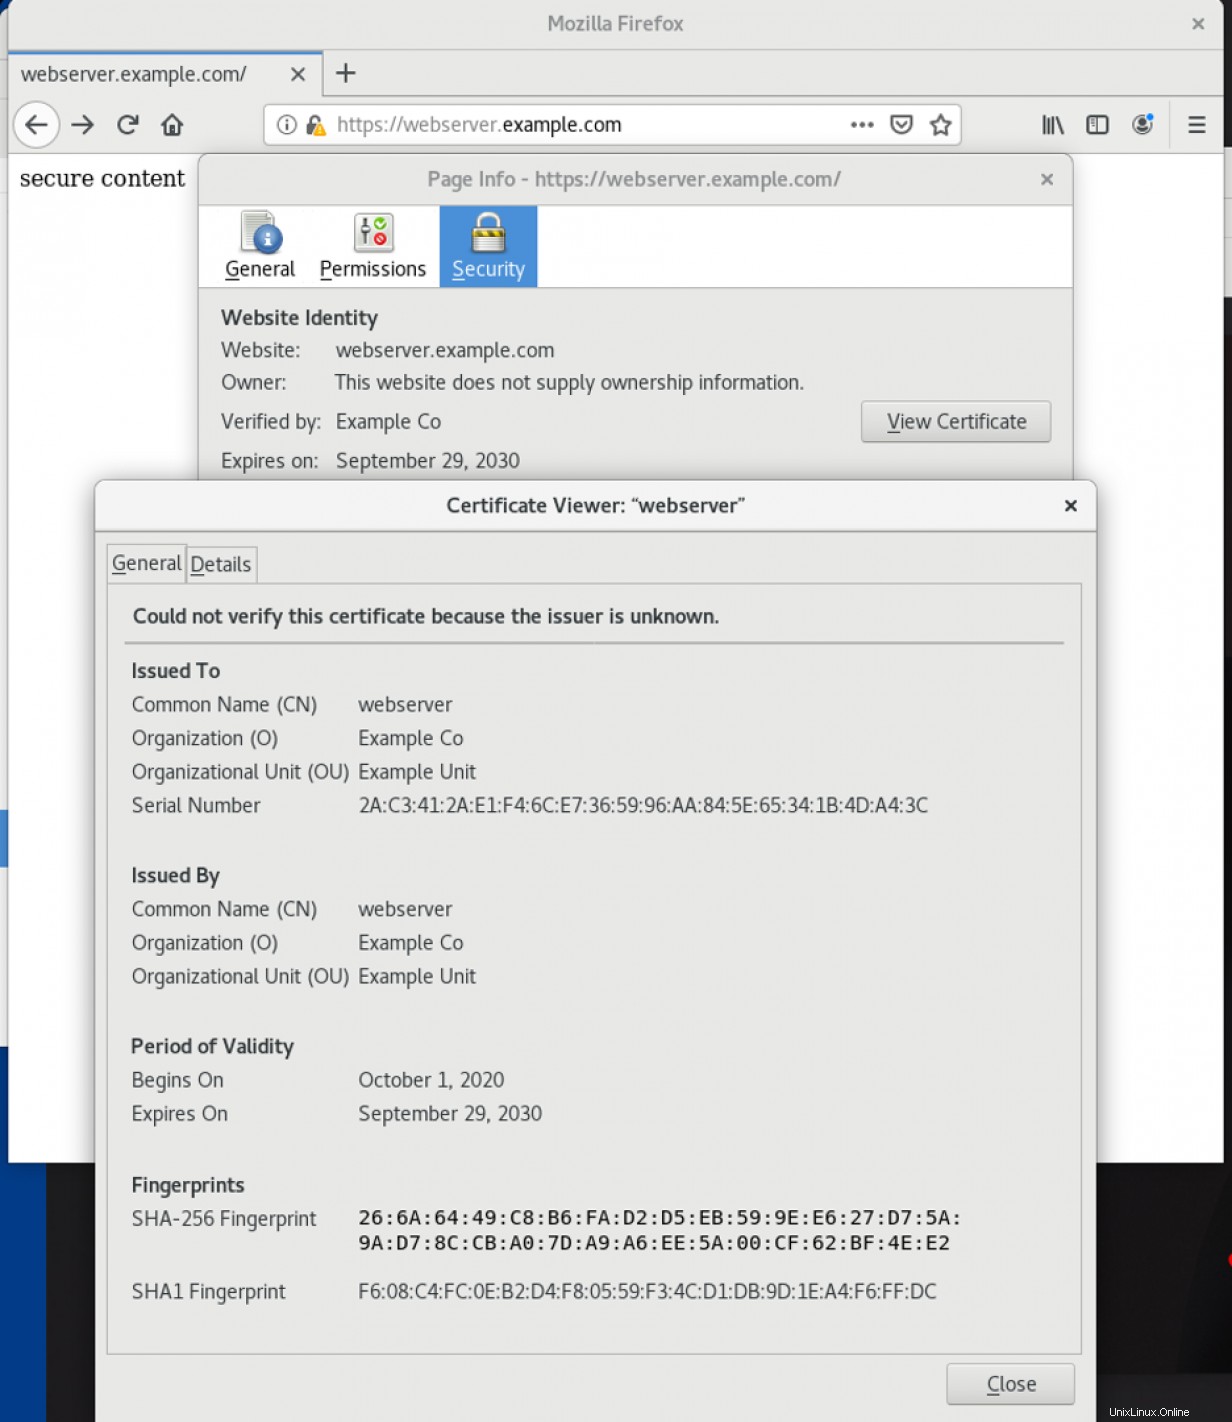
アドレスバーの鍵のアイコンをクリックし、[証明書の表示]を選択すると、入力した証明書情報が表示されます。
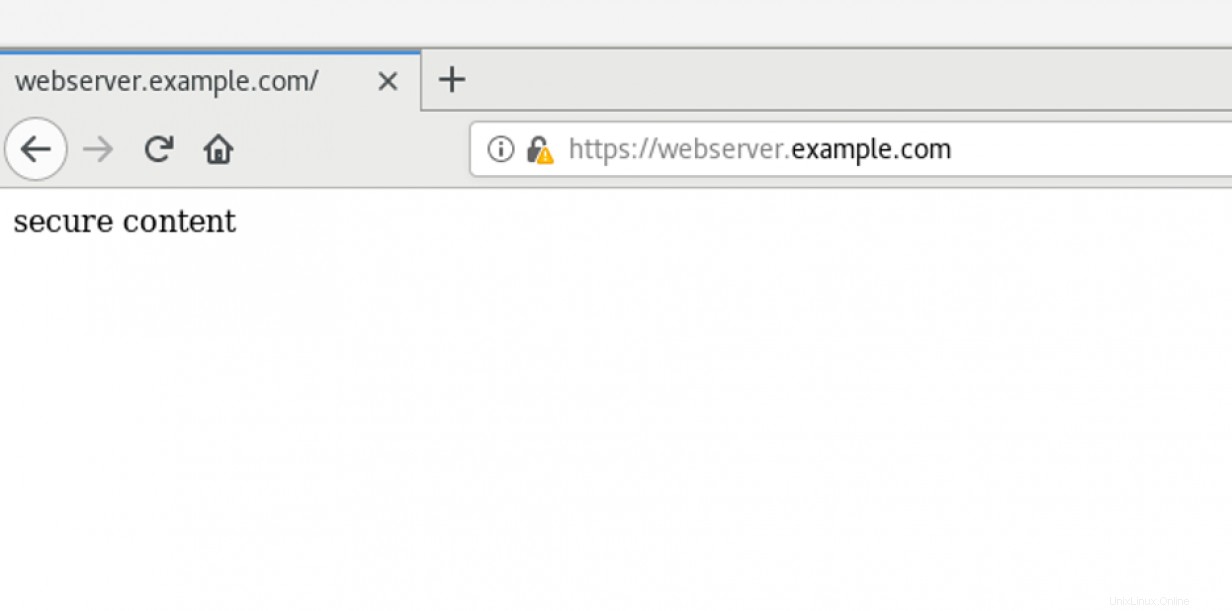
/var/www/https/index.htmlでコンテンツを確認できます。 HTTPS経由で提供されるファイル:
[セキュリティについてもっと知りたいですか? ITセキュリティとコンプライアンスのチェックリストを確認してください。 ]
まとめ
この記事では、HTTPSサーバーをインストールして構成し、サービスが正しく機能していることを確認する方法について説明しました。追加の構成には、リモートロギングの設定、PHPの有効化、またはWebサイトのデータベースの構成が含まれる場合があります。